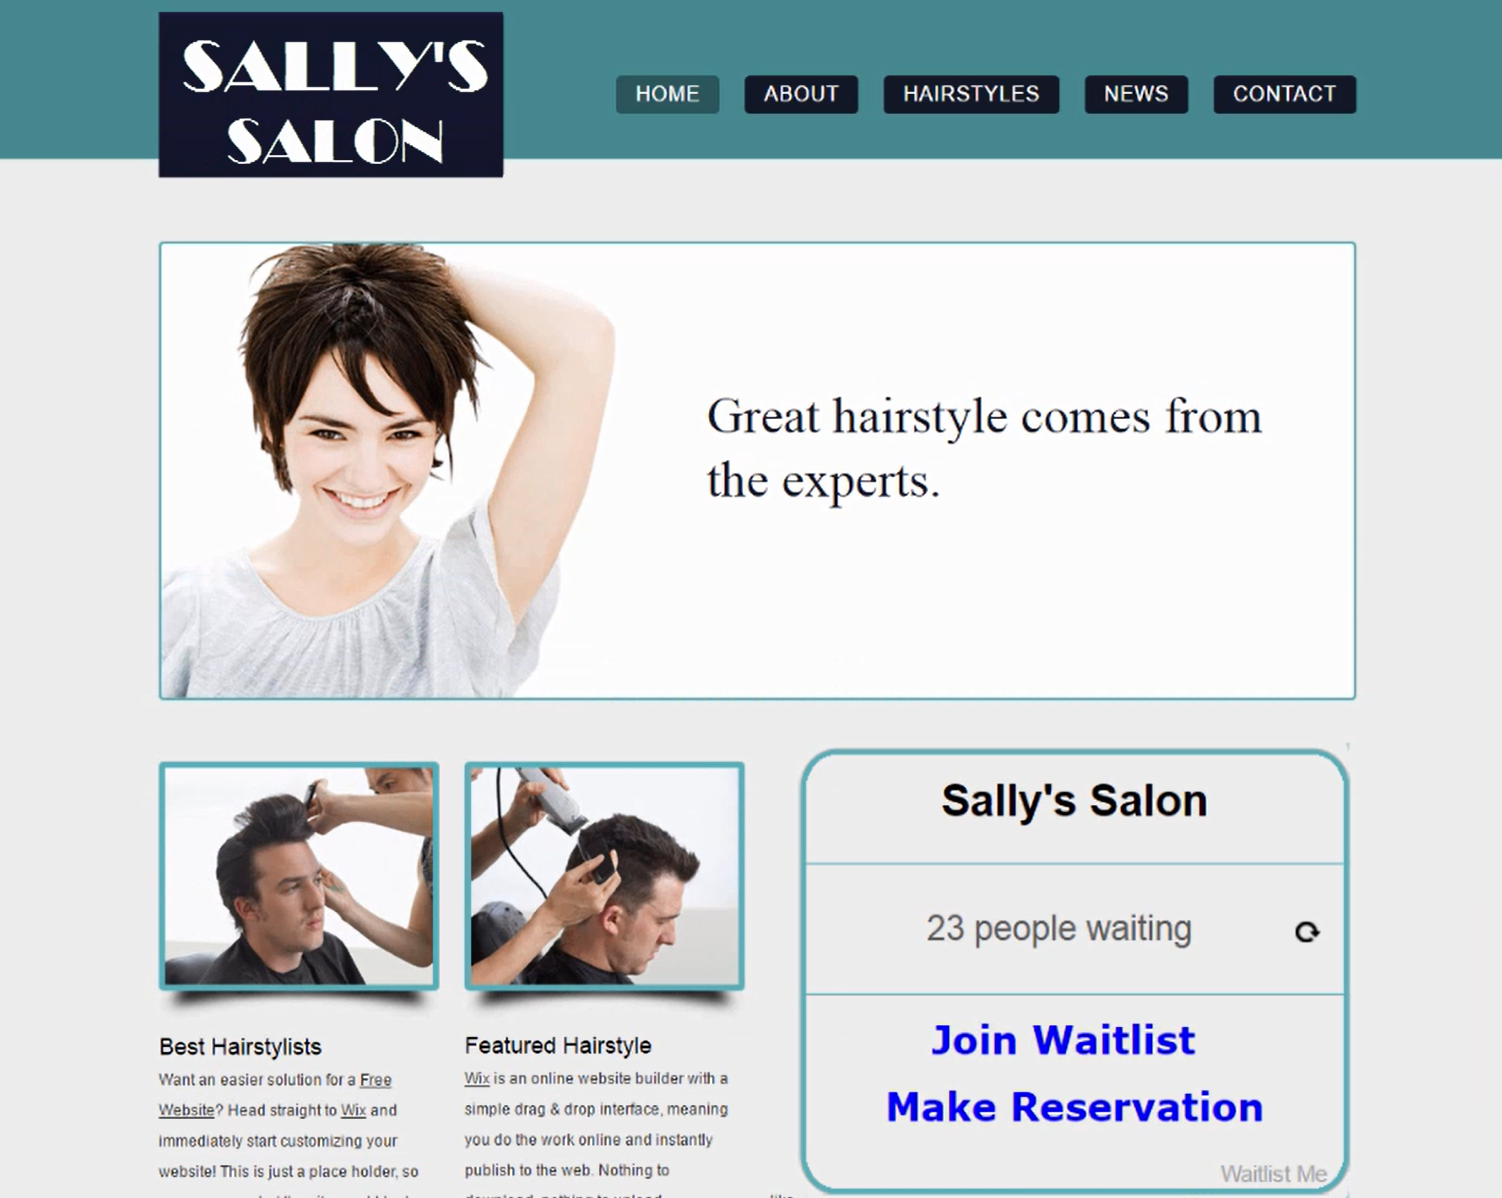
We are excited to announce a new set of calendar views that make managing and scheduling reservations and appointments even easier. Building on our previous streamlined list views, the new calendar features let you see your availability at a glance so you can plan ahead and deliver great customer service. View total scheduled customers by month, week, or day and just tap on a specific time to schedule a new customer in a few seconds.
Reservations
With the Reservations and Group options in your waitlist settings, you can make reservations for groups of different sizes and see the total number of customers as well as groups in your calendar. The daily view also makes it easy to schedule reservations for specific tables if your business is a restaurant. Or in other businesses you might make reservations for room numbers, rental items, tour guide names, and so on. Here is a video on how it works.
Appointments
With the Appointment and Individual options in your waitlist settings, you customize scheduling to not ask for or display group size, since you’d normally be meeting one person at a time. The daily view lets you schedule appointments for specific team members or people at your business. Depending on your business these might be the name of hair stylists, sales people, technicians, doctors, and so on. Here is a video on how it works.
With the floorplan features in Waitlist Me, it’s easy to visualize your tables and manage your sections and staff.
In Floorplan view, you’ll see all of your tables, arranged however you like. Green tables are open; red tables are occupied. You can also see how long a table has been occupied, or if it’s been reserved for a particular time. And you can tap on a table to open the action bar, where you can see details about the party, update their table’s status, clear the table when they’re done, and more.
You can also see your sections, marked with colors, dividing lines, or both. You can create custom layouts, and change these sections on the fly. Perhaps three sections is enough for a quiet lunch, but you need more for a busy evening. You can see which employee is working each section, and how many groups, and how many people, they’ve served today. You can zoom in for a closer look, and scroll across your floorplan. You can even see floorplans for other parts of your restaurant—for instance, for your patio or an upstairs meeting room. It’s all up to you.
To start building your own floorplans, just tap on the round icon to access the table management section.
Notice: Here in Grid view, you can see that I’ve already set up some basic tables. Each one has a name (in this case, the table number), and a size: the number of people it can seat. And I’ve divided those tables into sections. If you need any help with tables and sections, please see our video on “Managing Tables.”
Now, tap the button on the right, and switch to Floorplan view.
The first time you visit this page, you’ll be prompted to add a room—for instance, your main dining room. Just give your room a name, choose a portrait or landscape orientation for your floorplan, and then tap “Add.” You can add additional rooms if you like. Then, tap “Back,” to save. You can tap on the name of your room at any time, to see a different room, or to add additional rooms.
Now, tap “Edit,” to start building your floorplan. If you have not yet created your tables, just tap on the gear icon to access the table management settings, where you can manage your tables, sections, layouts, and more. Or, if you’re ready to proceed, just make sure you’ve selected the room you want to design. And then, tap “Add.”
You can choose an existing table from the list—or, add a new table at the top. (Simply give your new table a name, specify how many people it can seat, and tap Save.)
You’ll be prompted to choose the physical size, and the shape, for this table.
Now, just tap where you want your table to go. The table appears on your floorplan, along with a set of tools. You can tap and drag, to adjust your table’s position. Drag the arrows to stretch the table in a single direction. Use the double arrow to stretch your table in both directions at once. Tap the round arrows to rotate your table, by 45 degrees at a time. Tap the copy icon, and then choose an existing table or set up a new one, to make it exactly the same size and shape on your floorplan. Or, tap the dots, to edit the table’s name and size, or to delete it entirely. When you’re ready, tap anywhere else on the screen to hide these tools.
You can add as many tables as you need.
If you like, you can also use your floorplan to work with any sections and layouts you’ve defined for your restaurant. (For help setting up sections and layouts, please see our video on “Managing Tables.”)
Choose a room, and a layout. And then, tap “Add,” and choose “Element.”
You can add a dividing line—just tap to give your line a starting point, and an ending point. You can drag either of these points to adjust the angle of your line, or move the whole line to a new position. And again, tap anywhere else when you’re done.
Or, you can tap “Add,” choose “Element,” and then pick “Label.” Just choose which section this label is for. And tap on the screen to choose its position.
When your floorplan is complete, tap “Exit.” Then, tap “Yes” to save your changes.
Once you leave Edit mode, your section labels are automatically updated to show helpful details—by default, the name of the server in each section, and how many groups and individual customers they’ve served today.
Of course, you can come back to Edit Mode at any time, and update your floorplan. Or, you can modify your floorplan for another layout—for instance, to set up this same room for a different shift. Your tables remain where they are, but your lines and labels disappear, so you can set up a different set of sections for that shift. Then, you’ll be able to change your sections on the fly, as you move through your day.
Remember, you can tap the gear icon to access the settings pages for your tables, sections, and layouts.
For more options, tap “Display,” and then choose “Floorplan.” For instance, you can change the size of the text in your section labels, and decide what information those labels should include. By default, the label shows any notes for the section (for instance, the name of the server), and the total number of parties, and individual customers, who’ve been seated in that section today. But if you like, you can show the current number of open tables (and/or occupied tables) in each section, instead.
In the same way, you can decide what information should appear directly on your tables. By default, you’ll see how long each table has been occupied. But you can hide this information—or show the name of the section, instead. And if you’ve assigned colors to your tables, you can use these colors to highlight the table name (in this case, the table number), or highlight the name of the section, or not.
You can also come back to Grid view, tap “Time” at the top, and decide how to calculate the totals that will appear in the section labels on your floorplan. Would you like to see how many parties, and how many individual customers, you’ve served in each section all day, or just during the current shift? Or, would you like to see your totals for the past so many hours—from the past 1 hour, to the past 24?
Now, you’re ready to start using your floorplans. At the beginning of each shift, simply choose the appropriate layout, to instantly update your sections. Then, tap on any section label, for a list of all of your sections, and your notes on each one—in this case, the name of the server assigned there. Tap “Clear All,” fill in the servers for the new shift, and then save your changes, and you’re ready to get to work.
And remember, you can tap “Open” at the bottom, to enter split-screen mode, where you can see your floorplan, and your waitlist, at once. You can drag the handle to show more or less of the waitlist—or tap “Close” to hide it entirely and only see your floorplan.
Want to do more with Noshlist? Now you can. More features are now available with NoshList Premium, the expanded version of our restaurant waitlist management app for iPad.
NoshList Premium features the same capabilities as NoshList, including unlimited SMS text and automated phone call notifications to diners, while new services have been added to increase functionality and provide diners with the ability to interact directly with the restaurant via text. NoshList remains free, while NoshList Premium is priced at $49 per month per restaurant.
NoshList Premium features include:
Unlimited Two-Way Texting
Table Number Assignment
Large Party Functionality
NoshGuest Auto?ll
In-App Statistics
Designated Local Phone Number
30-Day Exportable Analytics
Weekly Email Summaries
“With NoshList Premium, we get an expanded set of features that help us deliver an even better guest experience including unlimited two-way texting that our customers really like, as well as a designated local phone number,” said Garrett Schmidt of Buffalo Wild Wings. “We benefit greatly from analytics and in-app statistics, which allow us to measure our waitlist performance in real time relative to past shifts. NoshList has made managing our waitlist much more efficient and given us valuable insight into an aspect of operations we never had before.”
NoshList notifies diners via text messaging that their tables are ready and improves their dining experience by replacing paper lists, microphones and alert buzzers with text messages sent directly to their cell phone. Since the February launch of the free service, nearly 4.5 million diners have been seated with NoshList.
When a customer who is on the waitlist or has a reservation sends you a text, you are able to see their text reply. This helps you know when a customer decided not to come so you can remove them from the list, if they are on their way so you can hold their table, or if they have something else to ask or tell you. With a Pro subscription, you can send open text replies to customer texts for more flexible communications.
Another Pro feature we have recently added is the option to enable an audio alert or visual highlighting when customers send you text messages. Normally you would see a note in the customer row when they send you a text, and the full details of texts sent and received when tapping on the customer row. The new alert features make it easier to know when a customer replies and which customer replied by playing a sound and flashing the area of the notes to attract your attention to the right spot to look.
Here’s how to set these up. If you use Waitlist Me in a computer browser, make sure you’re using the new version (there’s an option at the top of the waitlist to switch to the new version). Then on the top right of the main waitlist page click on the Settings gear icon and go to Custom Behaviors > Receiving Texts. Here you can turn on options to play a sound and/or highlight the section of the waitlist that has the text response alert for a customer. These settings will apply to any devices using the web version.
In the Waitlist Me apps, the Custom Behavior settings are device-dependent, so you can choose whether to have them on or off for each different tablet or phone you’re using. In the app, go to the gear icon > Customization > Custom Behaviors > Receiving Texts to edit these options. Once turned on, you would hear a chime and see the highlighted area when you have the app open on your device.
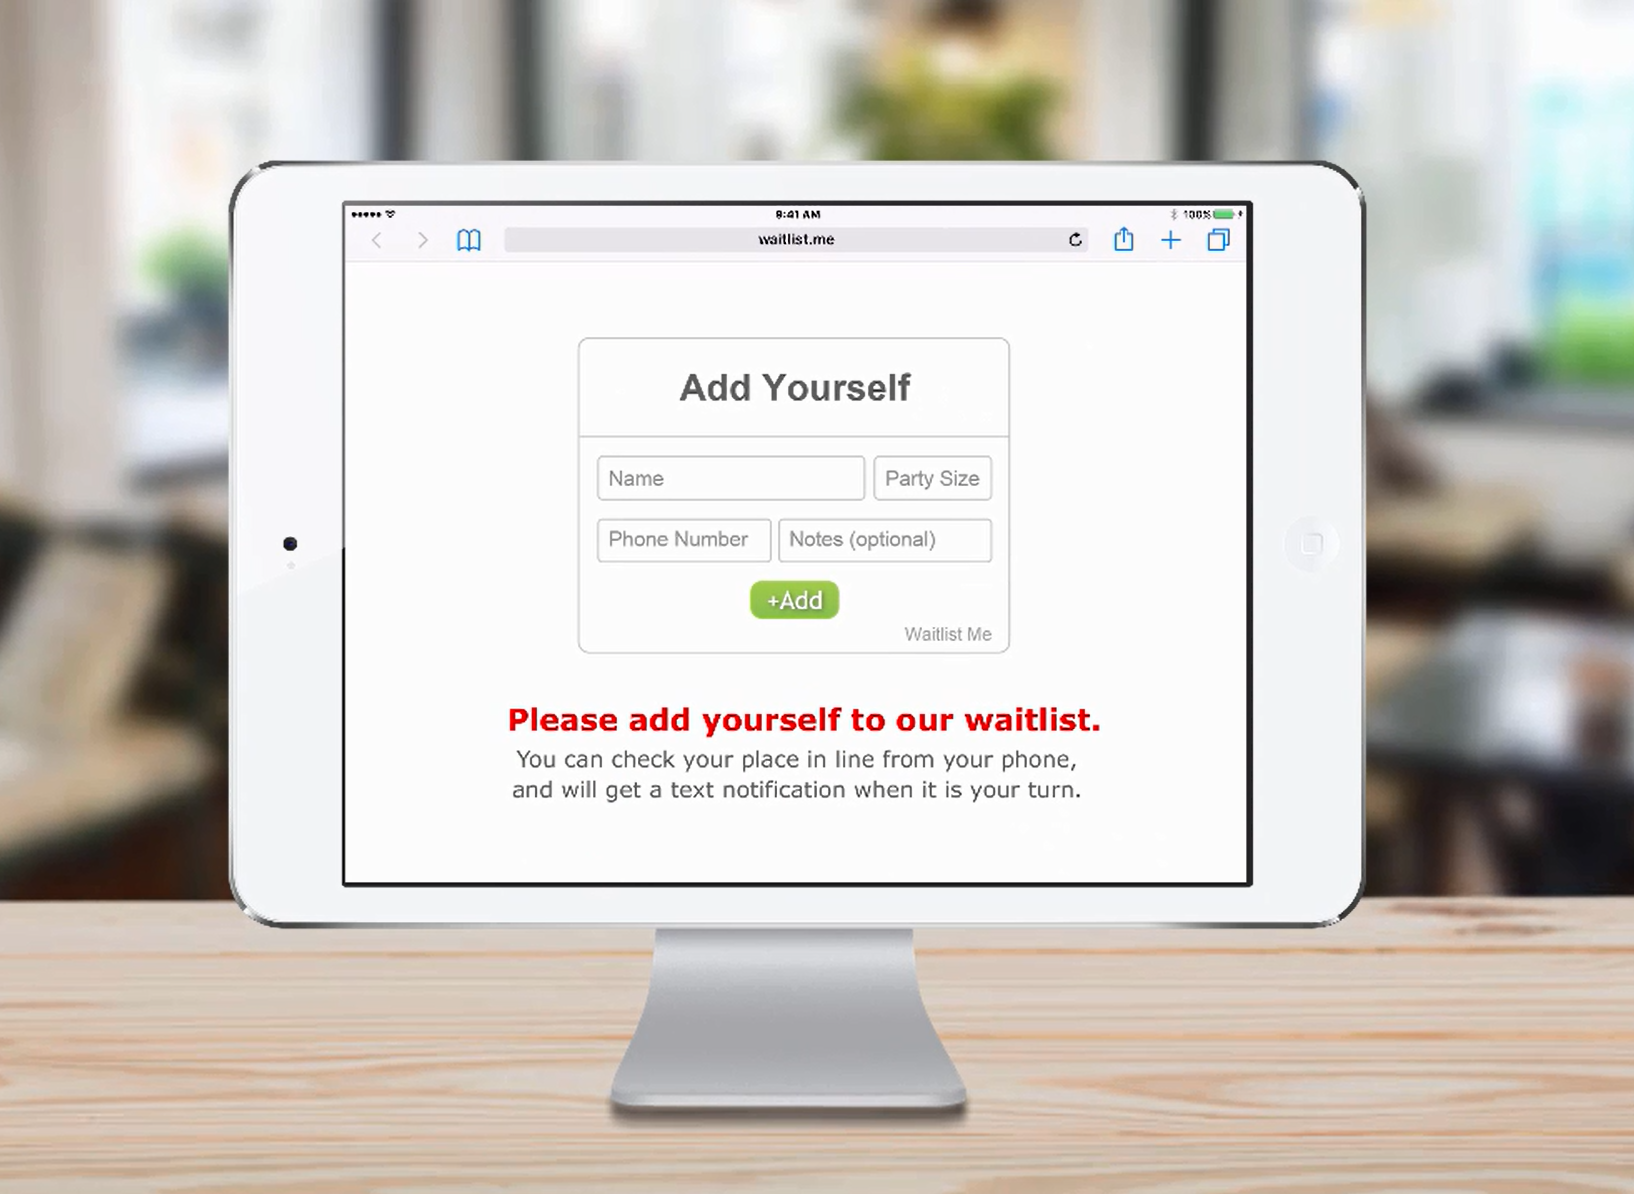
For businesses using Waitlist Me’s public waitlist feature that allows people who’ve joined your waitlist to check their place in line from their phones, there is a new way to enhance the customer experience.
Now, an integration with the Perklist AI Assistant makes it possible for these waiting customers to explore your menu and ask questions directly from that public waitlist page.
When enabled, a simple message and link will appear above their wait time information. Clicking this link opens a chat with an AI Assistant capable of answering questions about your menu and business in real time. You can find more details and an overview video here of how the Perklist AI Assistant works.
Setting up the AI Assistant involves providing it with your menu and other relevant details, a process that generally takes a few minutes. There are also options to customize the text of the message and link shown on your public waitlist page. Additionally, you can choose whether customers see only the AI Assistant chat or both your menu and the chat window when they click the link.
Perklist is a service developed by Waitlist Me, aimed at helping businesses improve their digital interaction with customers, and includes features beyond just the AI Assistant.