Waitlist Me offers the Add Yourself Web Widget to make serving customers quick and easy, whether you prefer they reserve a time in advance or simply join the list if there’s a wait. Advanced scheduling just got even easier with our new email reservation features.
If your business wants to send automated reminders or needs additional information from customers before they arrive, then emails can be a great option. Also, they are not counted towards the bundled notification limits included with each subscription (US & Canada) or charged separately (all other international users/plans).
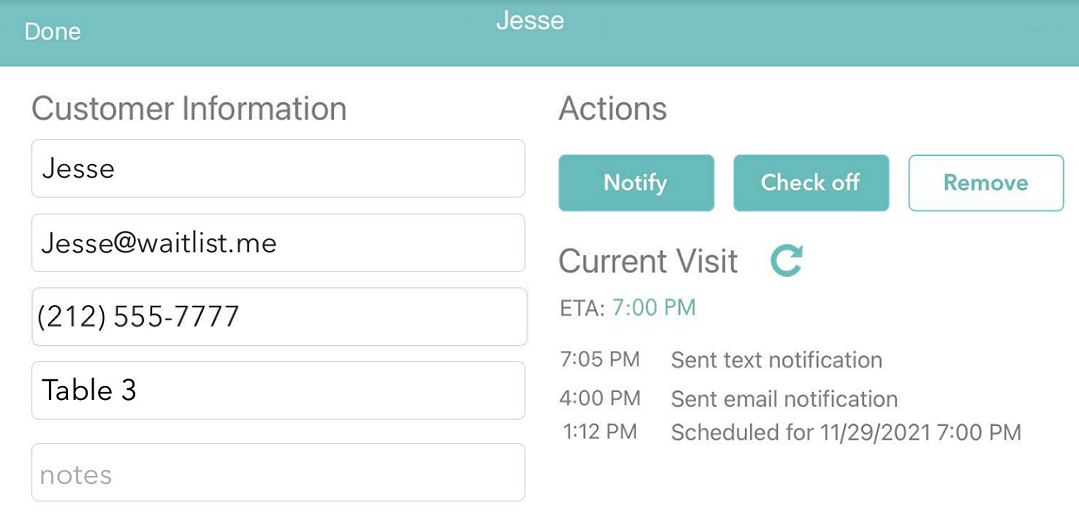
Enabling email notifications – To enable, navigate to the Notification settings for reservations (Settings > Customization > Notifications > Reservation). The Usage options let you choose whether the messages go out manually (by pressing the notification in the customer row in the waitlist view) or automatically (“Scheduled” option in the settings). In either case, the waitlist view notes and customer visit area of the edit view will show you when emails have been sent.
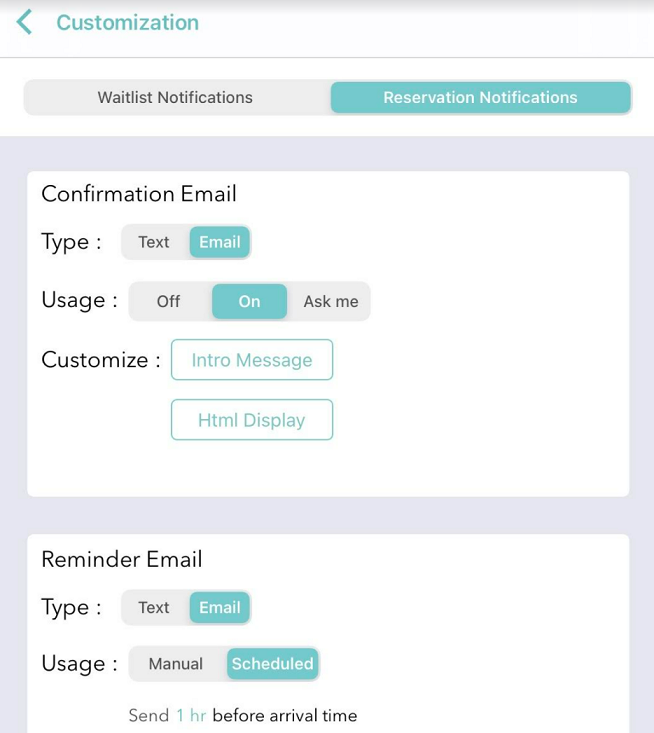
Customizing email notifications – Every email notification will automatically include the scheduled time of the reservation along with location information. In addition, it will include a customizable “Intro Message” that appears at the top of the email and can be used as an introduction or used to include basic instructions. Please note that there is a limit of 160 characters for the text in this area as it is intended to be simple. Pro Users can use the “HTML Display option” to customize the body of the email to include images, provide more detailed instructions and more. Below is an example of these parts of the email.

Changing and cancelling – Email notifications also include a link for your guests to “Change or Cancel” their reservation/appointment. This link opens a browser window on their phone or computer where they can select a different time or cancel their existing reservation altogether. A standard email confirming any change will go out automatically.