At Waitlist Me, we focus on helping businesses transition away from pen and paper or overly complex services. Making waiting less painful is a win for both the guests and the staff. Of course, waitlist management is only one way to streamline operations and work smarter, not harder. In this article from Dumpsters.com, check out a few more resources that show how to use technology to improve the guest experience.
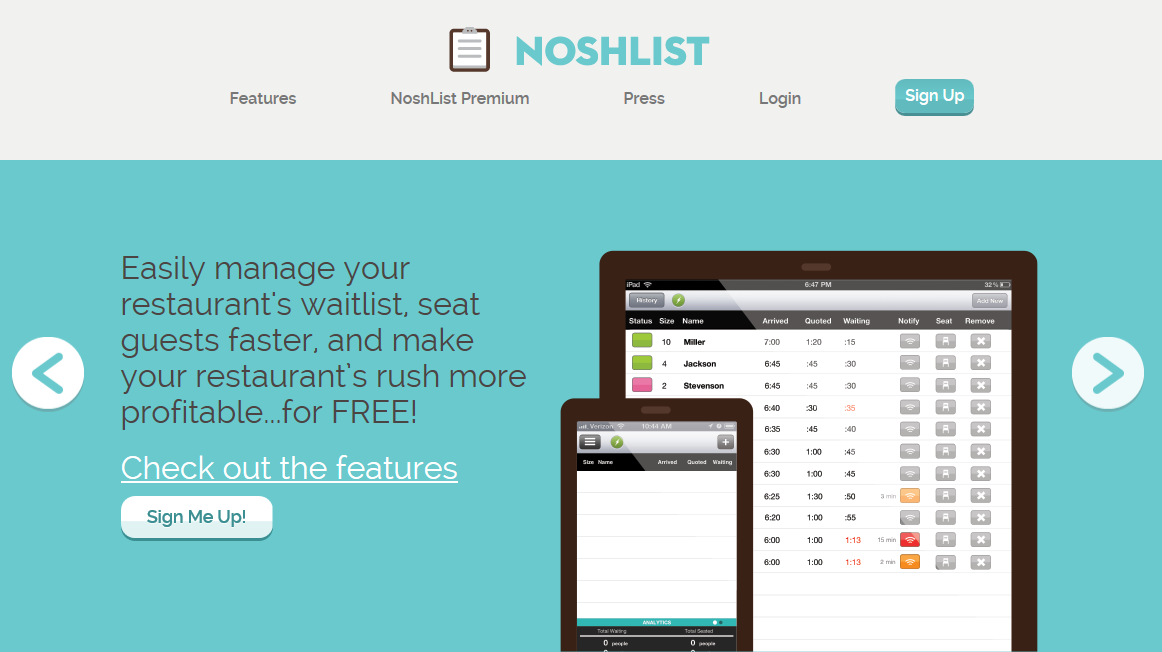
We have been working on a number of new features for NoshList, and one thing we have just released is a whole new look for the WaitList website. It is cleaner, faster and more mobile-friendly, so the pages will adjust to your tablet or phone as well as a computer browser.
Hope you like it!
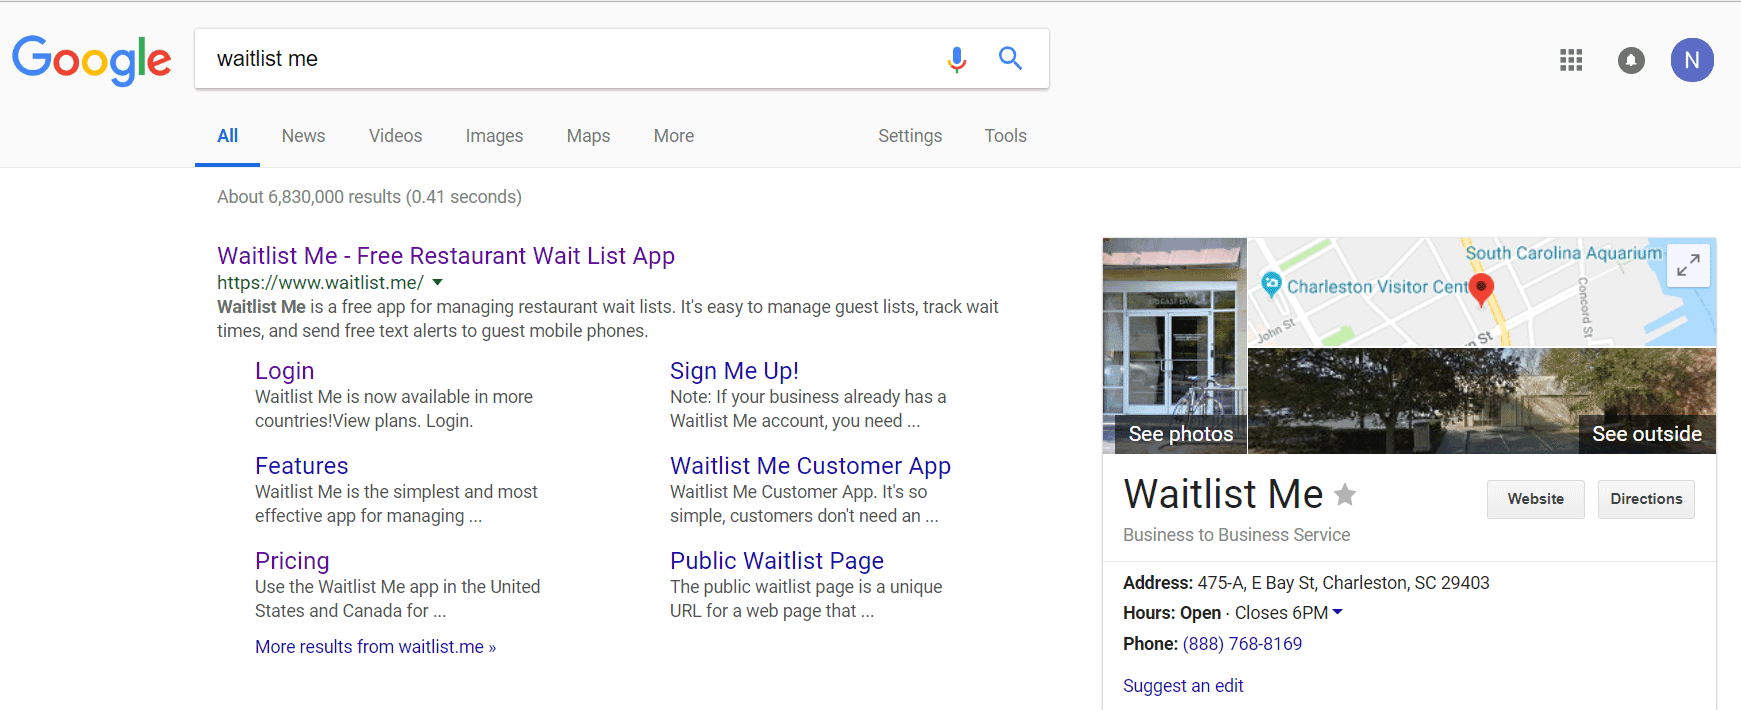
Ever wondered how to change the information on your Google Knowledge Card? The Knowledge Card is the helpful information that can appear off to the right in a Google search. You may not realize that you can customize the information and images in this area of the search results, and can even add a link to your Waitlist Me widget, so customers can easily add themselves to the waitlist or send reservation requests.
Here is an example of the Google Knowledge Card in a search result.
If you’ve never claimed your business on Google, take that first step here: https://www.google.com/business/
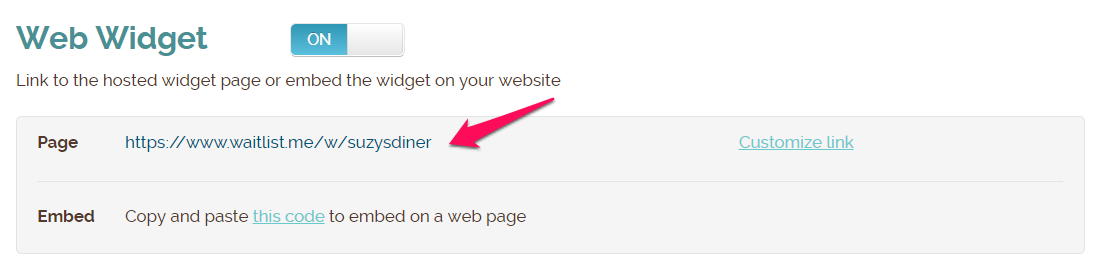
Once you’ve verified your business, adding your reservation link is simple. First, get your Waitlist Me reservation link handy. Login online and then go to Account > Settings > Add Yourself and copy the link for your widget page. It should look something like this:
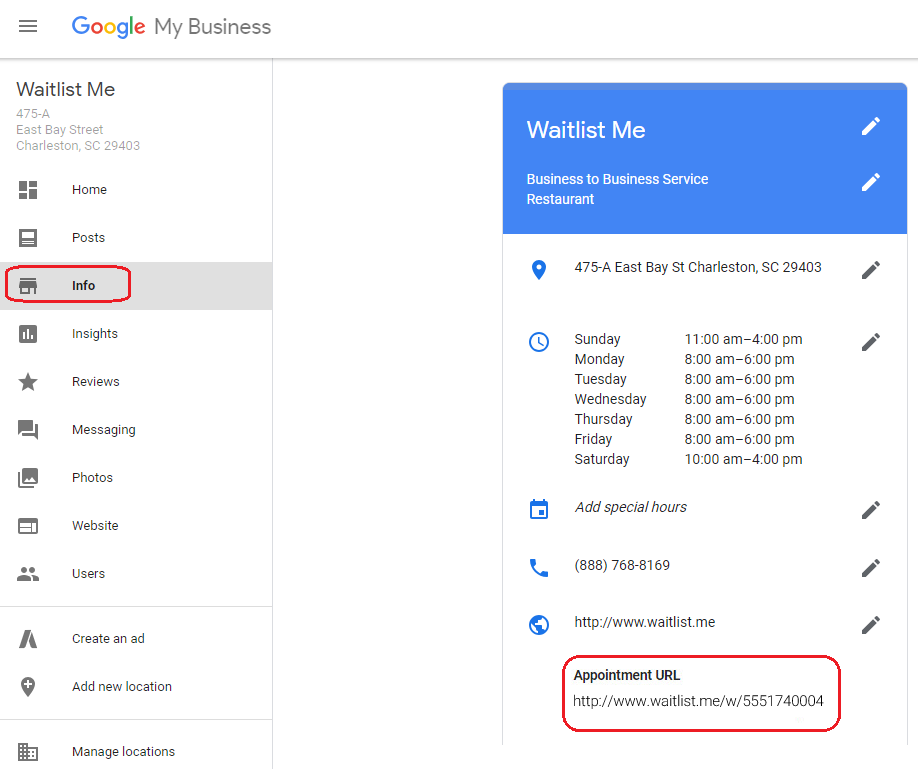
Then, sign into your Google My Business account. From there:
- Choose the location you want to edit.
- Click into the URLs section.
- Add your Waitlist Me link to your reservations page.
- Click Apply.
That’s it! While you’re there, you can always scope out your pictures and make sure the best ones are showing up in your search results. The pics you upload should in JPG or PNG format. Choose a great glamour shot of your business for your Profile Picture, and then use a square picture for the Logo field. Add a few more pics of the inside, outside, and product to round out your profile!
Here is more on how to use the Waitlist Me web widget page to let customers to add themselves to the waitlist or schedule reservations.
Being sick is no fun for anyone. And when you are sick, one of the top things on your mind is how to get better as soon as possible. It isn’t surprising that having to wait to talk to a physician can be a frustrating experience, but ProHealth Care Medical Associates found that using Waitlist to give patients a better sense of their wait made patients and physicians happier.
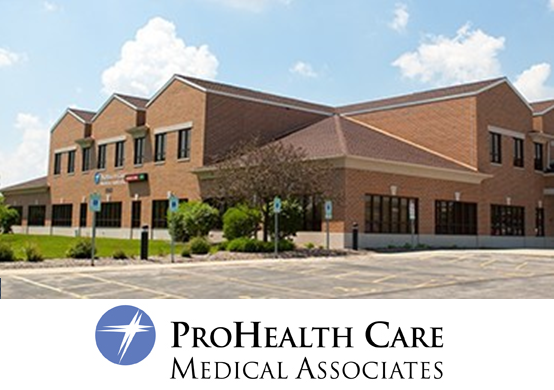
ProHealth Care Medical Associates is an award-winning regional specialty and primary care system with services throughout Southeastern Wisconsin. As part of the ProHealth Care program, the system has an integrated network of closely aligned independent physicians. Services encompass nearly all aspects of health care and includes hospitals, medical clinics, home care and hospice, integrative medicine, well-being and fitness centers, and more.
The centers have eight urgent care facilities within a 25-mile radius and see patients on a walk-in basis, which means wait times to see doctors can take anywhere from 60 to 90 minutes.
“One of the things we were hearing from our patients is that they weren’t happy with our wait times,” said Kelly Tolson, Director of Operations at ProHealth Care. “During cold and flu season, it can be anywhere from a 90 minute to two hour wait. Two hours is unacceptable.”
Tolson and ProHealth site leader, Maureen Sensiba, were looking for a way to make wait times easier to manage for patients, when they were approached by a patient who had seen the NoshList wait list app in use at a local restaurant.
“One of our patients had been added to a waitlist and notified when their table was ready at a Red Robin restaurant, and she said it was an awesome feature,” Sensiba said. “She raved about it. So afterward, I did some research on my own and contacted NoshList to see how we could make it work for our situation.”
The customer was specifically pleased with how the wait list app gave her the ability to shop while she waited for her table at Red Robin. That also caught the attention of Tolson and Sensiba, since it would be nice for patients to not have to be constrained to the waiting area.
Before getting started, the app had to be shown to the company’s patient experience officer and corporate compliance officer attorney to ensure the app wasn’t in violation of any patient privacy issues. Because the app only shows patient initials, it does not violate HIPPA rules or any other privacy rule, and Tolson was given the ability to then launch the app at the Medical Associates Brookfield, Wisc. location.
“Brookfield was a great place to start because it’s a small community. People could go home, have lunch or run errands while they waited to be seen by a doctor and get back in a short amount of time,” Tolson said. “It has worked so well that we have expanded it to another location and have plans to roll it out to the remaining six within the next six months.”
How it works
When ProHealth first started using NoshList, it was more popularly used as an iPad app, so they had to be a little creative in getting to fit their needs for an urgent care waitlist from a computer. Tolson and Sensiba realized that they could customize the public waitlist web page and the Add Yourself feature that restaurants normally use to allow diners to add themselves to a list, and they adapted this functionality for their staff to enter the information.
The patient names are put into a computer once they arrive at the center, and they can check their place in line from a phone or computer. When other patients look at the waitlist to determine where they are in line, only the patients’ initials are visible. Then when it is a patient’s turn, the ProHealth staff uses the regular waitlist view to trigger the text and call notifications and remove people from the list.
Since that time, NoshList has added the ability to do everything in one place in the browser, and early adopters like ProHealth Care that started using the system in new ways and sending feedback helped drive these product improvements.
“It was very smart how Tolson and Sensiba figured out how to use the NoshList public waitlist page, which was designed for other purposes, to serve as a simple entry form that could be used by multiple people on computers,” said NoshList CEO, Craig Walker. “We were all very impressed at NoshList, and have been building more and more improvements into our service to make it better for cases like these and for solving the wait problem everywhere.“
While the facility operators have yet to determine how the app has impacted wait times, customers appear to be happy with the solution.
“I don’t know if their wait times have decreased, but patients are more satisfied because we are being more respectful of their time,” Sensiba said. “We know they have other things they could be doing and we’re giving them an opportunity to do those things if there is a long wait.”
The physicians also are happier.
“We expected the patients would appreciate the new waitlist options, but we didn’t anticipate that the physicians would also be happier, because the patients are happier when they get into the room,” Tolson said. “That has been a very nice surprise.”
Waitlist Me Pro keeps the balance between your congenial, community atmosphere and top-notch customer service, by keeping things running smoothly and improving the waiting experience. It is also designed to be intuitive and quick to use no matter how tech-savvy (or not) you and your clientele are.
Here are 4 customer-approved ways Waitlist Me Pro can help your barbershop:
Keep track of who’s busy (and who’s not)
What’s better than flipping through a paper calendar with scribbled-down availability? Honestly: just about anything. Waitlist Me Pro makes it easy to keep track of appointments for each barber at the same time as you manage your highly variable walk-in traffic.
The app allows you to see your upcoming appointments and the walk-in customers waiting for each barber as well as the customers they are currently serving and how long they have been with them. Waitlist Me’s intuitive visual layout shows the barbers who aren’t “in” as grayed out, while those who are busy are highlighted in red and show a time counter of how long they have been busy. You can also see who the next person waiting for each barber is and what time they were told they would be served.
Run a more efficient business
Having a good time at work is a bonus. Enjoying your colleagues and your clientele? That’s the cherry on top of the sundae. But you are running a business—and that’s a reality you never forget.
Waitlist Me Pro keeps track of your resources, helping you focus a little more on the work you love and a little less on management. The app helps you keep track of many things: the amount of time your barbers spend on each client, how long customers wait before they hit the chair, who works the most and who works the least. You can run reports whenever you want and use the knowledge they impart to make decisions about staffing, expansion, business hours—anything and everything.
Customize your online waitlist and appointments tools
You know your business better than anyone. That’s why we built Waitlist Me Pro to give you as much freedom as possible over how you set up your waitlist and your appointments.
The pro-level app allows you to set your business hours as well as blackout days for appointments. Clients leave notes for you on their preferences or any accommodations they require. Have a regular client bringing a child in for his first cut? Prefer a certain style that might add on more time? All of that can be added as a note, allowing you to provide top-notch customer service, every single time.
Promote your loyalty program or current special offerings
Waitlist Me Pro offers the highest level of personalization. Whether you want to bring your brand colors and logo to the “add me” website widget or to a public waitlist you display online or in-store, Waitlist Me Pro lets you add custom HTML, change colors, and customize the wording.
If you offer a loyalty program, discounted products, or a new service, the public waitlist is a great way to let your clientele know. You can change the HTML to include graphics, videos, or plain text that keep your customers up-to-date on everything that’s going on in your shop.