You’re a small business owner. You shouldn’t have to be a tech whiz. Forget all the training hassles. Forget the painful user manuals. There’s no reason for you to waste your time and money on waitlist management software that’s anything less than plug and play.
Here are seven easy ways to figure out if the tool you’re eyeing is more trouble than it’s worth.
You can’t buy it without talking to a sales person.
If a product is straightforward and user-friendly, it sells itself. You should be able to watch a quick video, then just jump in and start using the product. When a demo from a slick sales rep is required, it’s not the simple solution you’re looking for. Remember: You want to buy the product, not the pitch.
The pricing comes with more fine print than a cell phone contract.
Start-up fees, 24/7 support fees, usage surcharges, complicated pricing tiers, contracts that lock you in for a certain amount of time—these are sales tactics companies use to hook you with a low upfront price and milk you down the line. Your bill should be simple to understand. It should be predictable and not change from month to month. And most importantly, there shouldn’t be any surprises.
Or, even worse, there is no pricing.
One reason a tech company would make you inquire to discover the price of its software is that it knows a salesperson is more likely to get your credit card number than the product itself. Another reason is to figure out how much money you can afford or are willing to pay so they can extract more money from you. Throwing out a high list price (that isn’t actually listed anywhere public for fear of scaring people away), and playing the discount game to make you feel like you are getting a bargain is a common sales tactic with complicated software.
There’s a training program, and you probably have to pay for it.
You don’t train someone to use a simple product, you just use it. Look at great technology companies like Google, Amazon, and Uber as a few of many examples where simpler solutions are less expensive… The more complex and detailed software is, the more time you need to spend learning it, training your employees on it, and retraining your employees on it when there’s an update. Plus, there’s an increased likelihood of mistakes and complaints. You should get help when you need it, not need to get help just to be able to use a service because it is complicated.
Installation requires you to do 37 other things
A good solution doesn’t require multiple trips to electronic stores. A simple solution doesn’t keep telling you to download more programs to make it work correctly. A good, simple solution is the one that fixes your problem now, without a tacked-on to-do list.
Your customers need to download it, too, in order for you to use it.
Software shouldn’t just be easy foryou to use; it should also be a no-brainer for your clientele. When you add another barrier to use, whether it’s downloading an app or creating a unique login, you’re making customer service harder on yourself. Everyone has a phone that receives text messages and calls. They shouldn’t need to install an app. And most won’t go through the extra effort so you are limiting the number of people than can receive better service with a simpler solution.
Figuring out which button does what feels like decoding your car’s dashboard icons.
When business is busy, you can’t afford to waste time fumbling with your software’s interface to access a certain feature. The line stretches out the door, the customers’ toes start to tap, and the person you’re trying to serve thinks you look like a doofus. And that is not how you want your next Yelp review to read. You should be able to know what every single button does instantly, not after countless seconds of deliberation. And you shouldn’t have to navigate through all sorts of options and secondary information when greeting a customer. Eyes on the customer, not the iPad.
Listen: We get it ‘cause we’ve been there.
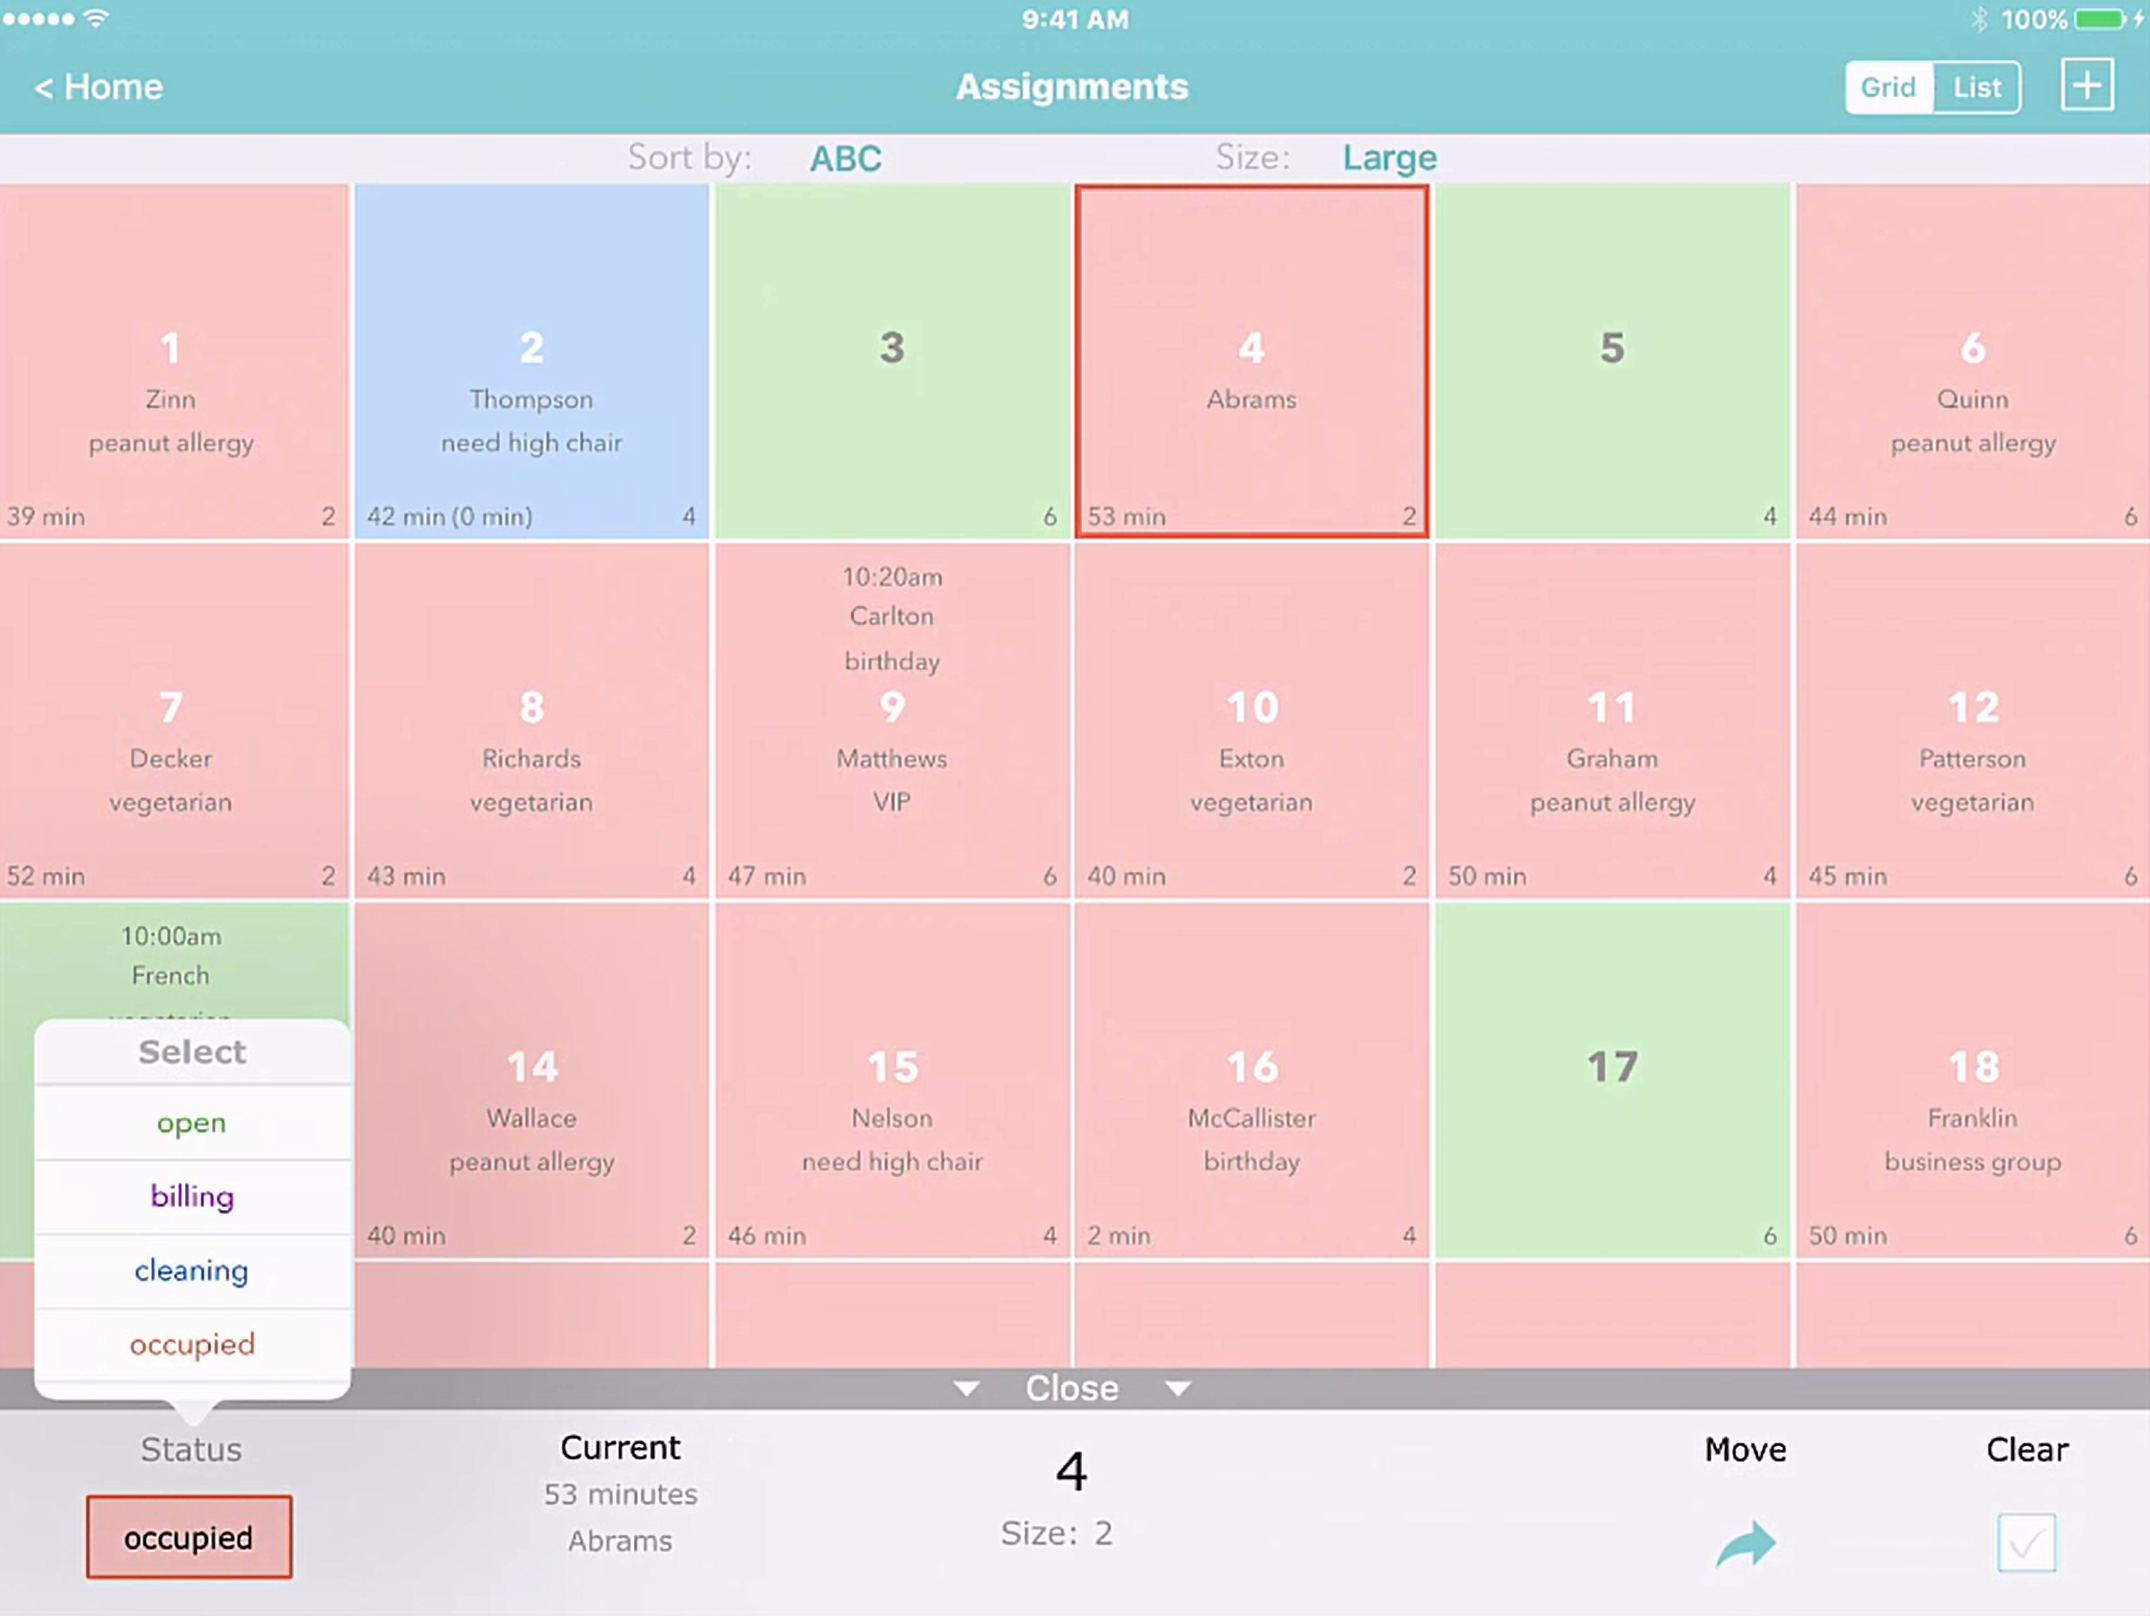
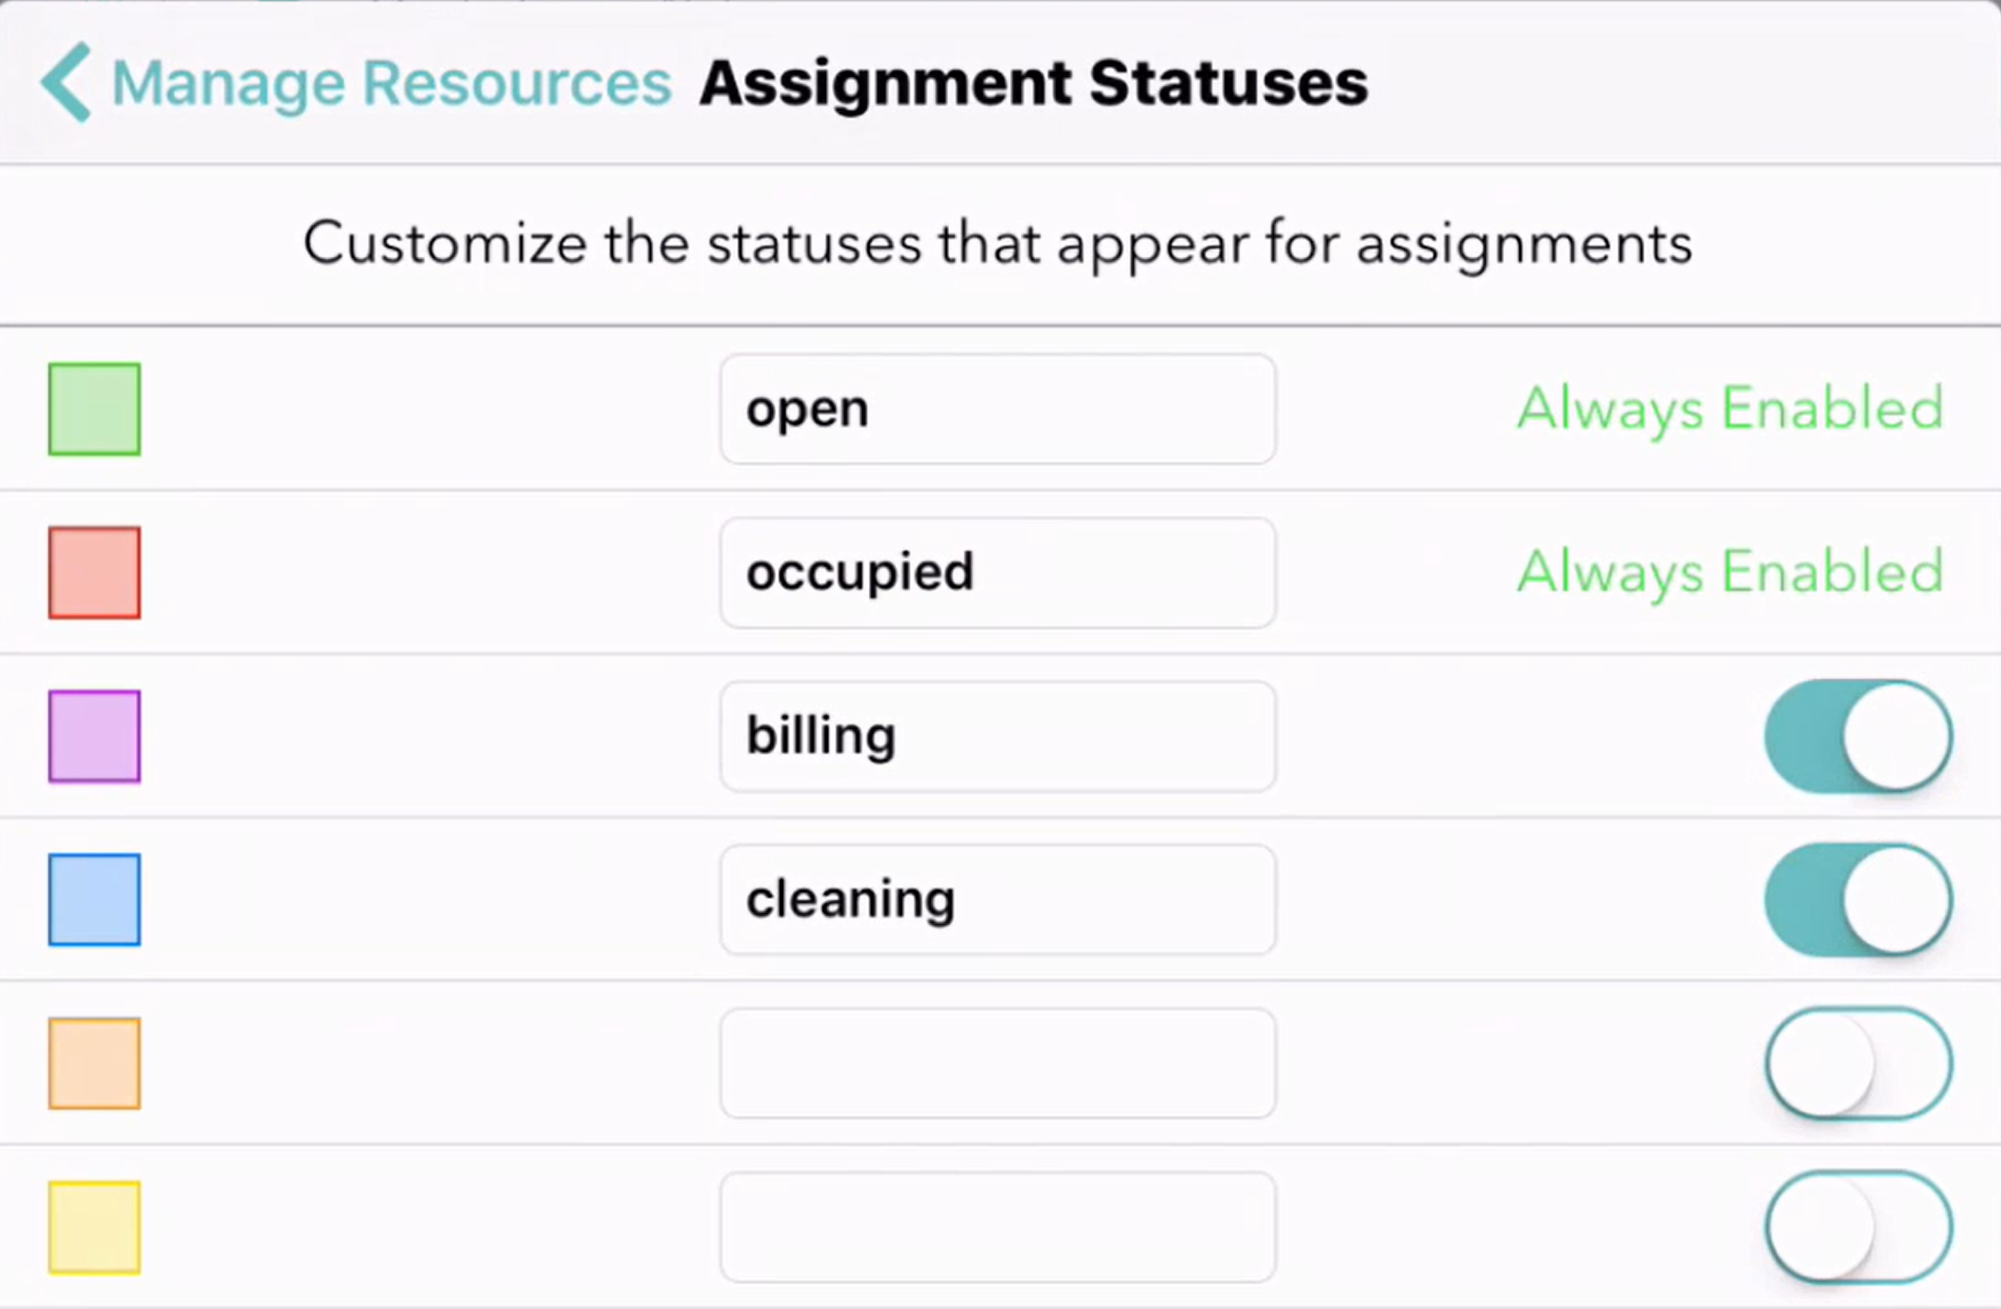
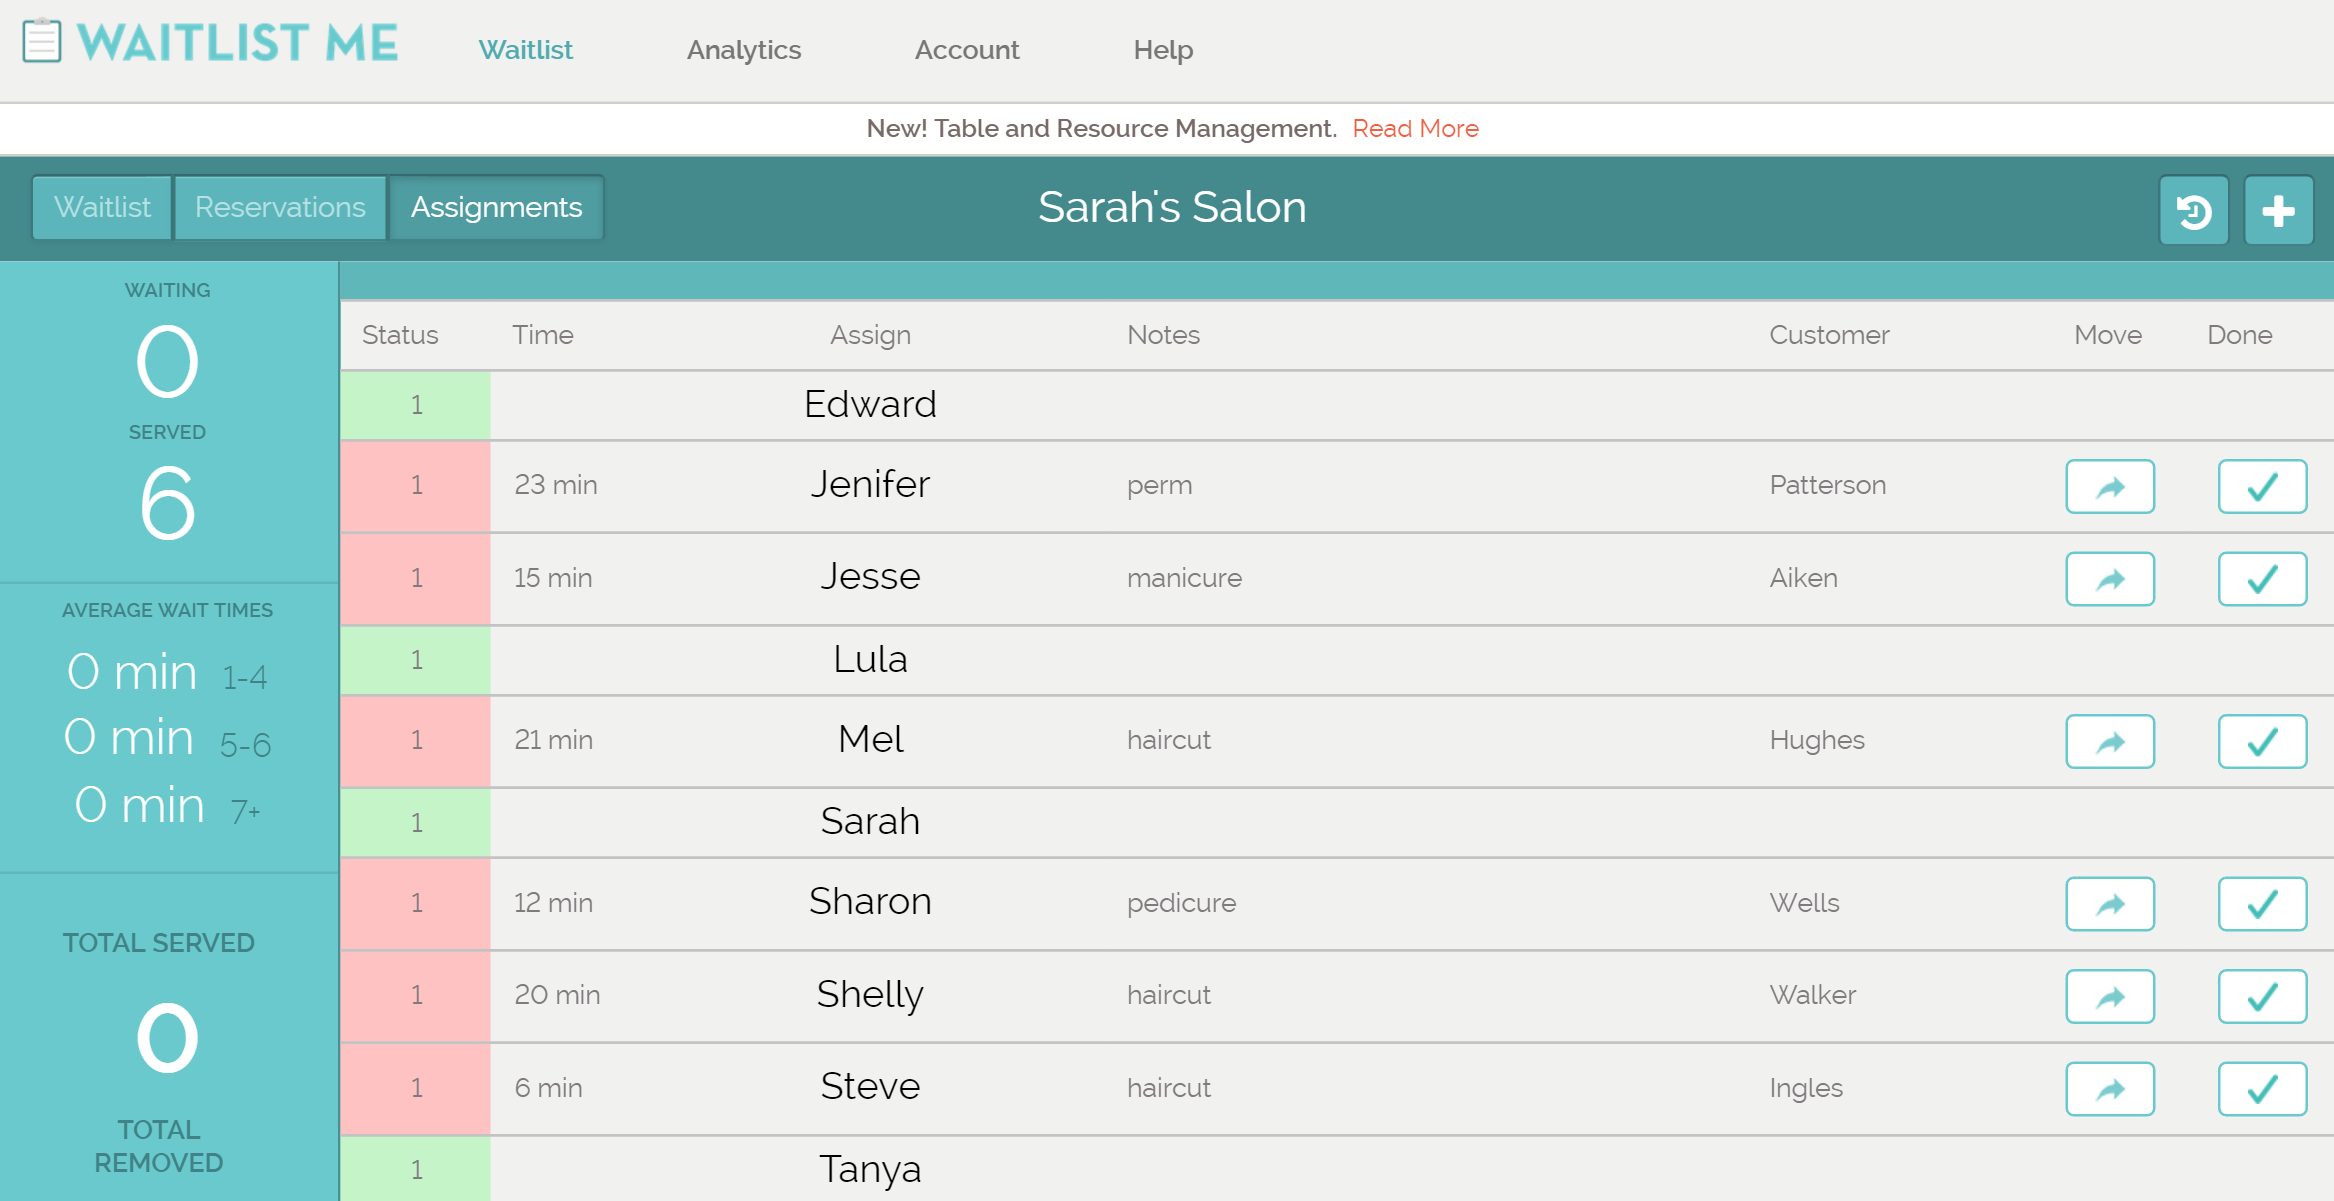
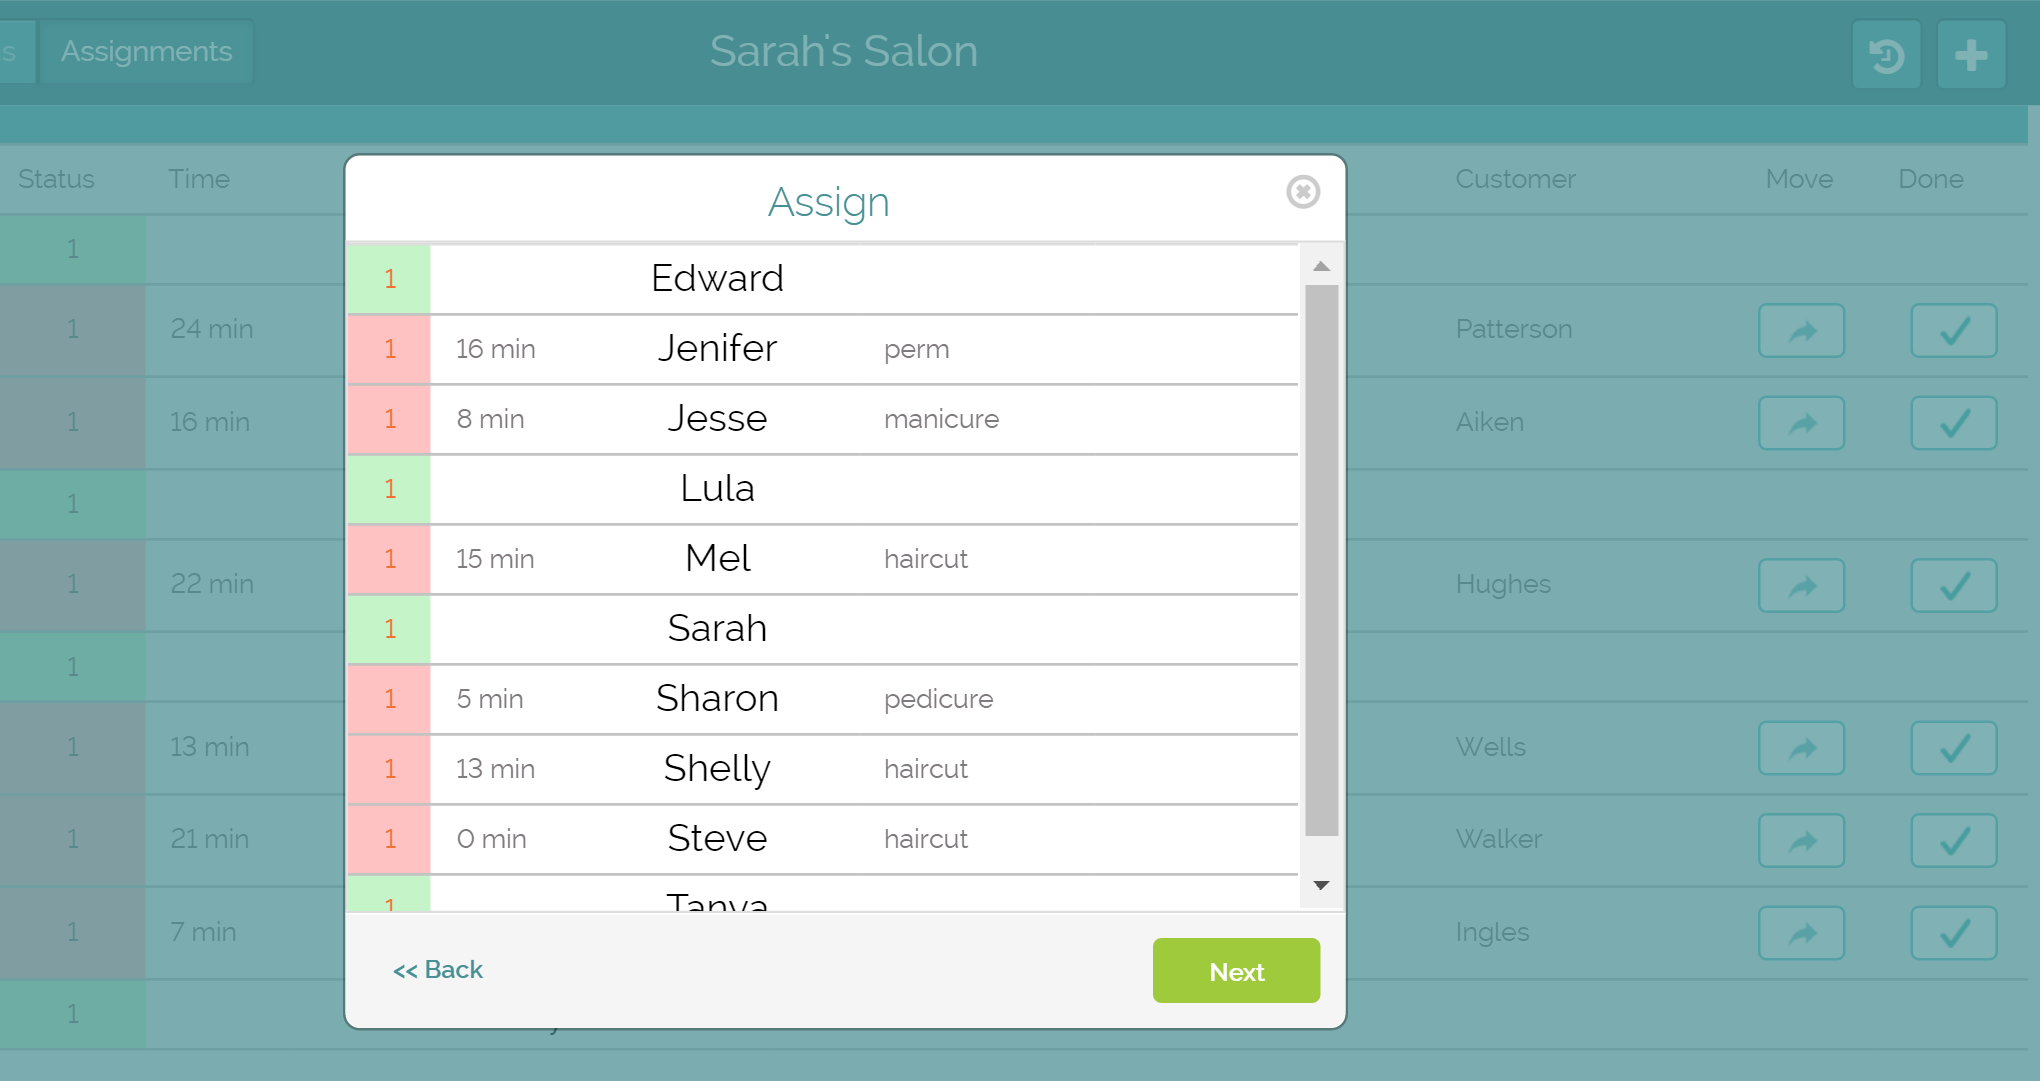
That’s why we took simple and traditional tools —paper waitlists, reservation books, and grease-board floor plans—and transformed them into one intuitive app that you can download now and use now. Find it in the App Store and Google Play Store, or sign up at www.waitlist.me.