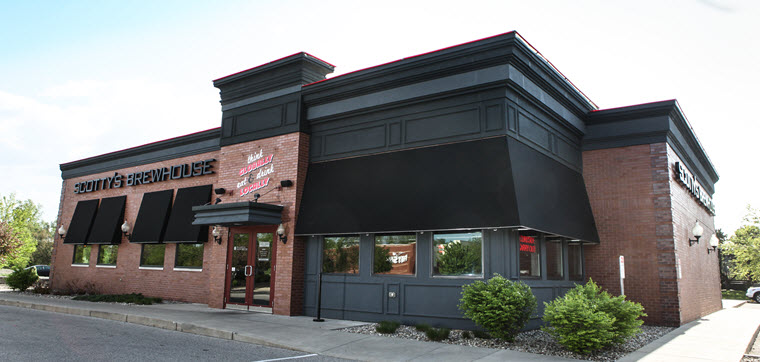
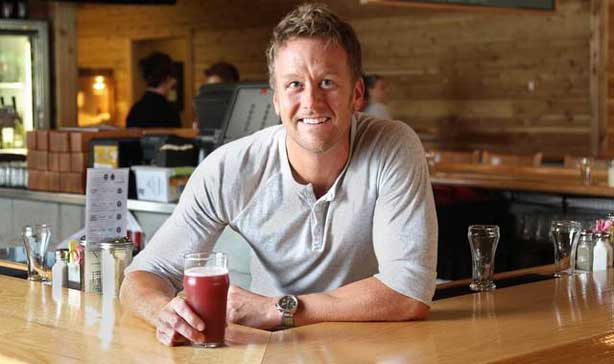
When Scott Wise launched Scotty’s Brewhouse in 1996, he was 22 years old with little restaurant operating experience. He had graduated with a degree in marketing and public relations from Ball State University and had just returned home to Muncie, IN, after a stint as a copywriter in Houston.
“I had always waited tables and bartended, and after college, hated my 9-to-5 job. I came back to my hometown and was drawing up the idea of what I wanted to do when I heard there was a bar for sale,” Wise said. “The owners asked me to put a business plan together. Then, months later, I went to the owner and bought the business.”
That business was Mugly’s Pub & Eatery, a local Ball State University student hang out with a pool table, three beers on tap and a burger on the menu.
For the next three years, Wise worked on the restaurant’s revitalization, changing the name to Scotty’s Brewhouse and eventually hiring enough staff to handle the growing clientele. That’s when he decided to open a second location. He was only 25, and already was building a restaurant chain.
Well, maybe not.
“I got the food service bug and just loved what I was doing,” he said. “But at 25 I thought it was easy and the second restaurant failed miserably.”
Undeterred, Wise decided to take the equipment from his second endeavor and open another Scotty’s Brewhouse location in Bloomington, IL. The year was 2011. The restaurant was a hit. A franchise was born.
Today, Wise and his executive team operate eight locations throughout Indiana. Their biggest store, in downtown Indianapolis, holds 450 guests.
The technology solution
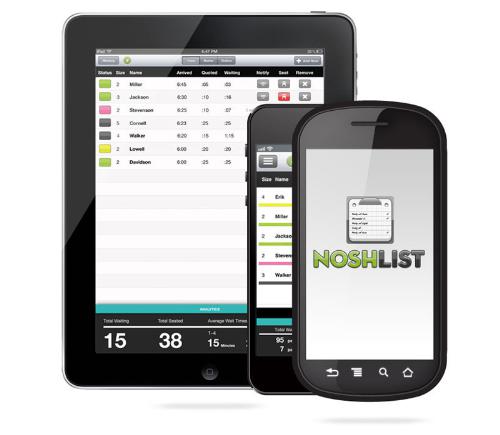
With locations throughout the state and a continuous rise in customer visits, Wise was looking for a way to increase operational efficiencies while reducing costs. This led Wise and his team to NoshList, a waitlist app designed to simplify restaurant operations and improve the guest experience. The app runs on iPad and Android tablet and mobile devices and replaces old-fashioned paper lists and expensive buzzer waitlist tools.
“For the majority of restaurant operators who use our waitlist app, the switch was made because of the ease of our technology and its ability to cut down costs while improving the guest experience,” said Craig Walker, founder of NoshList. “Our tool gives restaurant operators the ability to seat guests faster, which increases table turns and improves restaurant profitability.”
NoshList, available as a free or paid Premium service, works by sending guests text messages to their mobile devices alerting them that their tables are ready. If a guest doesn’t have a mobile phone, they can still be added to the waitlist and the host can locate them once their table is ready.
More importantly, however, is that NoshList’s Premium users can utilize the app’s ability to collect analytics based on diner history. Additionally, Premium users have access to a two-way communication system for dine-in guests, so customers can let a restaurant’s host know if there are changes to the party.
“The ability to gain consumer insights based on visitor history is a huge step forward for users of our NoshList app,” Walker said. “And the ability for two-way communication further enhances our restaurant support.”
Wise had long been considered an early adopter of restaurant technology, a reputation that placed him on the industry speaking circuit for many years.
Scotty’s Brewhouse first started using tablets at the table in 2010. The move was a premature one in regard to customer acceptance. While the tablets didn’t work for his customer base he continued to look for new and emerging technologies that would push the brand forward.
“With the use of technology, you don’t do something that you think is cool or looks good. It has to save an operator time and money,” Wise said. “The reason why I got into tablet waitlist technology was because I was frustrated with how many pagers got stolen, or broken or lost.”
After the failed tablet experiment, Wise decided to use NoshList as a way to increase sales and reduce operational costs even though he wasn’t sure customers would give out their cell phone numbers.
“In the beginning I was nervous,” he said. “I don’t believe in text marketing and I wasn’t sure if people would give us their cell phone numbers. We had a little pushback from customers, but it wasn’t enough to stop using the technology because we were saving money on broken pagers and streamlining our seating capacity,” Wise said.
To date, WaitList has seated more than 34 million diners through its free and Premium versions and in May launched an updated version specifically for iOS 7.
“The app continues to ramp up and is proving to be a great technology. With some of the bigger software companies, they are so slow in incorporating new technology that by the time they do it the next wave is out,” Wise said. “For my staff, the reaction was initially ‘how do I do this?’ But once they got it, they loved it. This is one technology that I didn’t have to push at all and was not too difficult to put in place.”
Additionally, Wise and his team were concerned that customers would walk away once their names went on the waitlist because there was no buzzer that would tether them to the restaurant.
“We worked with NoshList on a number system that let staff know if customers had gone somewhere else,” Wise said. “And if people are wondering about their wait, they can now look at their phone and see how much time they have left. This lets the hostess focus on other things and it doesn’t make guests feel like someone forgot about them.”
Over the past six months, Scotty’s Brewhouse guests have embraced the NoshList technology. And because it’s an app-based system, the waitlist keeps running even if internet connectivity is lost.
“The best thing is we don’t have pagers anymore. That cost was huge for us,” Wise said.