The week coronavirus hit the United States, grocery stores around the nation announced a similar plan: They were going to stagger shopping times to minimize the spread of COVID-19 to the sectors of the population thought to be most vulnerable, the elderly and the immune-compromised.
Most stores’ plans restricted an hour or two of morning grocery shopping time to these customers—and in doing so, introduced a new phrase to the lexicon: staggered waiting.
Wait. Isn’t all waiting staggered?
The short answer: nope.
The old-school, American-style queue amounts to a mosh pit of toe-tapping customers. During normal circumstances, that’s not a good thing. It’s frustrating for your guests and it often leads to lost business. During a pandemic, it’s even worse. You don’t want tons of people crowded together, huffing hot air all over each other!
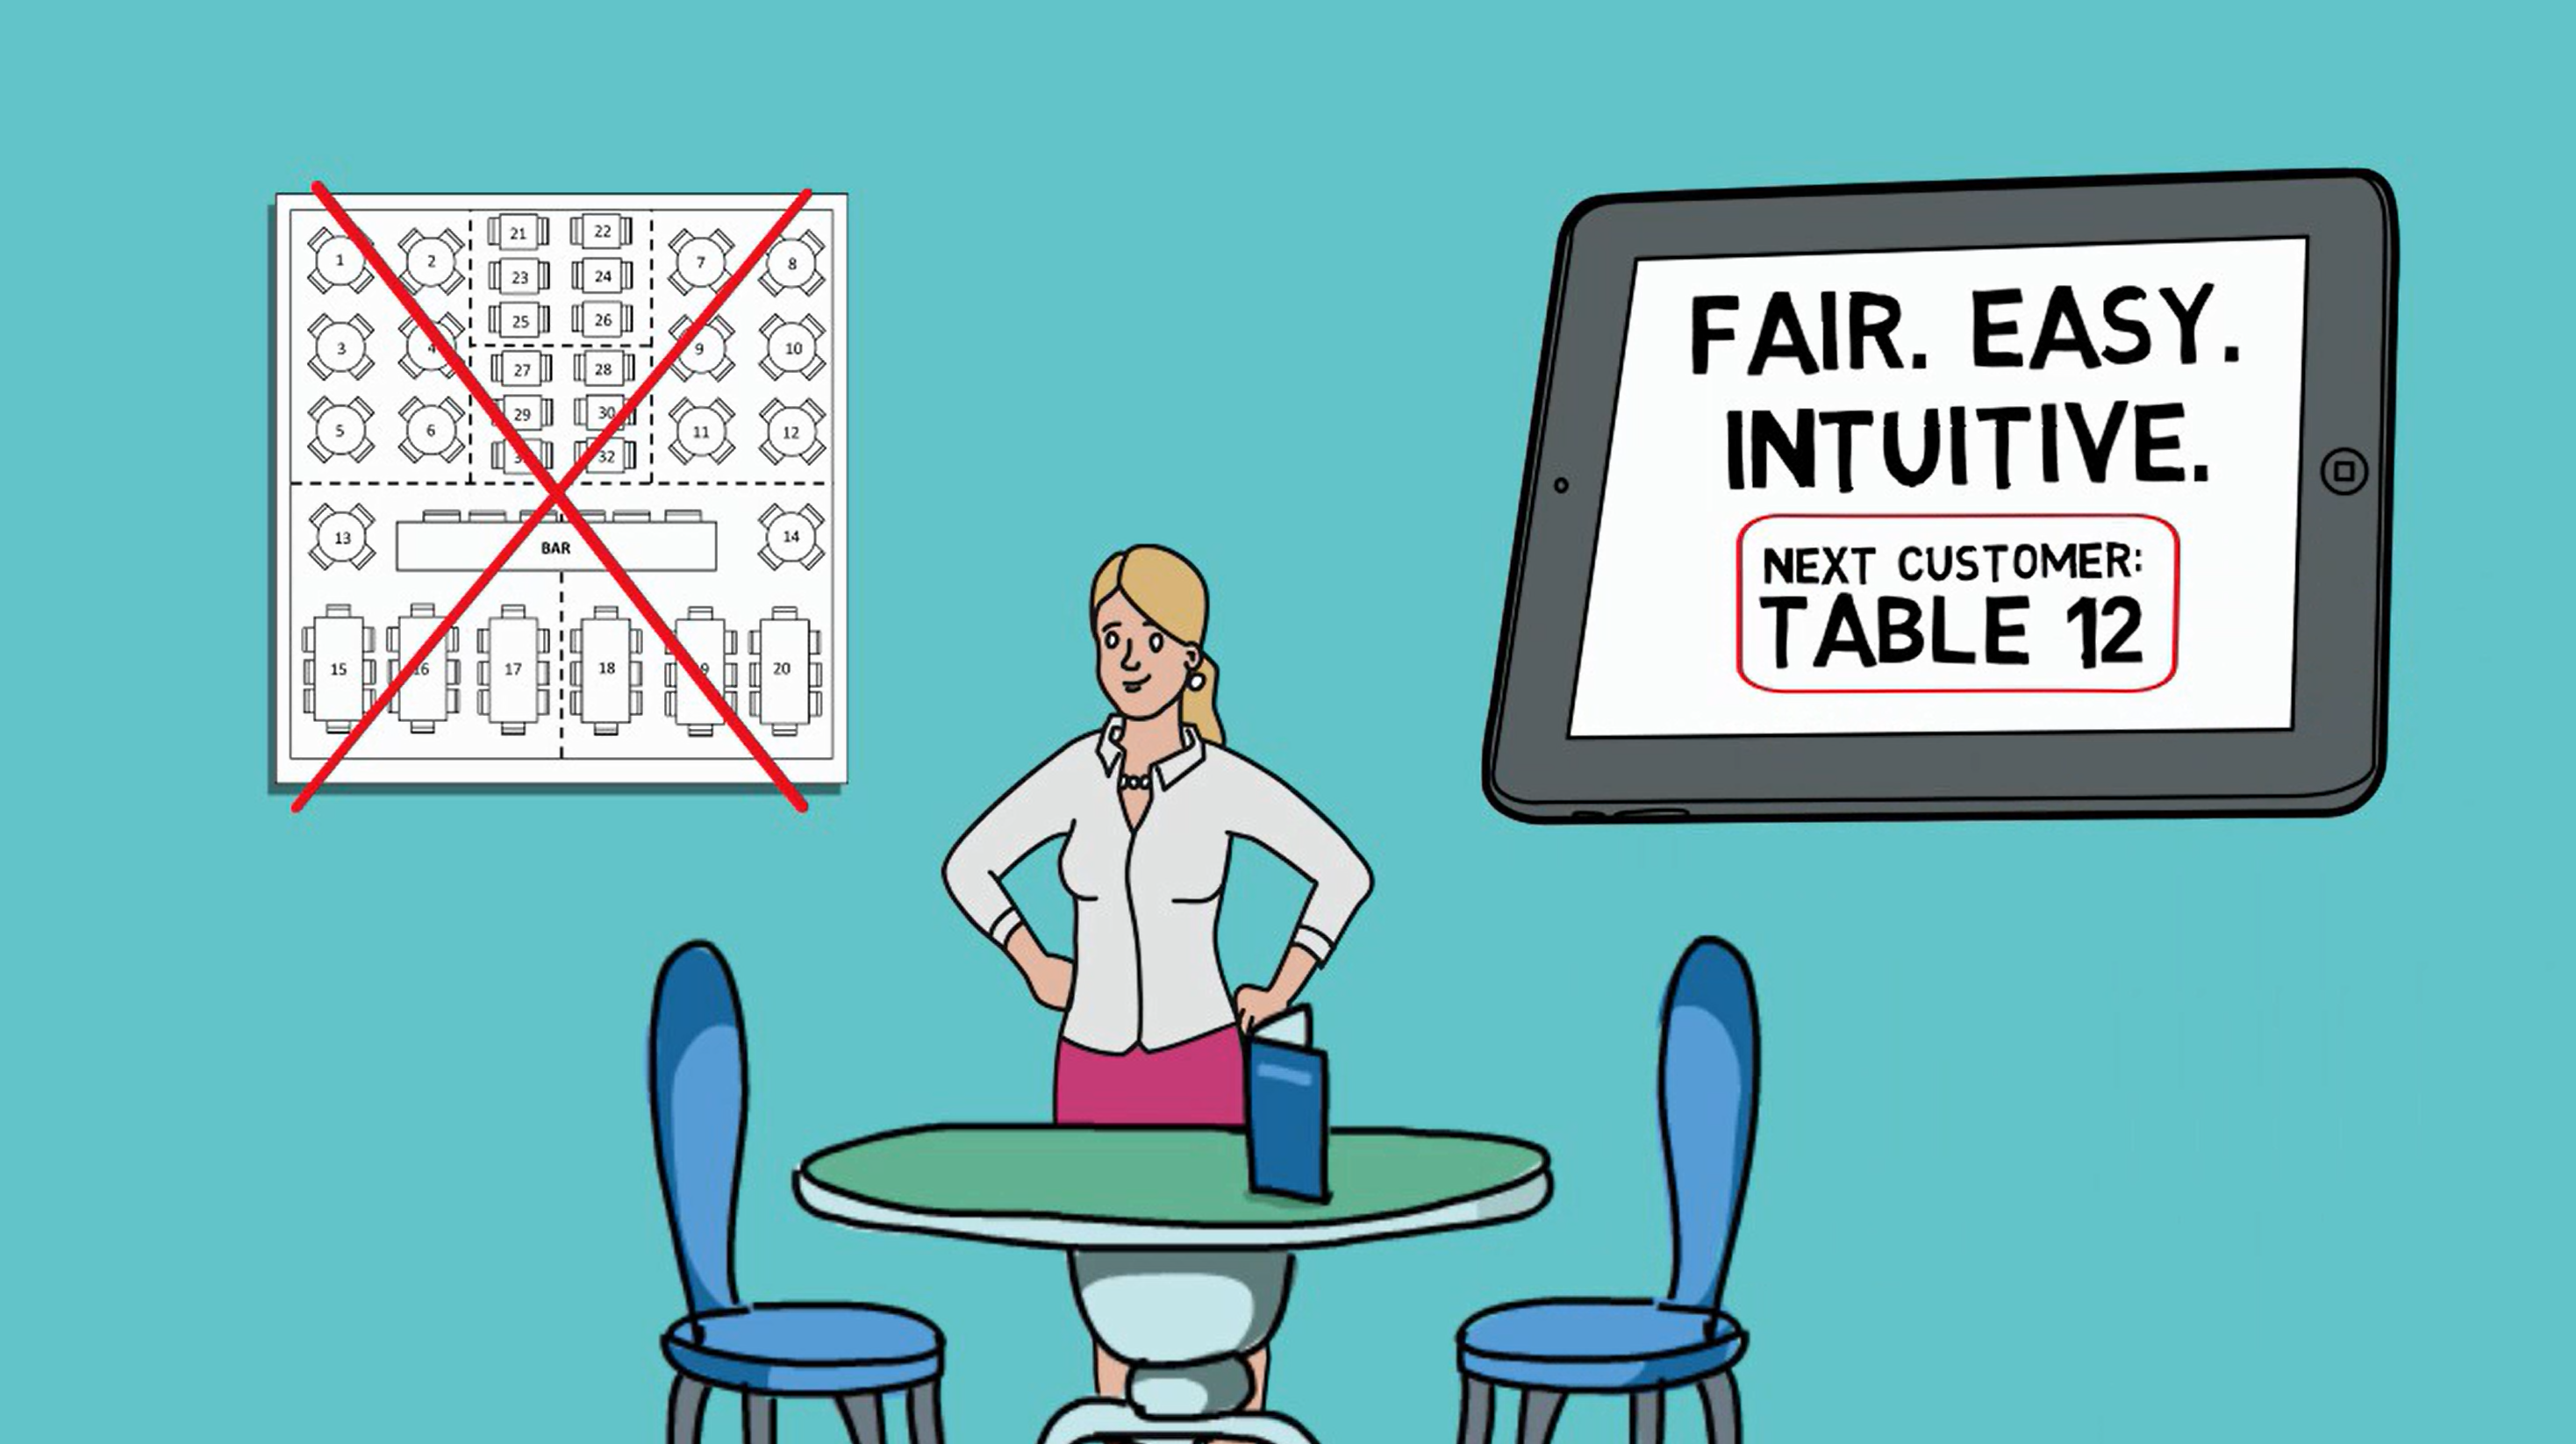
Waitlists and reservation tools, like Waitlist Me, help businesses stagger waiting in a way that’s become quite familiar. For business owners, it helps even out the traffic flow, ensuring excellent customer service and zero employee overwhelm. For customers, it ensures a positive, efficient experience. Win-win!
Grocery stores are using the idea of staggered waiting a bit differently than most of us are used to, but it’s not actually a new idea. In fact, you’ve probably experienced it before.
How billion-dollar businesses use staggered waiting
Disneyland, the pinnacle of efficient queues, uses a staggered waiting system to provide an extra-special experience to its VIP guests, many of whom visit the parks through organizations like Make A Wish. It’s also offered as a premium, upgraded feature for ticketholders.
Another example of staggered waiting happens weekly at many Target stores across the country. The big box retailer has offered sensory-free shopping hours for customers who are sensitive to light, noise, and crowds for years. It’s been a huge success, especially for those on the autism spectrum.
Ways your business can use staggered waiting today
If you’re looking for new ways to control crowds or traffic patterns, staggered waiting is a concept you should explore. Not sure how that might look for your workplace? Creative ideas can come from different places, and you can look around at what others are doing. Here are a few examples of how businesses can stagger demand to improve workflows and better cope with COVID-19.
Quick tip: Use Waitlist Me’s custom text notifications to share new waiting policies or instructions with your clients and customers.
– Veterinary office using morning hours for feline appointments and afternoon hours for canine appointments to keep small waiting areas calm.
– Restaurants offering special deals or menu items at different times of the day to encourage people to dine at off-peak hours.
– Tutoring center facilitating study material pick-up staggered by the first letter of students’ last names.
– Auto mechanic offering reverse delivery appointment windows to pick-up cars (and meet with customers) at home rather than at the shop.
– Local organic farmer providing fresh produce home delivery staggered by their customers’ area.
– Doctor’s office splitting patient appointments by background. Immune-compromised and elderly patients are diagnosed car-side, while other patients come inside the office.
– Family-owned pharmacy providing special hours for curbside delivery and in-store pick-up.