Wednesday, May 23rd, 2018 .

Renting shoes and perfecting the art of bowling-without-bumpers is a favorite memory of Waitlist Me’s app developers, and we’re thrilled that our favorite outing of old is back in favor with everyone from teens to millennials to families with kids.

Seeing a surge in your clown shoe-clad customers? Waitlist Me is a waitlist and reservation app that can help you smoothly manage the increase in traffic—and turn new customers into loyal fans.

Here are 3 ways our app can help any bowling alley gain new business (and improve customer service) today.

Prevent walk-outs when there’s a wait

A line at the door can make any strike-happy group turn tail and hit up a pizza parlor or movie theater, instead. Waitlist Me helps you keep customers regardless of your wait time. How? By making that line disappear.

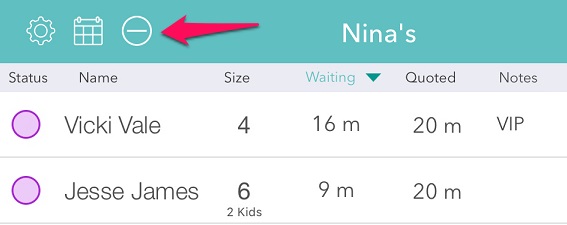
Thanks to unlimited text notifications for users in the U.S. (and pay-as-you-go texting for Waitlist Me’s international plans), you can add groups to your waitlist and then let them roam free until a lane becomes available. They could grab cheese fries and a pitcher of beer at your snack stand, shoot pool and play PAC-MAN in your arcade, or window-shop their way down the street. When they’re first in line, you can send them a heads-up via text.

Perfect for:

– Bowling alleys with limited staffing (or a small waiting area)

– Checking in large groups during peak business hours

– Bowling alleys facing lots of local competing attractions

Give large groups a great time

You brought in snacks and arcade games to serve your bowlers better. But those add-ons don’t have to be after thoughts. Now, with large groups looking for impromptu hang-out spaces, your bowling alley is primed to offer a variety of fun options for everyone, including the non-bowlers in the bunch.

You can use Waitlist Me to give everyone a chance to do whatever it is that floats their boat…without making ‘em stand around in long lines by themselves. How? Waitlist Me is flexible enough to be used for people waiting for lanes, your in-house food area, or even popular games like air hockey.  Text ‘em when it’s their turn, ensuring that they’re never sacrificing quality time with friends and family to hold their place in line.  You can manage lines for different activities with status colors or even set up a separate waitlist for areas that have regular waits.

Perfect for:

– Booking birthday parties, office outings, and other celebrations

– Special events, like trivia nights and karaoke

– Attracting big crowds for bowling league competitions

Make it easy for customers to choose your bowling alley

Who wants a hassle for what should be a fun happy hour outing? Not your guests! That’s why it’s essential to make it a cinch for your customers to decide to shoot the breeze at your business rather than another spot down the block. A parking lot and food specials are a great way to get ‘em coming in your door. Another tool to have in your back pocket: Waitlist Me.

The app is built to handle waitlists and reservations side-by-side, so you can forget about that mess of sticky notes cluttering up your front counter. Customers can call before they come, walk right in, or even add themselves to your waitlist or make a reservation online. And, thanks to the public waitlist feature, they can check your ETA from wherever they are, whether that’s the water cooler, the bar next door, or the parking lot.

Perfect for:

– Catering to the after-work crowd

– Offering pop-up events

– Handling holidays and rainy summer afternoons

Saturday, May 17th, 2014 .

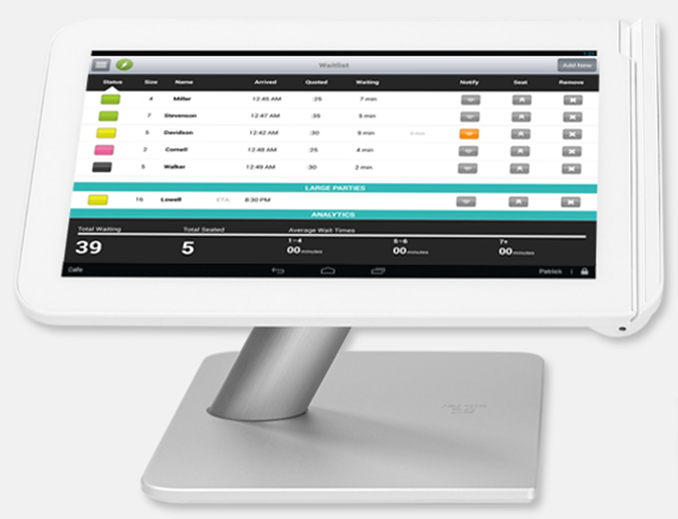
We announced an exciting new integration in January with Clover that puts our NoshList waitlist app directly in front of restaurant operators across the country. NoshList was one of the first apps to appear in Clover’s newly developed app marketplace. This is new and exciting for us because technology such as the Clover POS is leading the way for restaurant operators to efficiently update and integrate their front-of-house and back-of-house operations. Never before have waitlist apps been able to sync up with a restaurant POS, providing sales analytics based on waitlist names and phone numbers. Now, they can.

Clover, owned by First Data, is going after restaurant operators with modest businesses in an effort to treat them like large brands by giving them what they’re asking for: something more from a technology provider without the high price tag to match.

Clover is answering this call is by offering a merchant-driven technology tool based on the Android operating system. It’s smarter, more flexible and secure than what many of these operators have been using, and the fact that NoshList is featured as a tool within this technology makes what Clover is doing that much better.

For Clover users, the toolkit is future proof and includes a printer, cash drawer and credit card terminal. Additionally, it includes preloaded apps such as ours intended to give restaurant operators the ability to control and customize the tools best suited to their needs.

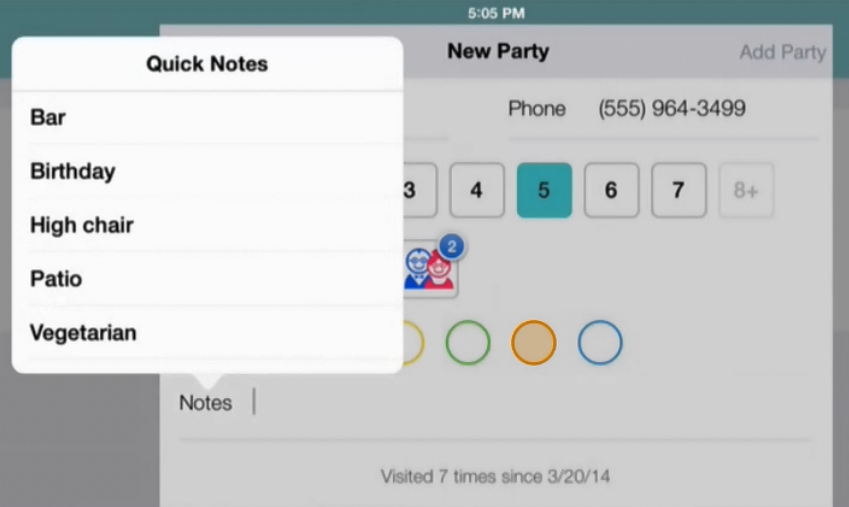
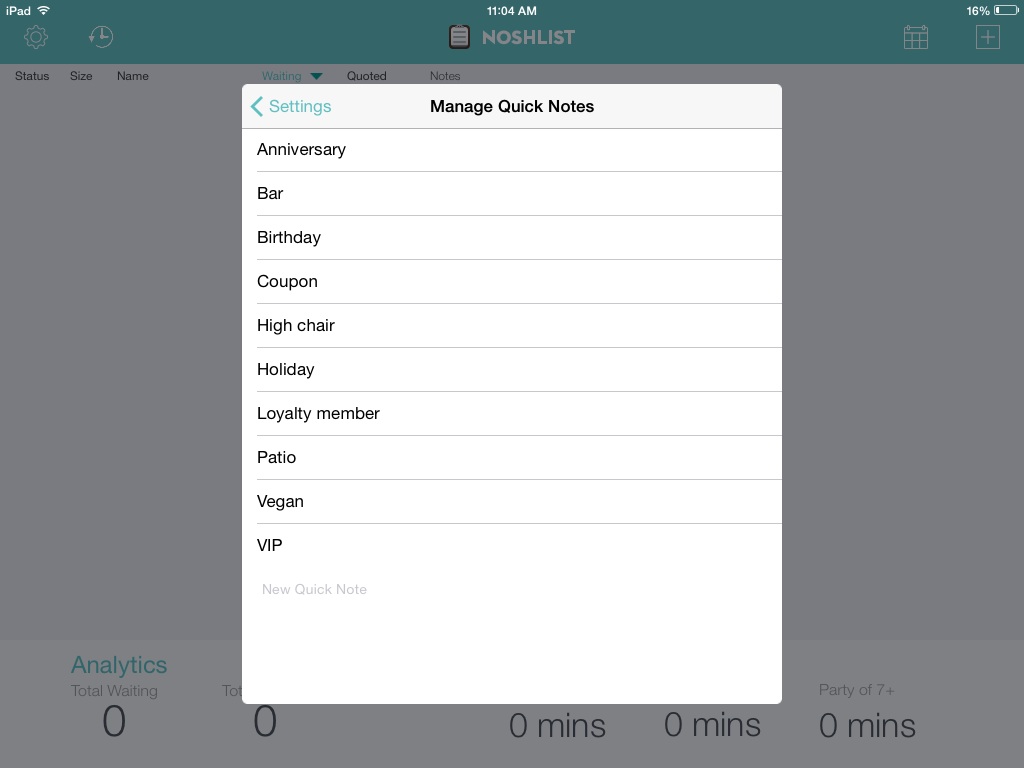
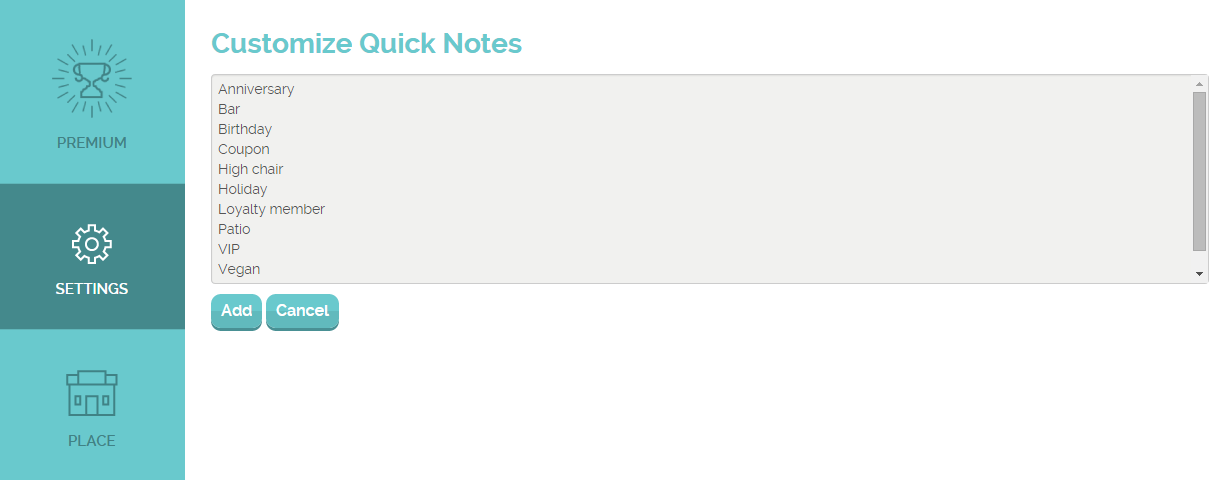
Additionally, we have recently made several new enhancements to our NoshList waitlist app. These updates let restaurant owners and management define pre-set notes, such as dates of birthdays and anniversaries, in the Quick Notes feature. The notes can be viewed in the wait list for easy reference and can be synced across each device used in the restaurant. The new app features a seating history display below the current list and people that add themselves to the list show up at the top with special highlighting to alert the hostess.

In addition to the new app features, the NoshList website now has several powerful analytical reports for paid premium users. The reports include an activity overview that highlights diner trends seated by the day, week or month, a visitor breakdown by age and gender, activity logs for custom analysis and loyalty metrics comprised of guests who visit your place when, how often, and their average length of wait.

The NoshList and Clover technology is based on flexibility and is a valuable tool restaurant operators can leverage to make their operations more efficient. And integration is easy!

When someone installs NoshList from Clover, it immediately pulls their merchant account information and links table orders directly to the table numbers entered into the POS. Restaurant staff can then view the customer’s name, order and visit history, giving them an opportunity to elevate the guest experience through rewards and direct marketing campaigns.

Here is a summary of the latest features that will be on display:

New Free features available to all:

  • Quick Notes – Easily create a list of common notes to use when adding and seating parties.
  • ETA – Choose an estimated arrival time for same-day reservations and larger parties.
  • Seated View – View notes and parties seated in the main waitlist view.


New Premium features:

  • Rich Analytics – Download activity, demographics, party size, and loyalty reports.
  • Table Management – Customize and assign table numbers when adding and seating parties.
  • Customizable Public Waitlist – Add information on daily specials, loyalty programs, coupons, and more to the public waitlist that guests can check from their phones while waiting.


With partners such as Clover, we will continue to push the boundaries of waitlist technology because we believe in doing things differently. We are a team of professionals focused to innovate an antiquated aspect of the industry,one we understand, appreciate and are passionate about.

Thursday, December 3rd, 2020 .

Waitlist Me makes it simple to track table availability and server assignments. There are a couple options that can be customized to your business needs and workflows. 

If you manage your tables by section, the first thing you’d want to do is visit this page to learn more about setting up your sections and layouts. If your business isn’t a restaurant, you can also use these same features to group your staff, rooms, or other resources visually in the Grid view.

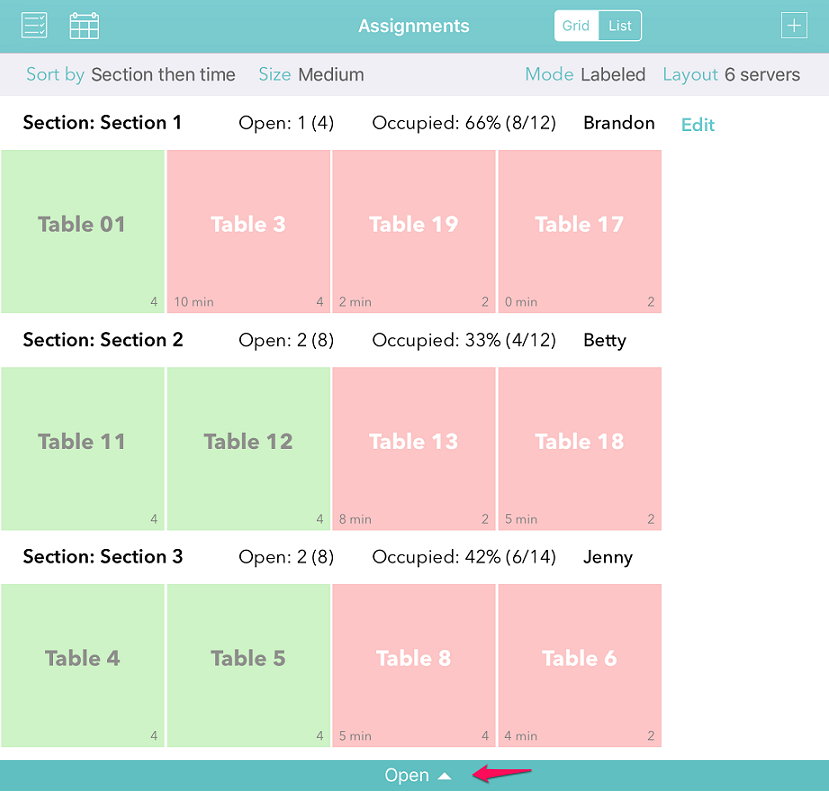
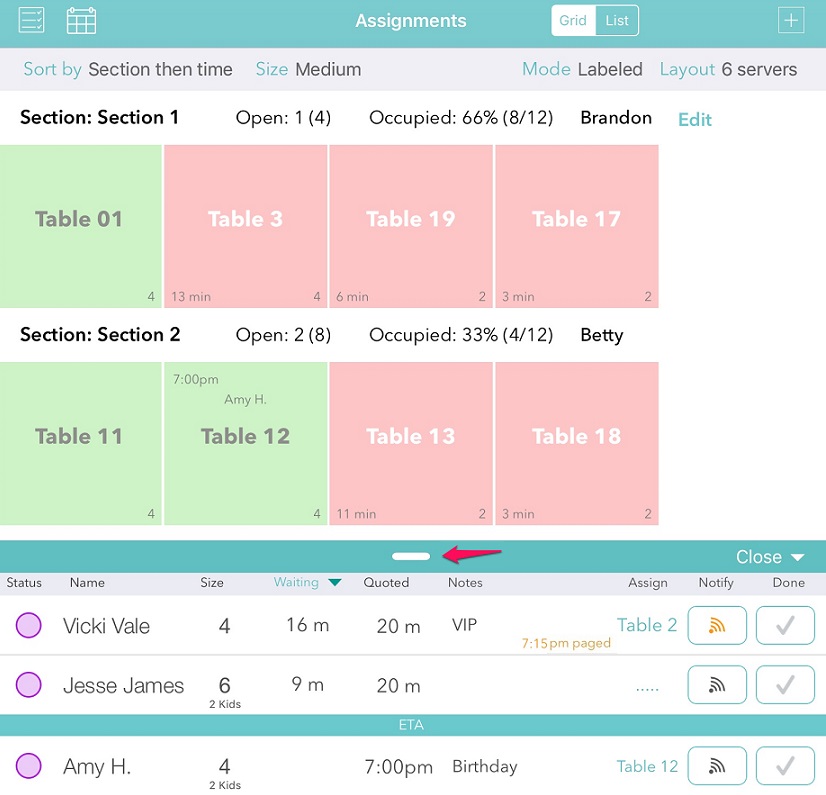
Our Pro level service provides a very simple way to know what server is assigned to what section by using the Assignment Notes feature. Simply tap on the “Notes” link to view a list of sections and text form fields where you can enter server names or other notes for each section. It is easy to see high level information about each section and make changes all at once.

With our Platinum level service, you can also set up an additional floorplan view, and be able to position these same notes where you’d like in the floorplan view.

Also with Platinum you also have the option to assign servers individually to tables and track the activity by server rather than section. This is especially useful if you don’t use sections and use a system of assigning tables based on server turns or server activity. Or if you have servers assigned to sections, but need to have some floaters to help out where needed or other cross section activity, you can combine the section notes with individual server assignments to keep track of everything.

To set up individual servers, tap on the gear icon in the Waitlist Me app to go to the Settings and then go to Manage Assignments > Servers. Here you can enter the names of your servers. Select Status on the upper right of this menu if you want to add colors for the servers. Using different colors can make it easier to see where your different servers are assigned. Or maybe you want all your patio servers coded as green to make it easier to distinguish them from the indoor servers. 

After a table has been seated, select the table to access the footer bar. Here you will see a Server button, which brings up a menu of active servers. Choose a name to assign that server. You can sort by alphabetical order, the number of tables or seats each has had, or the amount of time since the last table was sat for each employee. 

Also, in the upper right of this server window is a Status option. The Server Status area lets you mark the servers who aren’t working today as inactive, and to change status colors if needed. 

If you haven’t yet named your tables, you can do that in the settings under Assignments. For the Pro features, you can find helpful information on navigating the grid view here. For the Platinum features, the video on this page will show you how to place your tables in your floorplan. 

Tuesday, July 25th, 2017 .

It is easy to customize Waitlist Me to your business needs.  You can streamline the process of adding customers to the waitlist by choosing the level of information you need and by removing unnecessary steps.  Just tap on the gear icon in the app to get to the settings, then go to Customization and Adding Customers. The options include:

Assignments: These are used by businesses that assign resources to customers. For example, a stylist in a salon, a table in a restaurant, or an exam room in a medical center. If you don’t assign resources to customers or you don’t want to see the options when adding customers to the waitlist or reservations, you can hide this option.

Group size: This is helpful when the number of people in a party varies, such as in a restaurant. For a business such as a car detailing facility where group size doesn’t matter, this option can be turned off.

Demographics: In some businesses, it’s important to know if the group includes children, or whether the clients are male or female. The simple demographic tracking lets you choose between adults/children/seniors, while the full demographics also gives options for gender. Choosing the Off option will remove this completely.

Image: Full Demographics, Simple Demographics, and No Demographics

Category colors: Category colors can be used as a simple way to identify and sort different groups in the waitlist. A restaurant might choose to use the color green for groups that request outdoor seating, while a spa may assign colors for different services. This option can be turned off and would no longer show up when adding names to the list.

Notes: The notes field lets you record important information, such as the service the client is requesting. The option can be switched off if the notes field will not be used.

Image: The streamlined look of removing the Group Size, Demographics, Category Colors, and Notes.

History: If it’s important to see some stats on past customer visits, leave the History field turned on.

Wait Time Quotes: For those businesses who do not give an estimated time, the wait time could be switched off. For those who do give a time, there are two options. Normal will be 5 minutes, while Last Time will show the last wait time selected.

Image: Choose to have the spinner default to 5 minutes or to the last wait time quoted.


Tuesday, July 23rd, 2019 .

One of the features included in the Pro subscription is a Stats page that gives an overview of the shift or day. Quickly see data for each server: how many groups they’ve had, how many total people were in those groups, their average party size, and the average time it took to turn tables. 

You can choose what time frame you would like to see stats for. Pressing on Time in the header bar will let you select from these options:

– Current day – see all of today’s numbers

– Past hours – choose any increment up to 24 hours (for example, view the past 4 hours on a rolling basis)

– Shifts – enter in blocks of hours to coincide with your shifts (for example, 11:00 am to 4:00 pm and 4:00 pm to 11 pm) 

Press on the Stats icon to go to the new analytics view. This page will display each section name, the server assigned, how many groups/people have been served, and averages for party size and time. Pressing on the headers at the top will sort by any of those categories. If you prefer to see things graphically, using the radio buttons at the bottom of each column will display that data in the chart below.  You can also see all these metrics by table or assignment, by clicking on the Sections label at the top.

The data on the Stats page can help hosts know where to seat the next party, so that each server gets their fair share of the work (and the tips!) 

Before getting the most out of the new stats features, you’ll need to set up your tables and sections. Then you can choose a layout, select how you want to view the tables, and assign servers. Sort by Section and use the Labeled mode in order to add server’s names to sections. Use the Edit link in the header row of the first section to enter server names.