Monday, April 13th, 2015 .

Earlier this month, Clover added two new devices to their Point of Sale solutions, Clover Mini and Clover Mobile. As an early app developer for Clover, we are very excited about this launch because it opens new ways for businesses to use Waitlist Me for their waitlists and reservations.  Clover Mobile is a perfect fit for Waitlist Me because it lets businesses add customers to the waitlist right at the door as well as update statuses and check people off the list from other parts of their store or restaurant.

clover-mobile


Clover Mobile is a wireless device, so merchants can do a variety of activities from anywhere. They can place orders, take payments, scan inventory, manage employee hours, sync sales data with accounting software, and other activities from where it is most convenient. The Clover Mini is designed to be a simple but powerful replacement to the traditional credit card terminal, so it does the core credit card processing and receipt printing needed for payment transactions, plus a lot more.  Both devices have the sleek designs Clover is known for and the flexibility of customizing functionality through their integrated App Market.  Waitlist Me is available and optimized for both of the new devices.

POS terminals have changed over the course of several years, and Clover is at the forefront of creating better and more efficient hardware and solutions for businesses in this category.  Because of the deeper integration Clover allows, Waitlist Me is able to offer more efficient tools for businesses and better experiences for their customers on the Clover platform.


Thursday, March 16th, 2017 .


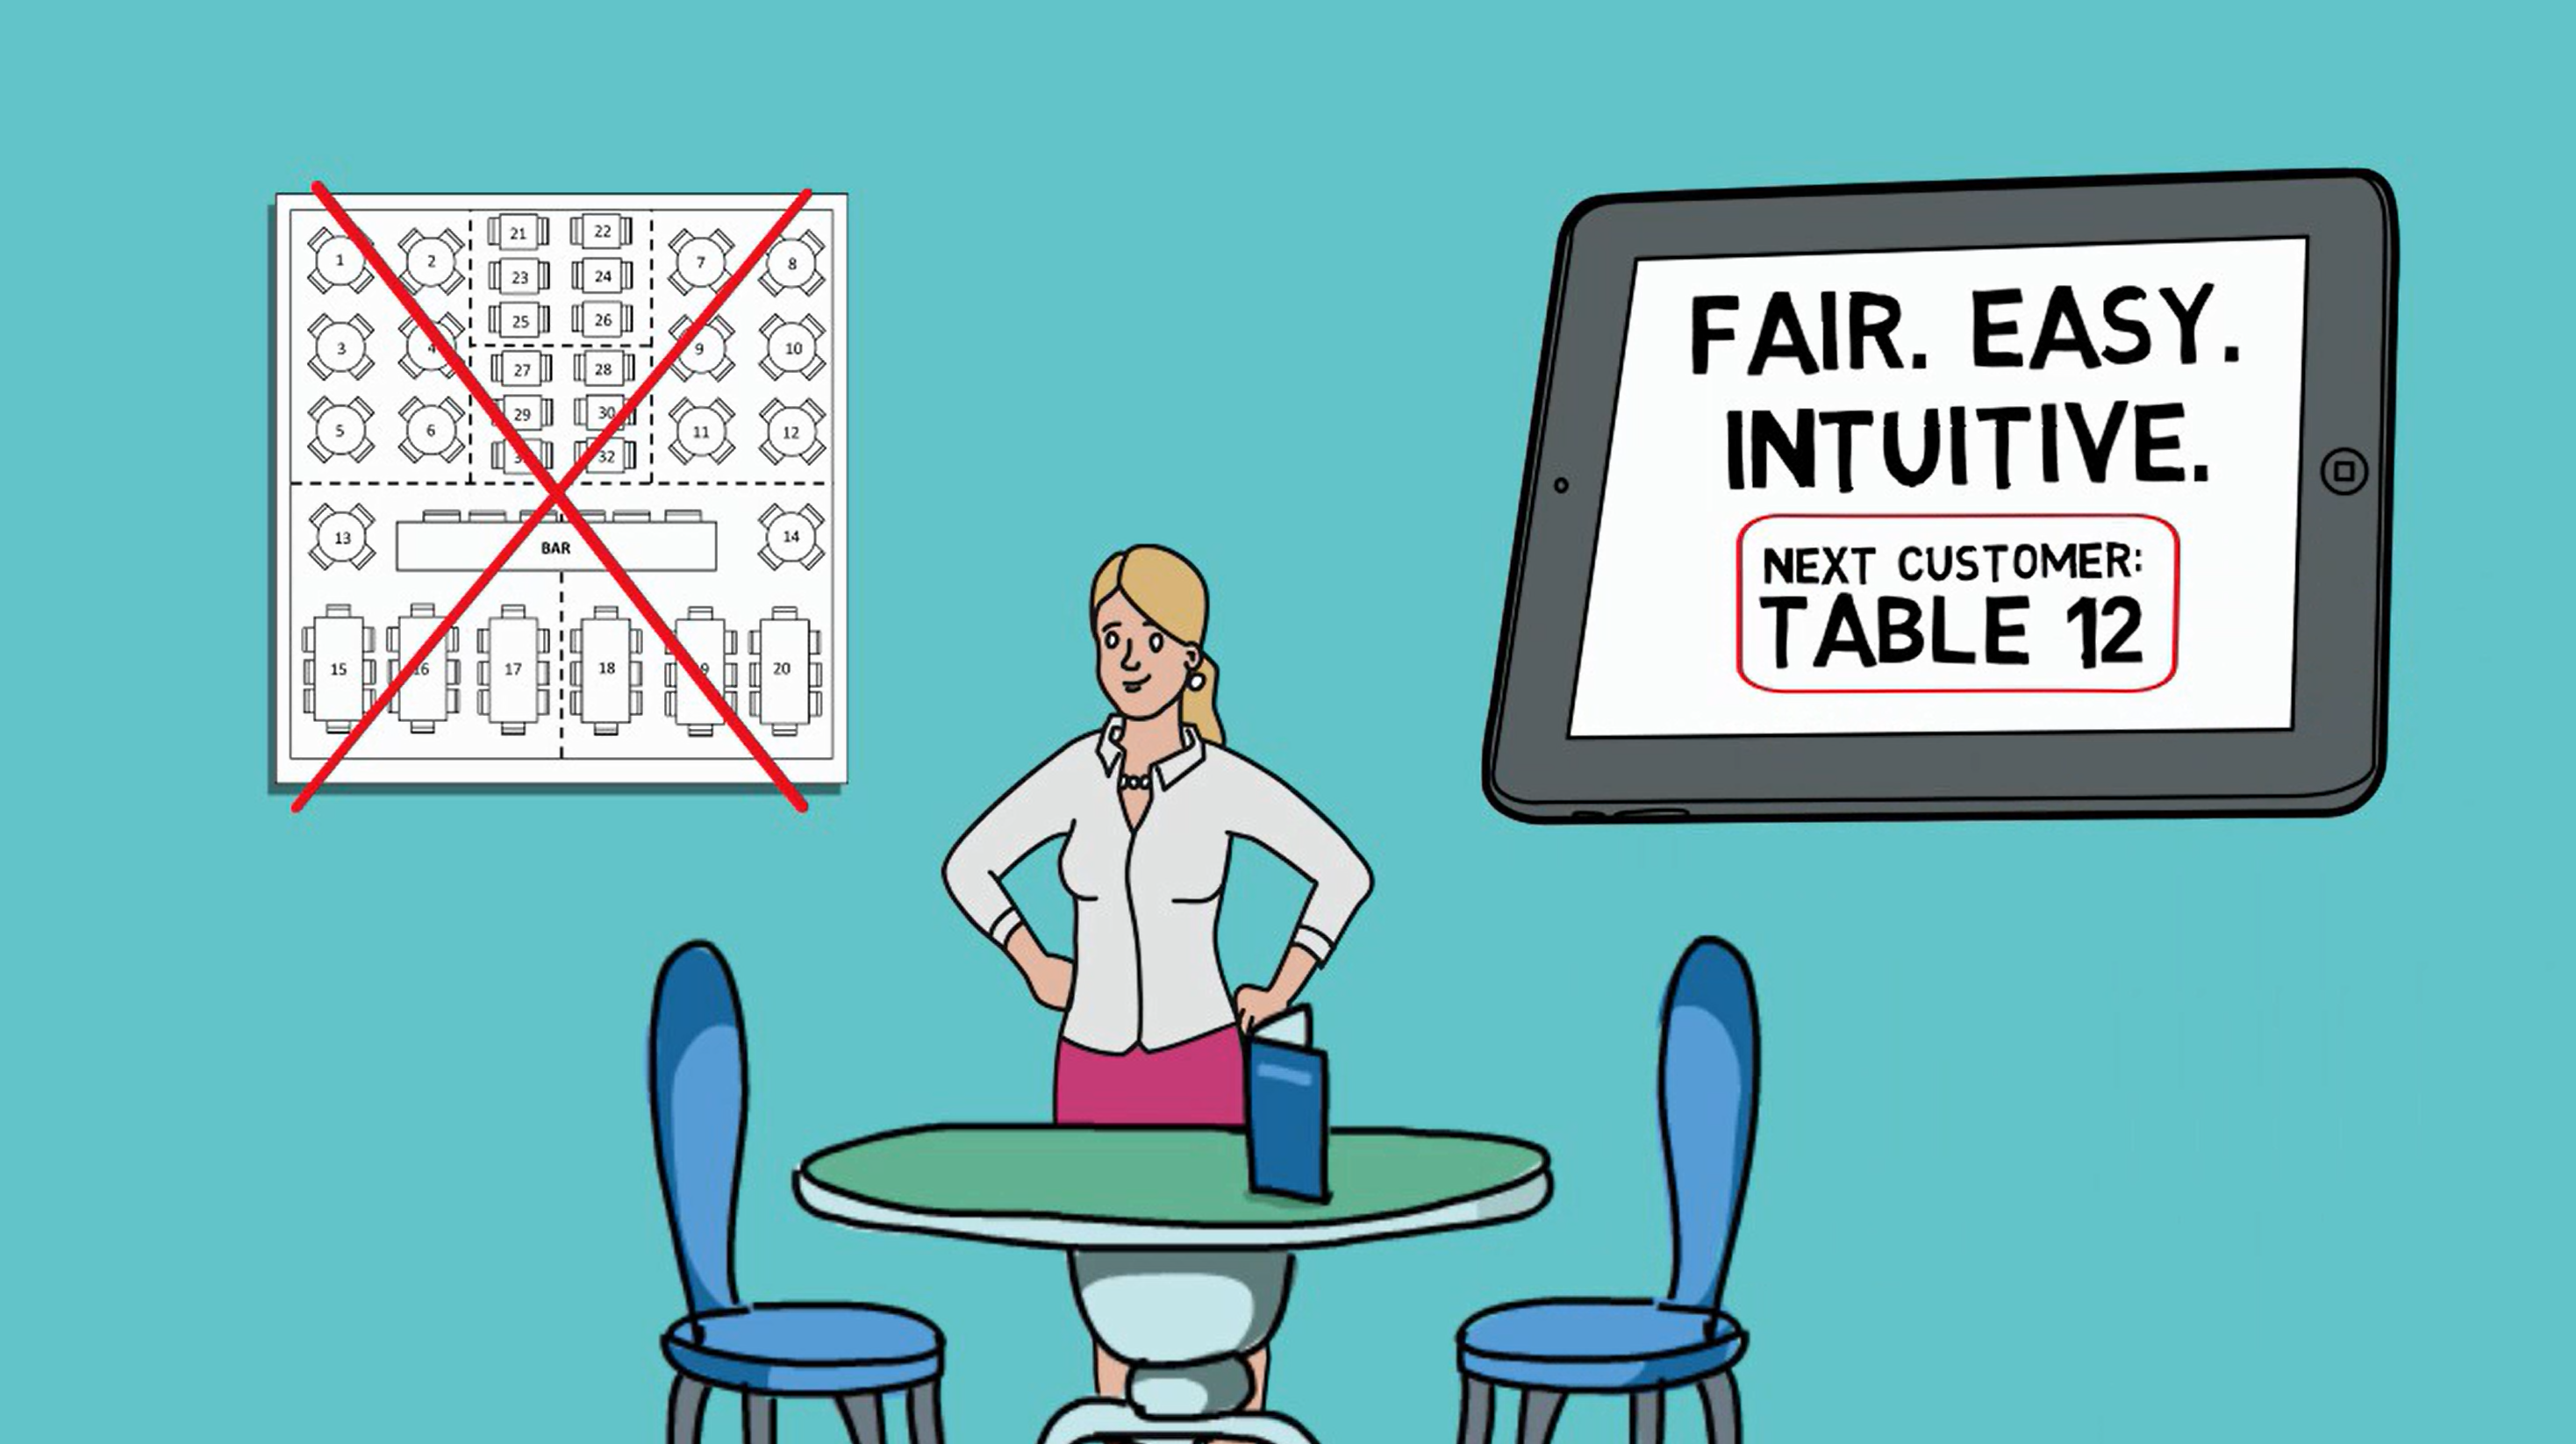
Using a paper floor plan has been common in the restaurant industry for a long time, and many software applications have incorporated spatial floor plan concepts into their designs.  Floor plans are deceptively complex to use, however, and can cost you time and money in ways you may not expect.  Waitlist Me CEO, Brian Hutchins, was recently featured in an article published on RMagazine, and goes into detail about 5 main reasons that floor plans are more complicated than they seem.


1) Key information is scattered in different directions

2) Comparing apples and oranges is difficult

3) Tables are static, but demand is not

4) Bad decisions lead to unhappy customers and frustrated employees

5) Measuring and improving results is difficult


Read  the article on RMagazine for all the details or watch the Waitlist Me video on table section management.


Wednesday, December 11th, 2019 .

With the floorplan features in Waitlist Me, it’s easy to visualize your tables and manage your sections and staff.

In Floorplan view, you’ll see all of your tables, arranged however you like. Green tables are open; red tables are occupied. You can also see how long a table has been occupied, or if it’s been reserved for a particular time. And you can tap on a table to open the action bar, where you can see details about the party, update their table’s status, clear the table when they’re done, and more.

You can also see your sections, marked with colors, dividing lines, or both. You can create custom layouts, and change these sections on the fly. Perhaps three sections is enough for a quiet lunch, but you need more for a busy evening. You can see which employee is working each section, and how many groups, and how many people, they’ve served today. You can zoom in for a closer look, and scroll across your floorplan. You can even see floorplans for other parts of your restaurant—for instance, for your patio or an upstairs meeting room. It’s all up to you.

To start building your own floorplans, just tap on the round icon to access the table management section.

Notice: Here in Grid view, you can see that I’ve already set up some basic tables. Each one has a name (in this case, the table number), and a size: the number of people it can seat. And I’ve divided those tables into sections. If you need any help with tables and sections, please see our video on “Managing Tables.”

Now, tap the button on the right, and switch to Floorplan view.

The first time you visit this page, you’ll be prompted to add a room—for instance, your main dining room. Just give your room a name, choose a portrait or landscape orientation for your floorplan, and then tap “Add.” You can add additional rooms if you like. Then, tap “Back,” to save. You can tap on the name of your room at any time, to see a different room, or to add additional rooms.

Now, tap “Edit,” to start building your floorplan. If you have not yet created your tables, just tap on the gear icon to access the table management settings, where you can manage your tables, sections, layouts, and more. Or, if you’re ready to proceed, just make sure you’ve selected the room you want to design. And then, tap “Add.”

You can choose an existing table from the list—or, add a new table at the top. (Simply give your new table a name, specify how many people it can seat, and tap Save.)

You’ll be prompted to choose the physical size, and the shape, for this table.

Now, just tap where you want your table to go. The table appears on your floorplan, along with a set of tools. You can tap and drag, to adjust your table’s position. Drag the arrows to stretch the table in a single direction. Use the double arrow to stretch your table in both directions at once. Tap the round arrows to rotate your table, by 45 degrees at a time. Tap the copy icon, and then choose an existing table or set up a new one, to make it exactly the same size and shape on your floorplan. Or, tap the dots, to edit the table’s name and size, or to delete it entirely. When you’re ready, tap anywhere else on the screen to hide these tools.

You can add as many tables as you need.

If you like, you can also use your floorplan to work with any sections and layouts you’ve defined for your restaurant. (For help setting up sections and layouts, please see our video on “Managing Tables.”)

Choose a room, and a layout. And then, tap “Add,” and choose “Element.”

You can add a dividing line—just tap to give your line a starting point, and an ending point. You can drag either of these points to adjust the angle of your line, or move the whole line to a new position. And again, tap anywhere else when you’re done.

Or, you can tap “Add,” choose “Element,” and then pick “Label.” Just choose which section this label is for. And tap on the screen to choose its position.

When your floorplan is complete, tap “Exit.” Then, tap “Yes” to save your changes.

Once you leave Edit mode, your section labels are automatically updated to show helpful details—by default, the name of the server in each section, and how many groups and individual customers they’ve served today.

Of course, you can come back to Edit Mode at any time, and update your floorplan. Or, you can modify your floorplan for another layout—for instance, to set up this same room for a different shift. Your tables remain where they are, but your lines and labels disappear, so you can set up a different set of sections for that shift. Then, you’ll be able to change your sections on the fly, as you move through your day.

Remember, you can tap the gear icon to access the settings pages for your tables, sections, and layouts.

For more options, tap “Display,” and then choose “Floorplan.” For instance, you can change the size of the text in your section labels, and decide what information those labels should include. By default, the label shows any notes for the section (for instance, the name of the server), and the total number of parties, and individual customers, who’ve been seated in that section today. But if you like, you can show the current number of open tables (and/or occupied tables) in each section, instead.

In the same way, you can decide what information should appear directly on your tables. By default, you’ll see how long each table has been occupied. But you can hide this information—or show the name of the section, instead. And if you’ve assigned colors to your tables, you can use these colors to highlight the table name (in this case, the table number), or highlight the name of the section, or not.

You can also come back to Grid view, tap “Time” at the top, and decide how to calculate the totals that will appear in the section labels on your floorplan. Would you like to see how many parties, and how many individual customers, you’ve served in each section all day, or just during the current shift? Or, would you like to see your totals for the past so many hours—from the past 1 hour, to the past 24?

Now, you’re ready to start using your floorplans. At the beginning of each shift, simply choose the appropriate layout, to instantly update your sections. Then, tap on any section label, for a list of all of your sections, and your notes on each one—in this case, the name of the server assigned there. Tap “Clear All,” fill in the servers for the new shift, and then save your changes, and you’re ready to get to work.

And remember, you can tap “Open” at the bottom, to enter split-screen mode, where you can see your floorplan, and your waitlist, at once. You can drag the handle to show more or less of the waitlist—or tap “Close” to hide it entirely and only see your floorplan.

Friday, January 13th, 2017 .

appointment-calendarIn 2017, don’t get another paper appointment book. Waitlist Me’s appointment management options can help you manage your time and customers better than pen and paper ever could. Whether it’s a salon, barber shop, or similar business, you can leave your scheduling nightmares behind and make managing appointments simple. With a quick set up and easy to learn interface, we can help you start the new year on the right foot.

When the phone rings, instead having to look everywhere in an appointment book, Waitlist Me lets you see your availability at a glance in an intuitive digital calendar. Monthly and weekly views show counts of your scheduled customers so it is easy to see the big picture on when you have availability. Then in the daily view you can see appointments broken out by time and stylist. When scheduling appointments for a team of employees, simply check one screen to see who has an opening. You can easily find the best appointment times for your clients and send them text confirmations and reminders.

When a potential client walks in without an appointment, you don’t need to scramble to figure out if you can fit them in. Quickly see your availability for that day and give them an accurate estimate of how long it would be until you can help them.  You can even give them the freedom to walk around while they wait and text them when you are ready for them. Waitlist Me will help you improve your guest’s experience and make smarter business decisions faster.

Another great benefit of going digital with Waitlist Me is the flexibility to check your appointment calendar from any computer, tablet, or smartphone. So if a valued client calls when you aren’t at the salon and asks when you can squeeze them in, you don’t need to head back to look at your appointment book.  Or if one of your stylists calls in sick on your day off, you can do all the rescheduling from home. With Waitlist Me, you won’t have to worry anymore about carrying around your appointment book, driving back to the salon, or even worse, losing your appointment book. Try it out for free today.


Friday, April 17th, 2020 .

When coronavirus hit America, some side-eyed the “essential” classification for medical marijuana dispensaries and those that support them, like grow sites and edible producers. Of course, if you own or run a dispensary, you know better.

An estimated 3 million people in the U.S. and its territories depend on medical marijuana. Because a large percentage of dispensary customers already have compromised immune systems, it’s especially important for businesses to protect shoppers.

Waitlist Me is helping do exactly that during the COVID-19 crisis. Here’s how some cannabis businesses are using our waitlist and reservation app to keep their doors open and their customers safe.

Enforce occupancy restrictions

If your dispensary is scant on square-space, consider creating a restriction on the number of people allowed inside your business at one time. Station a staff member outside to function as crowd control—and to add customers to your waitlist—and another employee inside, behind the counter. You’ll be able to provide excellent one-on-one service while still protecting those that matter most: your employees and your customers.

Tip: Use Waitlist Me’s text notification feature to encourage guests to wait in their cars. Reassure them that their place in line is secure, and that you’ll send them a text when it’s their turn to go inside.

Encourage social distancing and touchless service

With scores of new customers coming in the door—not to mention the new products on offer—questions abound for cannabis industry pros. And that’s the way it should be! But a queue for customer service isn’t a safe situation during a pandemic.

To avoid a cluster at your counter, add the Waitlist Me widget to your website. Direct customers to add themselves to your waitlist from their phone, so they can start the waiting process while en route to your store or wait in the parking lot from their car.  

Tip: Head off ETA questions right at the start by adding the link to your dispensary’s public waitlist to your website. That way, people can check their place in line with just a single glance. Or use the web widget features to show how many people are currently waiting.

Make pickup as quick and easy as possible

Even though it’s nice to get out of the house during these difficult times, those you serve still want to make their trips in public as speedy as possible. To help them do that, encourage customers to make an appointment to shop or to add themselves to your waitlist before they arrive. Waitlist Me’s web widget lets them do both. When they check in, they can specify what the goal of their shopping trip is (i.e. to refill a prescription, pick up an online order, or shop for a certain type of product) so your employees can expedite their visit.

Waitlist Me Pro users can even use our flexible two-way texting feature to respond to customer questions, clarify details, or let someone know if their prescription isn’t ready yet.

Tip: Upgrade your curbside pick-up with contact-free service, which will be a boon for your immune-compromised customers. Update the custom text notifications to include pick-up directions, like where to park and to roll down a passenger window for no-touch delivery.