It’s a retailer’s dream to boast a line long enough to wrap around a city block. A lot of the promos and products you dream up might even be designed to attract these 6-o’clock-news-worthy waits. Think: Black Friday doorbusters, innovative croissant-donut hybrids, and once-in-a-lifetime bear-stuffing deals.
But the reality? Well, it’s not as dreamy as it seems. In fact, it’s kind of nightmare. The history of long lines is plagued with stampedes, riots, and heat stroke victims. Yikes!
And that’s just for the people who join those long lines. For every customer that’s willing to wait, there are tens to hundreds that won’t be. Think about it this way: What would you wait hours for? What would make you want to camp out on a sidewalk?
If you did it at all, it would have to be for something truly incredible. A dinner at a new-to-the-neighborhood restaurant? Not likely. A shopping spree at a boutique? No way. An after-work drink? Forget it. A pilates class? Never.
How a long line hurts your business
A long line might get you a few dozen customers who are willing to wait in exchange for a first look or a door prize. But at what expense? That line might stretch wayyy down the street, but when hundreds of other passersby see it, they’re going to think that your business is the last place they want to be.
Sure, they might stop and ask what the line is for. Sure, they might talk about your establishment. Most of that conversation may be negative, though. Many of those on-lookers are going to be saying, “Some people waited 3 hours for a burger. How dumb is that?!” rather than: “The line for the best burger in town was 3 hours long yesterday. I’m going to go get one tonight!”
The truth is that long lines alienate customers. They dissuade people from giving you a chance. Potential customers have long memories. They will remember one or two long wait times, and forever associate you with inconvenience. Those customers are going to go somewhere else.
Why? Because…
* They don’t want to hop on the next-cool-thing bandwagon. Some customers instinctually rebel against hype. They’ll opt for a just-as-good competitor, instead. And because they didn’t have to wait, they’ll perceive your rival as being better than you are simply due to that lack of a long line.
* They’re worried the customer service stinks. Long lines can indicate efficiency problems. Guests encounter them and assume that someone at the front is lollygagging or that you’re understaffed. That’s ding No.-1 against your reputation for a top-notch guest experience.
* They aren’t interested in hanging out in a crowd. Some folks love feeling like sardines packed in a tin, but most don’t. A crowded business creates unnecessary pressure on the customer to hurry through their experience, regardless of whether they’re shopping, eating, or doing something else.
* They’re concerned something is wrong. Have you run out of the product you’re running a promo for? Are the cash registers down? Are you understaffed? Is this whole waiting-in-a-crazy-long-line thing all going to be for naught? Cue customer anxiety.
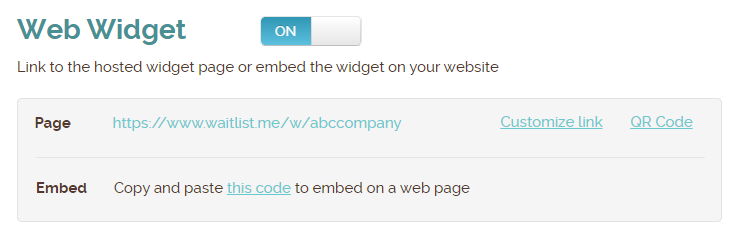
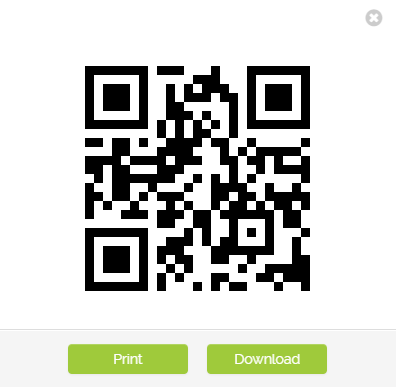
A better alternative
It is great when you have something everyone wants, but you don’t have to make them suffer in a long crazy line to get it. Waitlist Me makes it easy to manage a line virtually rather than physically. Add people to your waitlist so they know they have a spot in line and have visibility into the wait process, while allowing them the flexibility to walk around or do something else while they wait. Then simply press a button to notify them with a text message when it is their term. It is simple, and effective.