Friday, July 14th, 2017 .

What’s the secret to transforming a run-of-the-mill retail experience into one customers flock to? It’s all about the customer service. Waitlist management apps are a not-so-obvious way to one-up your competitors and wow your customers. Here’s how you can use an app like Waitlist Me in any retail setting:

Cell phone store

Selecting a new smartphone is a blast. Sitting through the activation process, though, is less than thrilling. Waitlist Me lets you set them free. Our public waitlist feature allows you to display your waitlist and an estimated time of completion on a screen in your store, which means they can wander around, play with other devices, and shop accessories while they wait.

Electronics store

Laptops, cameras, home entertainment systems—shoppers making big-ticket purchases in these departments depend on your sales associates’ expertise. But let’s face it: When customers compete to flag down help, nobody wins. With Waitlist Me, you can greet shoppers when they walk in, add them to your waitlist, and assign them to the staff member or department that can help them best.

Jewelry store

When people are making emotional purchases—say, when they’re buying engagement rings or anniversary gifts—they want to forge a personal connection with sales associates. Waitlist Me allows stores to check shoppers in (and add them to a waistlist), send them off to browse, and give them your full attention when it is their turn. Bonus: Waitlist Me manages reservations, too, making by-appointment shopping an easy option.

Athletic store

Specialty equipment requires specialty knowledge. Whether your team are helping moms pick out their kid’s first pair of cleats or long-time athletes dive in to a new sport, the education you’re giving them is what makes sales happen. Leverage that knowledge base by offering your customers a waitlist experience to ensure that they get one-on-one assistance—and walk away with the perfect product for their needs.

Clothing boutique

Short on dressing rooms and jammed with customers? Waitlist Me lets you handle a busy afternoon with ease. The app allows you to create a waitlist for your dressing rooms and display the public waitlist feature on a screen in your store. Customers can see where they are in line in a glance, and keep shopping while they wait.

Consignment store

A loyal clientele is your bread and butter. Keep them coming back with their best items to consign by streamlining your valuation process. Add them to a waitlist and encourage them to run errands, head to work—whatever it is they need to do! Waitlist Me’s text alert features lets you instantly inform your clients when their product estimates are ready.

Department store

Specialty services like personal shoppers and in-store tailoring are assets that your retail business ought to make the most of. Using a waitlist app to manage these services will give customers a VIP experience while also improving your efficiency. Because the Waitlist Me app syncs across multiple devices, customer service desks can field personal shopping requests while sales associates and cashiers can add guests to tailoring waitlists.

Home design studios

When custom orders are the norm, long check-out times come standard. Once your design consultants have the details down, there’s no need for customers to remain chained to a desk. Instead, add them to a waitlist and let them wander through your showroom while your associates put together the order details. Waitlist Me’s text alert feature lets you bring them back to swipe and sign, and then send them on their way.

 

Tuesday, July 23rd, 2019 .

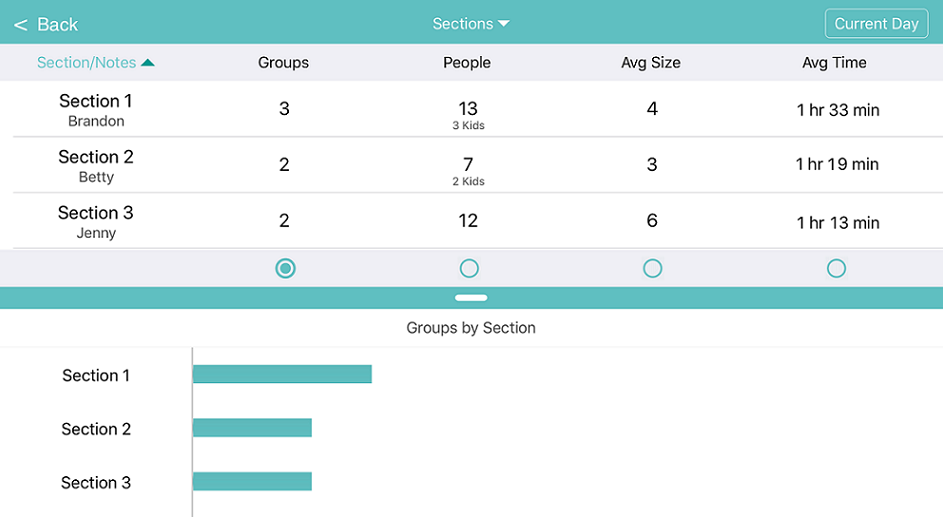
One of the features included in the Pro subscription is a Stats page that gives an overview of the shift or day. Quickly see data for each server: how many groups they’ve had, how many total people were in those groups, their average party size, and the average time it took to turn tables. 

You can choose what time frame you would like to see stats for. Pressing on Time in the header bar will let you select from these options:

– Current day – see all of today’s numbers

– Past hours – choose any increment up to 24 hours (for example, view the past 4 hours on a rolling basis)

– Shifts – enter in blocks of hours to coincide with your shifts (for example, 11:00 am to 4:00 pm and 4:00 pm to 11 pm) 

Press on the Stats icon to go to the new analytics view. This page will display each section name, the server assigned, how many groups/people have been served, and averages for party size and time. Pressing on the headers at the top will sort by any of those categories. If you prefer to see things graphically, using the radio buttons at the bottom of each column will display that data in the chart below.  You can also see all these metrics by table or assignment, by clicking on the Sections label at the top.

The data on the Stats page can help hosts know where to seat the next party, so that each server gets their fair share of the work (and the tips!) 

Before getting the most out of the new stats features, you’ll need to set up your tables and sections. Then you can choose a layout, select how you want to view the tables, and assign servers. Sort by Section and use the Labeled mode in order to add server’s names to sections. Use the Edit link in the header row of the first section to enter server names.

Monday, August 11th, 2014 .

While most of the places that use NoshList are restaurants, we have seen more and more businesses from different industries use NoshList to manage customer waits. The addition of our new reservations feature has made NoshList even more appealing to any business that schedules future appointments, whether they have a walk-in waitlist or not.

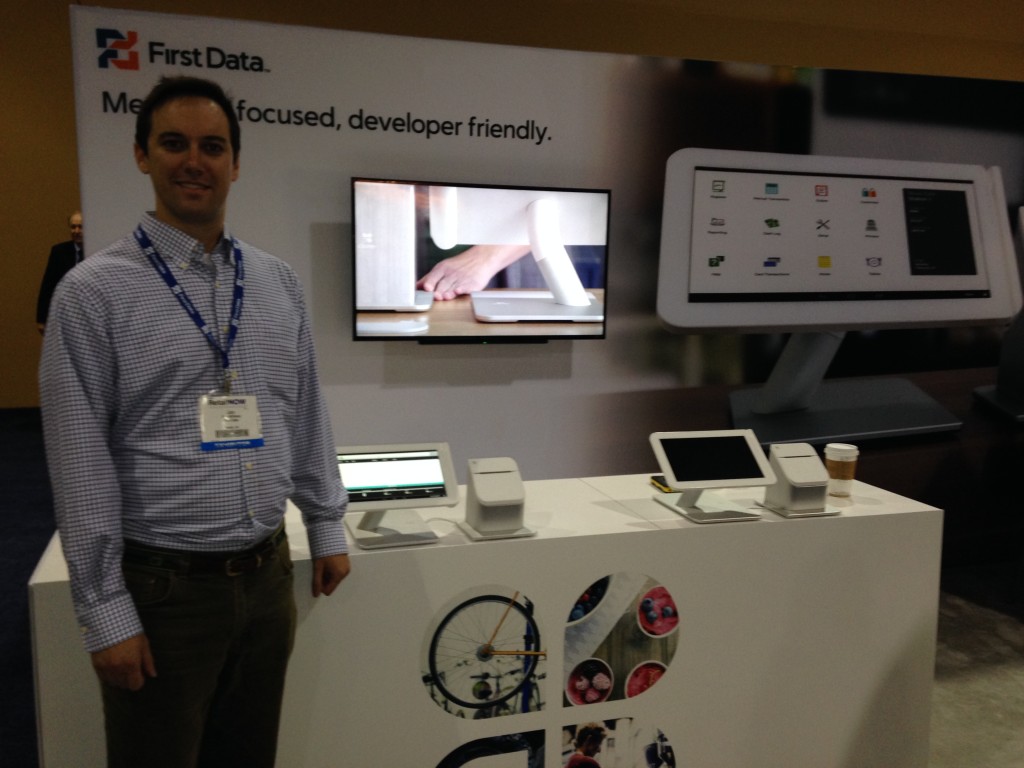
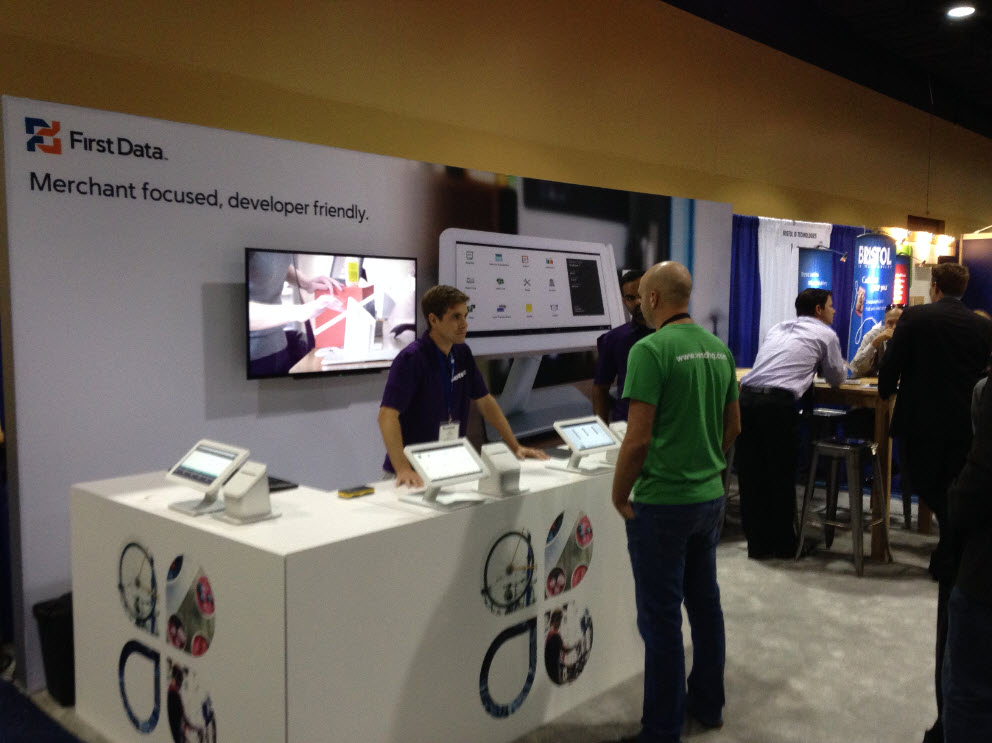
Not all businesses have WiFi or want to get an iPad or Android tablet though, so it is great for those businesses that NoshList also runs on any computer right from the browser and also on Clover. So we were thrilled to be able to join First Data in their booth at the RetailNow conference highlighting Clover and some of the top apps running on Clover.

Here are some shots from the event:

noshlist retailnow


blog retailnow

Sunday, June 22nd, 2014 .

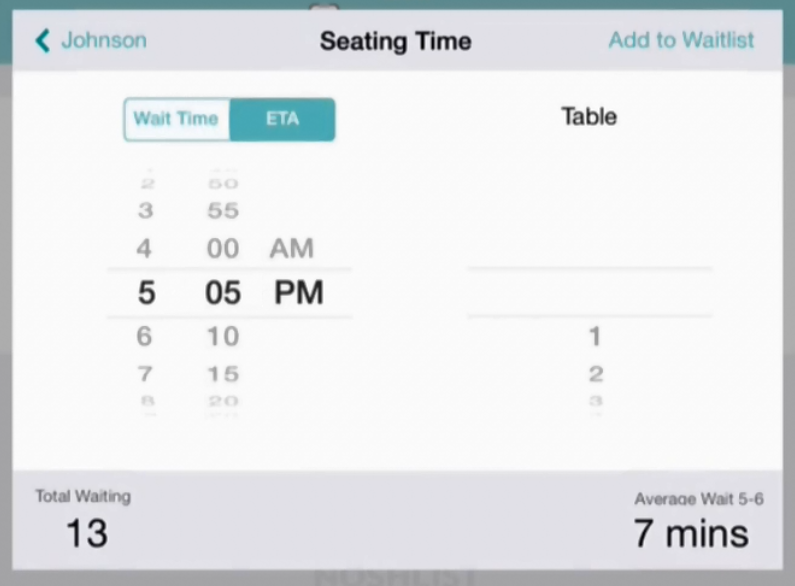
Want to improve how efficiently you do table management? NoshList makes it easy to assign parties to tables, either when they are first added to the list or when they are seated. The table numbers are displayed in the waitlist view, so you can scan the list at a glance and know which parties go where.

table eta


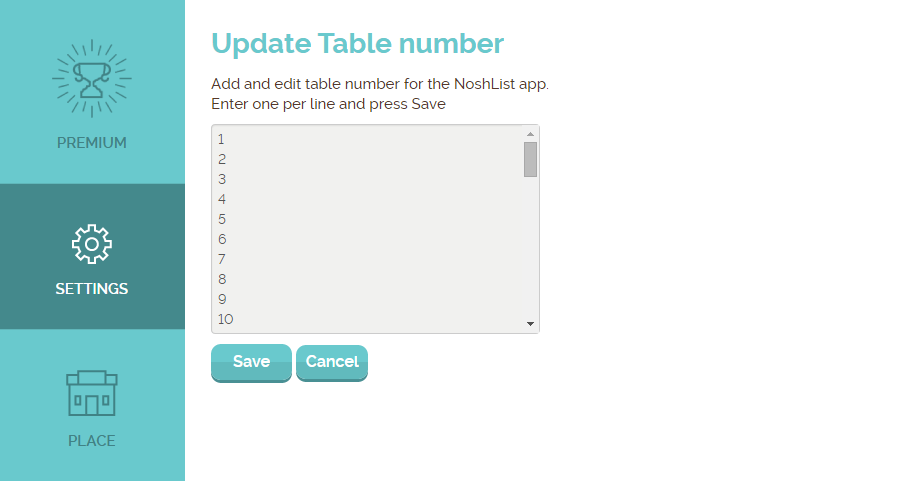
Table numbers appear in a spinner for quick selection, and by default the numbers will be from 1 to 50. Most restaurants will want to change these numbers to match what they use in their restaurant, and this can be done individually in the app, or all at once on the NoshList website.

If you aren’t a restaurant, you can even change table numbers to represent what makes sense for your business. Think of them like a resource that can be assigned to a customer. They could represent the initials of a salonist or salesperson, a number for a barber chair or bowling alley lane, a rental rental ID or code, among others.

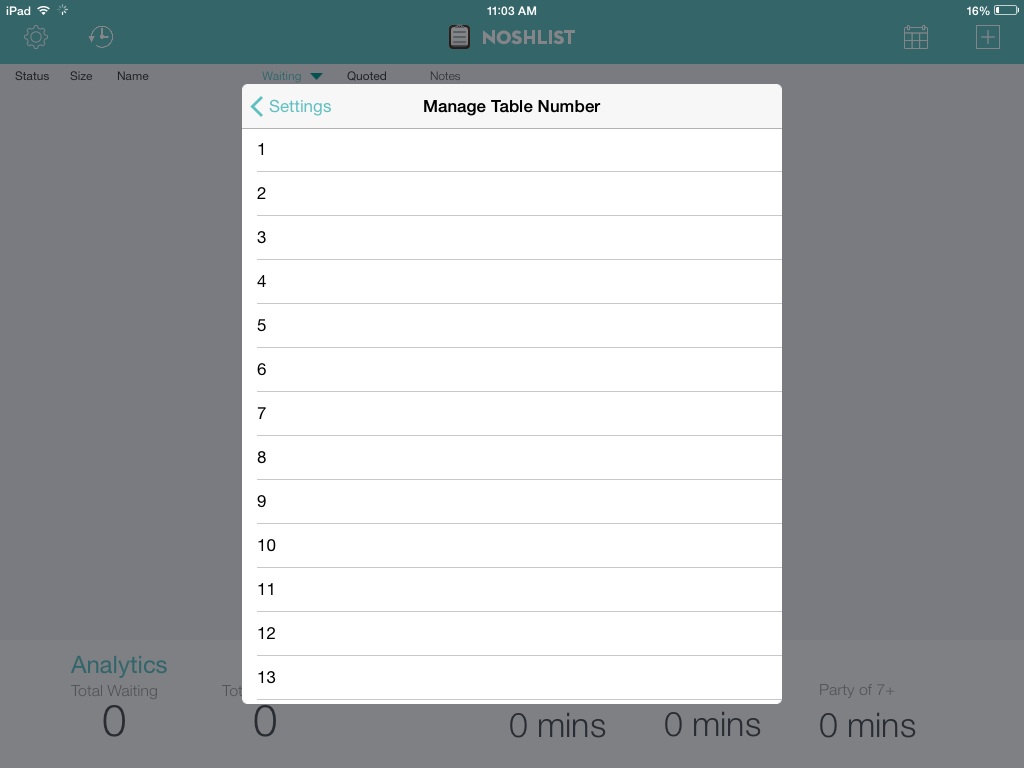
You can edit Tables in the app settings individually:

tables app


Or you can update them all at once in the settings on the NoshList website. If you have multiple devices the changes will synch so they are the same across all devices, but you will need to just go to the settings page on the other devices to trigger the sync.

tables web

Monday, March 16th, 2020 .

Waitlist Me Platinum subscriptions include options to completely customize how the web widget and kiosk look. You would need some web development skills to modify the HTML, CSS, and Javascript like you would for a web page.

To get started, log in to www.waitlist.me and navigate to Account > Settings > Add Yourself. Scroll to the bottom and select Edit to make changes to either the web widget or the kiosk. If you are using both, you can copy changes from one to the other after you’re done setting it up. Or you can edit them independently to make them look and function differently. Leave it toggled to Off until you’re ready to debut your new widget.

You can load one of our default templates to get you started and make changes from there. There are three main steps that can be customized:


Main View – Customize the screen customers start on to greet them with messaging and imagery that fits your brand.

Input View – Decide the important information fields to include and the instructions you provide to customers. There are separate views for Joining the Waitlist and Making Reservations/Appointments depending on what options you allow.

Confirmation View – Finish with your own thank you or welcome message and imagery.

Refer to this documentation for the technical instructions to fully customize your widget.