With Memorial Day Weekend in our rear-view mirror, we are psyched to see what summer has in store. While all of us at Waitlist Me are enthusiastic about not waiting—and making every wait as painless and speedy as possible—we have to admit that we get a kick out of seeing what folks are itching to see and do, no matter how much time they have to spend in line.
What’s cracking us up, making us scratch our heads, and inspiring us to buy tickets this season? Here are the top-five crazy (and crazy-awesome) things people are waiting for this summer:
#1. A bucket of cookies at the Minnesota State Fair
Nearly 2 million people visit the Minnesota State Fair in the Twin Cities every year. The massive fair grounds have everything you could want in a fair, from giant sculptures made out of butter to an ax-throwing contest. They also have Sweet Martha’s famous chocolate chip cookies, available by the bucket-full. Last year, the line for these cookies was 45 minutes long.
#2. A ticket to see Shakespeare
Much ado about nothing? Not so say the theatre fans who wait (and wait and wait) for tickets to see Shakespeare in the Park in New York City. Each year, New York’s Public Theater puts on two shows outside in Central Park, soften starring big-time actors like Morgan Freeman and Anne Hathaway. How long is the wait? Who knows! Some line up the night before the free tickets are distributed.
#3. Exclusive merch at Comic-Con
With so many celebrities making it to San Diego for Comic-Con, you don’t have to be a certified geek to geek out over this event. It’s four days of panels, signing events, screenings, and, of course, all sorts of merchandise you can only get your hands on here. The lines themselves have taken on legendary status. Some of them even have their own Twitter accounts (we’re looking at you, Hall H)!
#4. To watch a little match play at Wimbledon
This summer, we’re certain of exactly one thing: There is no event that takes its lines more seriously than Wimbledon. While the Brits are certainly well-known for their queueing style, only this pinnacle of fastidiousness offers up a 30-page guide to lining up for tickets. Some wait all night (hear ye, hear ye: tents larger than a 2-person are forbidden). Some show up just before dawn, their fingers crossed that they’ll be among the first 500.
#5. To leave the Nevada desert
If you’re looking for an experience this summer, you can surely find it at Nevada’s Black Rock Desert. In late August, that’s where the Burning Man festival sets up camp. After the titular man is burned—don’t worry, he’s not an actual person—it can take 6 to 8 hours to get out of Black Rock and even longer to get to the nearest city. This annual leaving is so massive that it has its own name: the Exodus.
Is your business ramping up this summer?
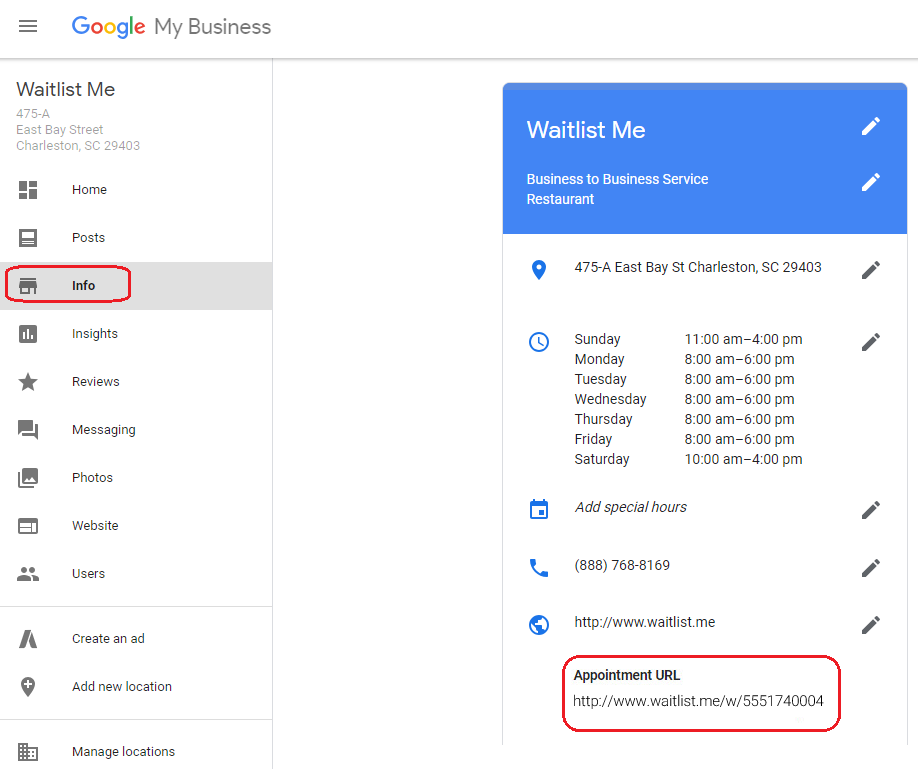
Use a waitlist and reservation app like Waitlist Me to manage your queues better and make your customers happier campers, no matter where, when, or why they’re hanging out in line. You can get started for free today and access features including text notifications, smart ETAs, and multi-location management.