Wednesday, December 11th, 2019 .

With the floorplan features in Waitlist Me, it’s easy to visualize your tables and manage your sections and staff.

In Floorplan view, you’ll see all of your tables, arranged however you like. Green tables are open; red tables are occupied. You can also see how long a table has been occupied, or if it’s been reserved for a particular time. And you can tap on a table to open the action bar, where you can see details about the party, update their table’s status, clear the table when they’re done, and more.

You can also see your sections, marked with colors, dividing lines, or both. You can create custom layouts, and change these sections on the fly. Perhaps three sections is enough for a quiet lunch, but you need more for a busy evening. You can see which employee is working each section, and how many groups, and how many people, they’ve served today. You can zoom in for a closer look, and scroll across your floorplan. You can even see floorplans for other parts of your restaurant—for instance, for your patio or an upstairs meeting room. It’s all up to you.

To start building your own floorplans, just tap on the round icon to access the table management section.

Notice: Here in Grid view, you can see that I’ve already set up some basic tables. Each one has a name (in this case, the table number), and a size: the number of people it can seat. And I’ve divided those tables into sections. If you need any help with tables and sections, please see our video on “Managing Tables.”

Now, tap the button on the right, and switch to Floorplan view.

The first time you visit this page, you’ll be prompted to add a room—for instance, your main dining room. Just give your room a name, choose a portrait or landscape orientation for your floorplan, and then tap “Add.” You can add additional rooms if you like. Then, tap “Back,” to save. You can tap on the name of your room at any time, to see a different room, or to add additional rooms.

Now, tap “Edit,” to start building your floorplan. If you have not yet created your tables, just tap on the gear icon to access the table management settings, where you can manage your tables, sections, layouts, and more. Or, if you’re ready to proceed, just make sure you’ve selected the room you want to design. And then, tap “Add.”

You can choose an existing table from the list—or, add a new table at the top. (Simply give your new table a name, specify how many people it can seat, and tap Save.)

You’ll be prompted to choose the physical size, and the shape, for this table.

Now, just tap where you want your table to go. The table appears on your floorplan, along with a set of tools. You can tap and drag, to adjust your table’s position. Drag the arrows to stretch the table in a single direction. Use the double arrow to stretch your table in both directions at once. Tap the round arrows to rotate your table, by 45 degrees at a time. Tap the copy icon, and then choose an existing table or set up a new one, to make it exactly the same size and shape on your floorplan. Or, tap the dots, to edit the table’s name and size, or to delete it entirely. When you’re ready, tap anywhere else on the screen to hide these tools.

You can add as many tables as you need.

If you like, you can also use your floorplan to work with any sections and layouts you’ve defined for your restaurant. (For help setting up sections and layouts, please see our video on “Managing Tables.”)

Choose a room, and a layout. And then, tap “Add,” and choose “Element.”

You can add a dividing line—just tap to give your line a starting point, and an ending point. You can drag either of these points to adjust the angle of your line, or move the whole line to a new position. And again, tap anywhere else when you’re done.

Or, you can tap “Add,” choose “Element,” and then pick “Label.” Just choose which section this label is for. And tap on the screen to choose its position.

When your floorplan is complete, tap “Exit.” Then, tap “Yes” to save your changes.

Once you leave Edit mode, your section labels are automatically updated to show helpful details—by default, the name of the server in each section, and how many groups and individual customers they’ve served today.

Of course, you can come back to Edit Mode at any time, and update your floorplan. Or, you can modify your floorplan for another layout—for instance, to set up this same room for a different shift. Your tables remain where they are, but your lines and labels disappear, so you can set up a different set of sections for that shift. Then, you’ll be able to change your sections on the fly, as you move through your day.

Remember, you can tap the gear icon to access the settings pages for your tables, sections, and layouts.

For more options, tap “Display,” and then choose “Floorplan.” For instance, you can change the size of the text in your section labels, and decide what information those labels should include. By default, the label shows any notes for the section (for instance, the name of the server), and the total number of parties, and individual customers, who’ve been seated in that section today. But if you like, you can show the current number of open tables (and/or occupied tables) in each section, instead.

In the same way, you can decide what information should appear directly on your tables. By default, you’ll see how long each table has been occupied. But you can hide this information—or show the name of the section, instead. And if you’ve assigned colors to your tables, you can use these colors to highlight the table name (in this case, the table number), or highlight the name of the section, or not.

You can also come back to Grid view, tap “Time” at the top, and decide how to calculate the totals that will appear in the section labels on your floorplan. Would you like to see how many parties, and how many individual customers, you’ve served in each section all day, or just during the current shift? Or, would you like to see your totals for the past so many hours—from the past 1 hour, to the past 24?

Now, you’re ready to start using your floorplans. At the beginning of each shift, simply choose the appropriate layout, to instantly update your sections. Then, tap on any section label, for a list of all of your sections, and your notes on each one—in this case, the name of the server assigned there. Tap “Clear All,” fill in the servers for the new shift, and then save your changes, and you’re ready to get to work.

And remember, you can tap “Open” at the bottom, to enter split-screen mode, where you can see your floorplan, and your waitlist, at once. You can drag the handle to show more or less of the waitlist—or tap “Close” to hide it entirely and only see your floorplan.

Monday, December 6th, 2021 .

As you deck the halls and adjust your playlists, you should seriously consider giving your waitlist and table management system an update, too. Reboot your hostess stand and kick that datebook-and-grease-board duo to the curb. We have a shiny digital solution that will keep your season truly merry and bright. We’re talking about a waitlist app that brings your queue, your reservations, and your tables together on one easy-to-use interface. It’s called Waitlist Me Platinum.

Why do you need it? Let us count the ways:

#1. You want an intuitive way to balance walk-ins and reservations

What’s worse than losing a reservation for a twosome on date night? Losing a reservation for a 12-top the week before Christmas. Yikes. Still, it happens. It’s easy to forget a group—yes, even a big one—when you’re struggling to handle the nightly dinner rush.

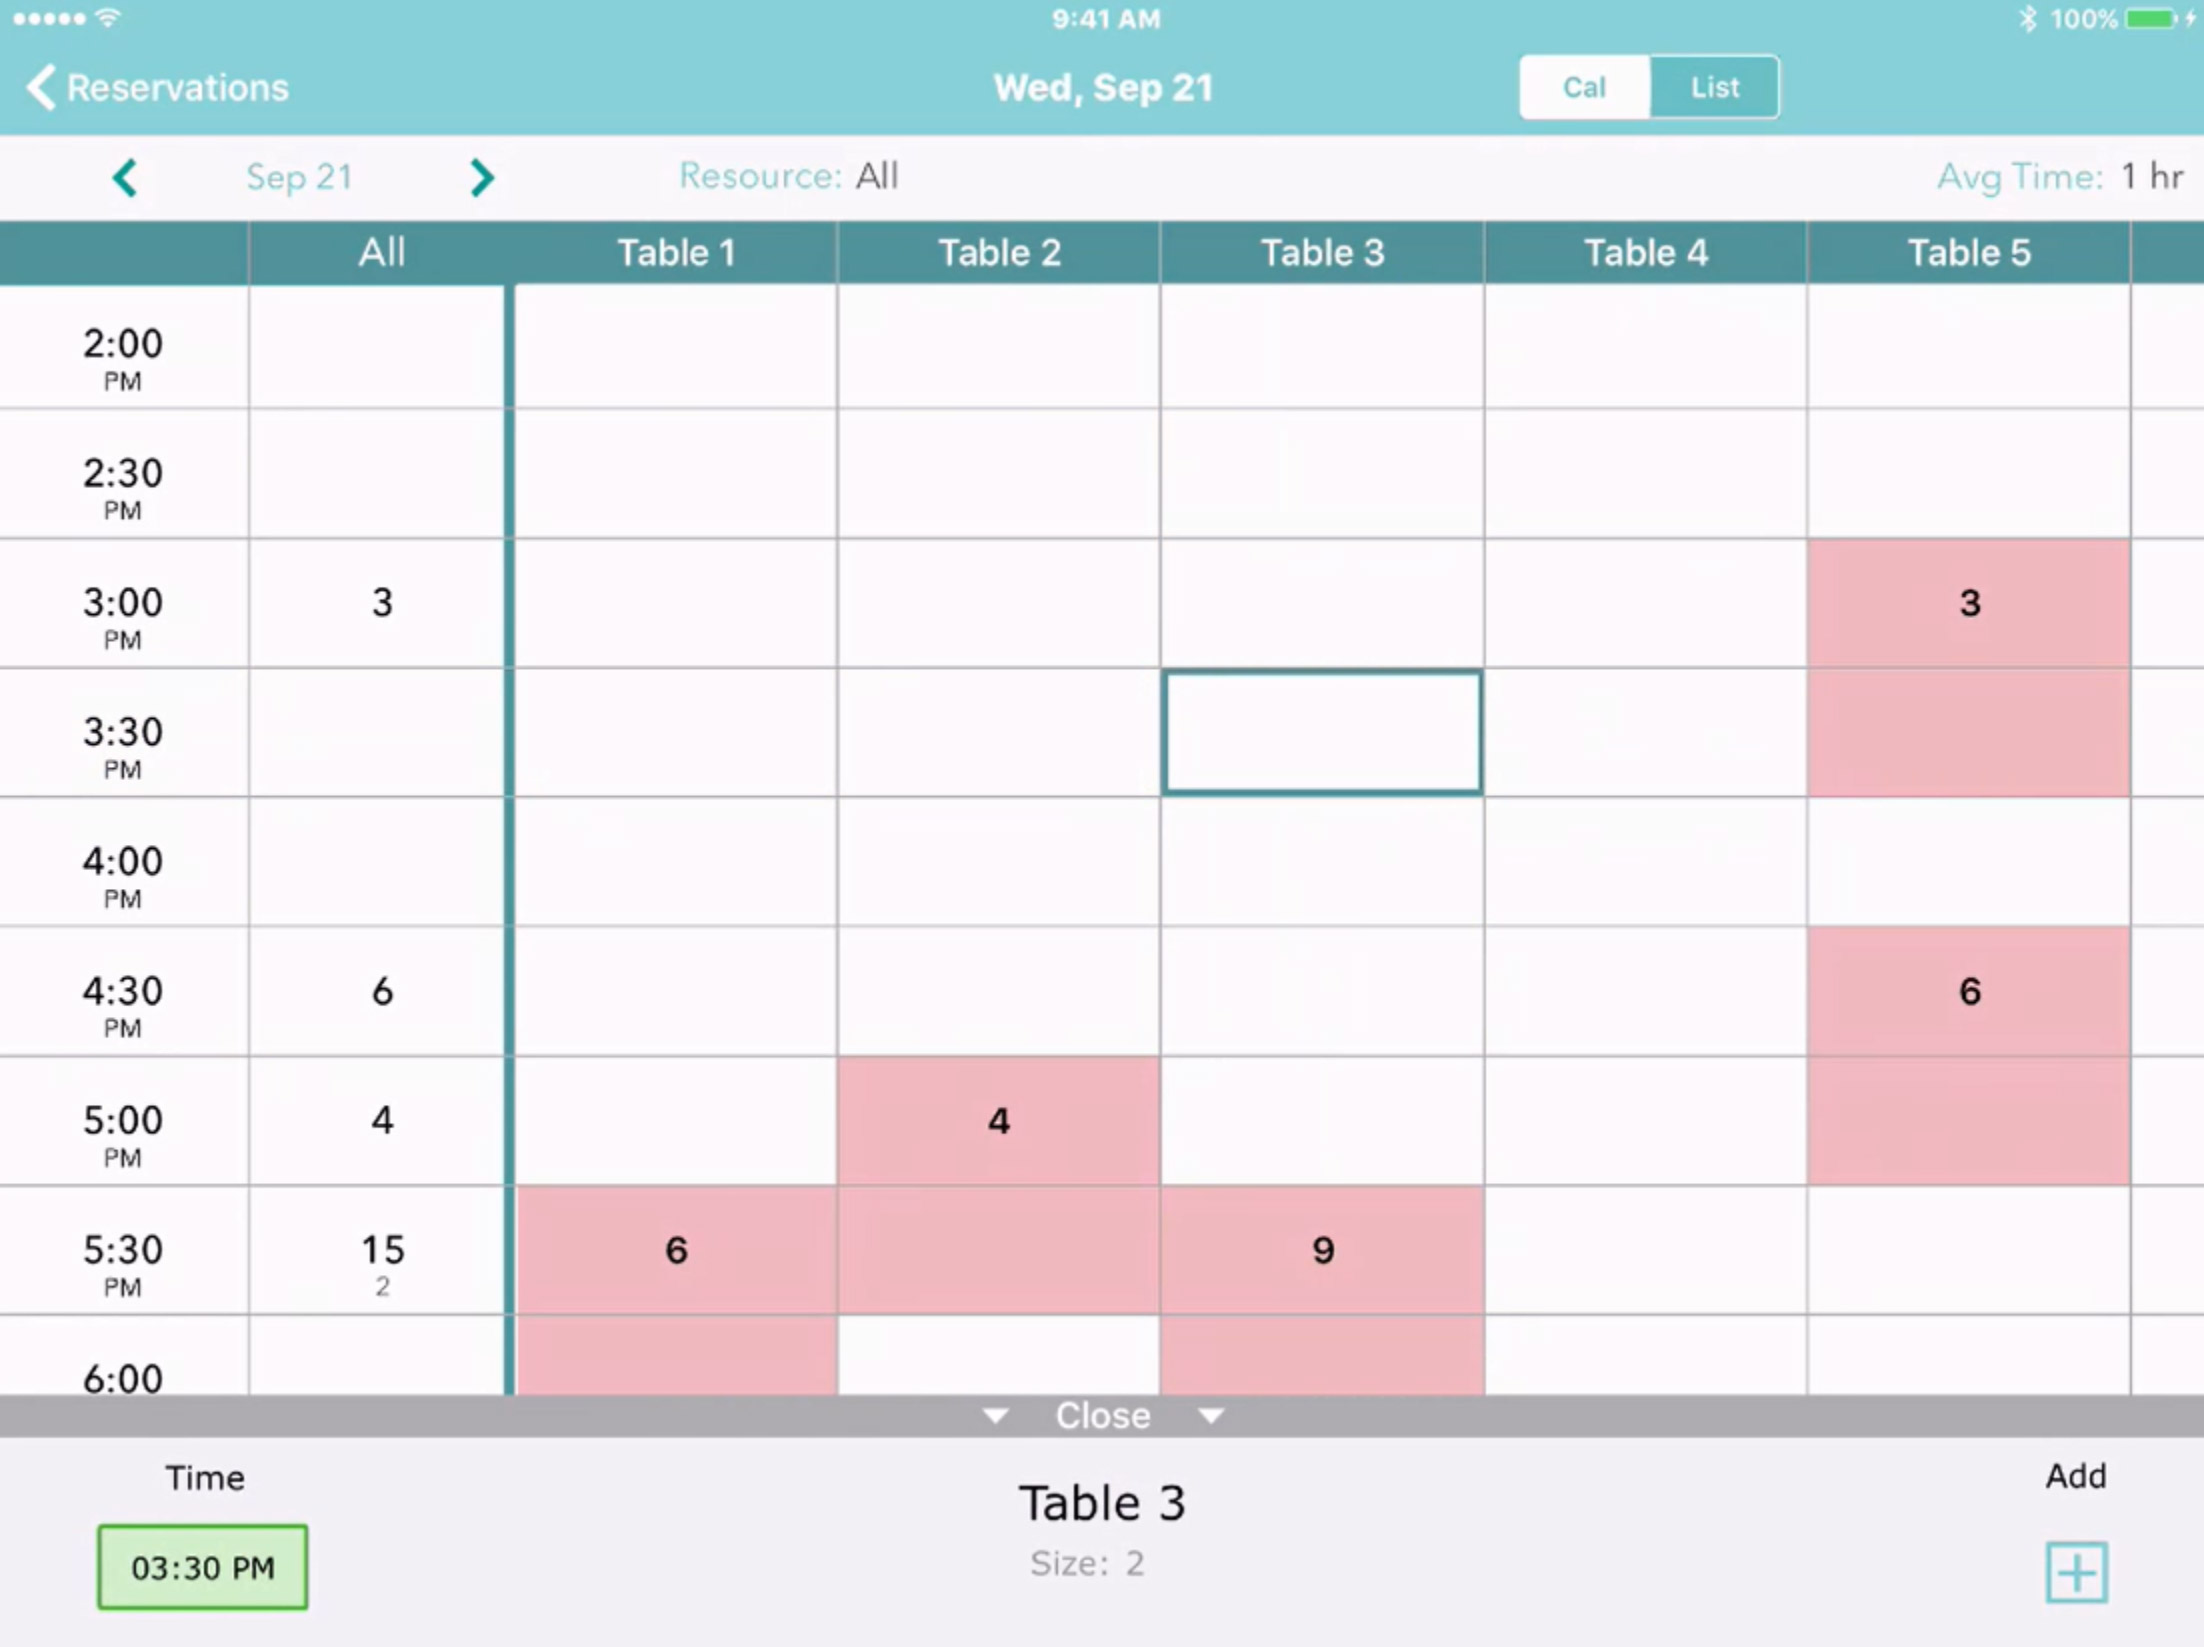
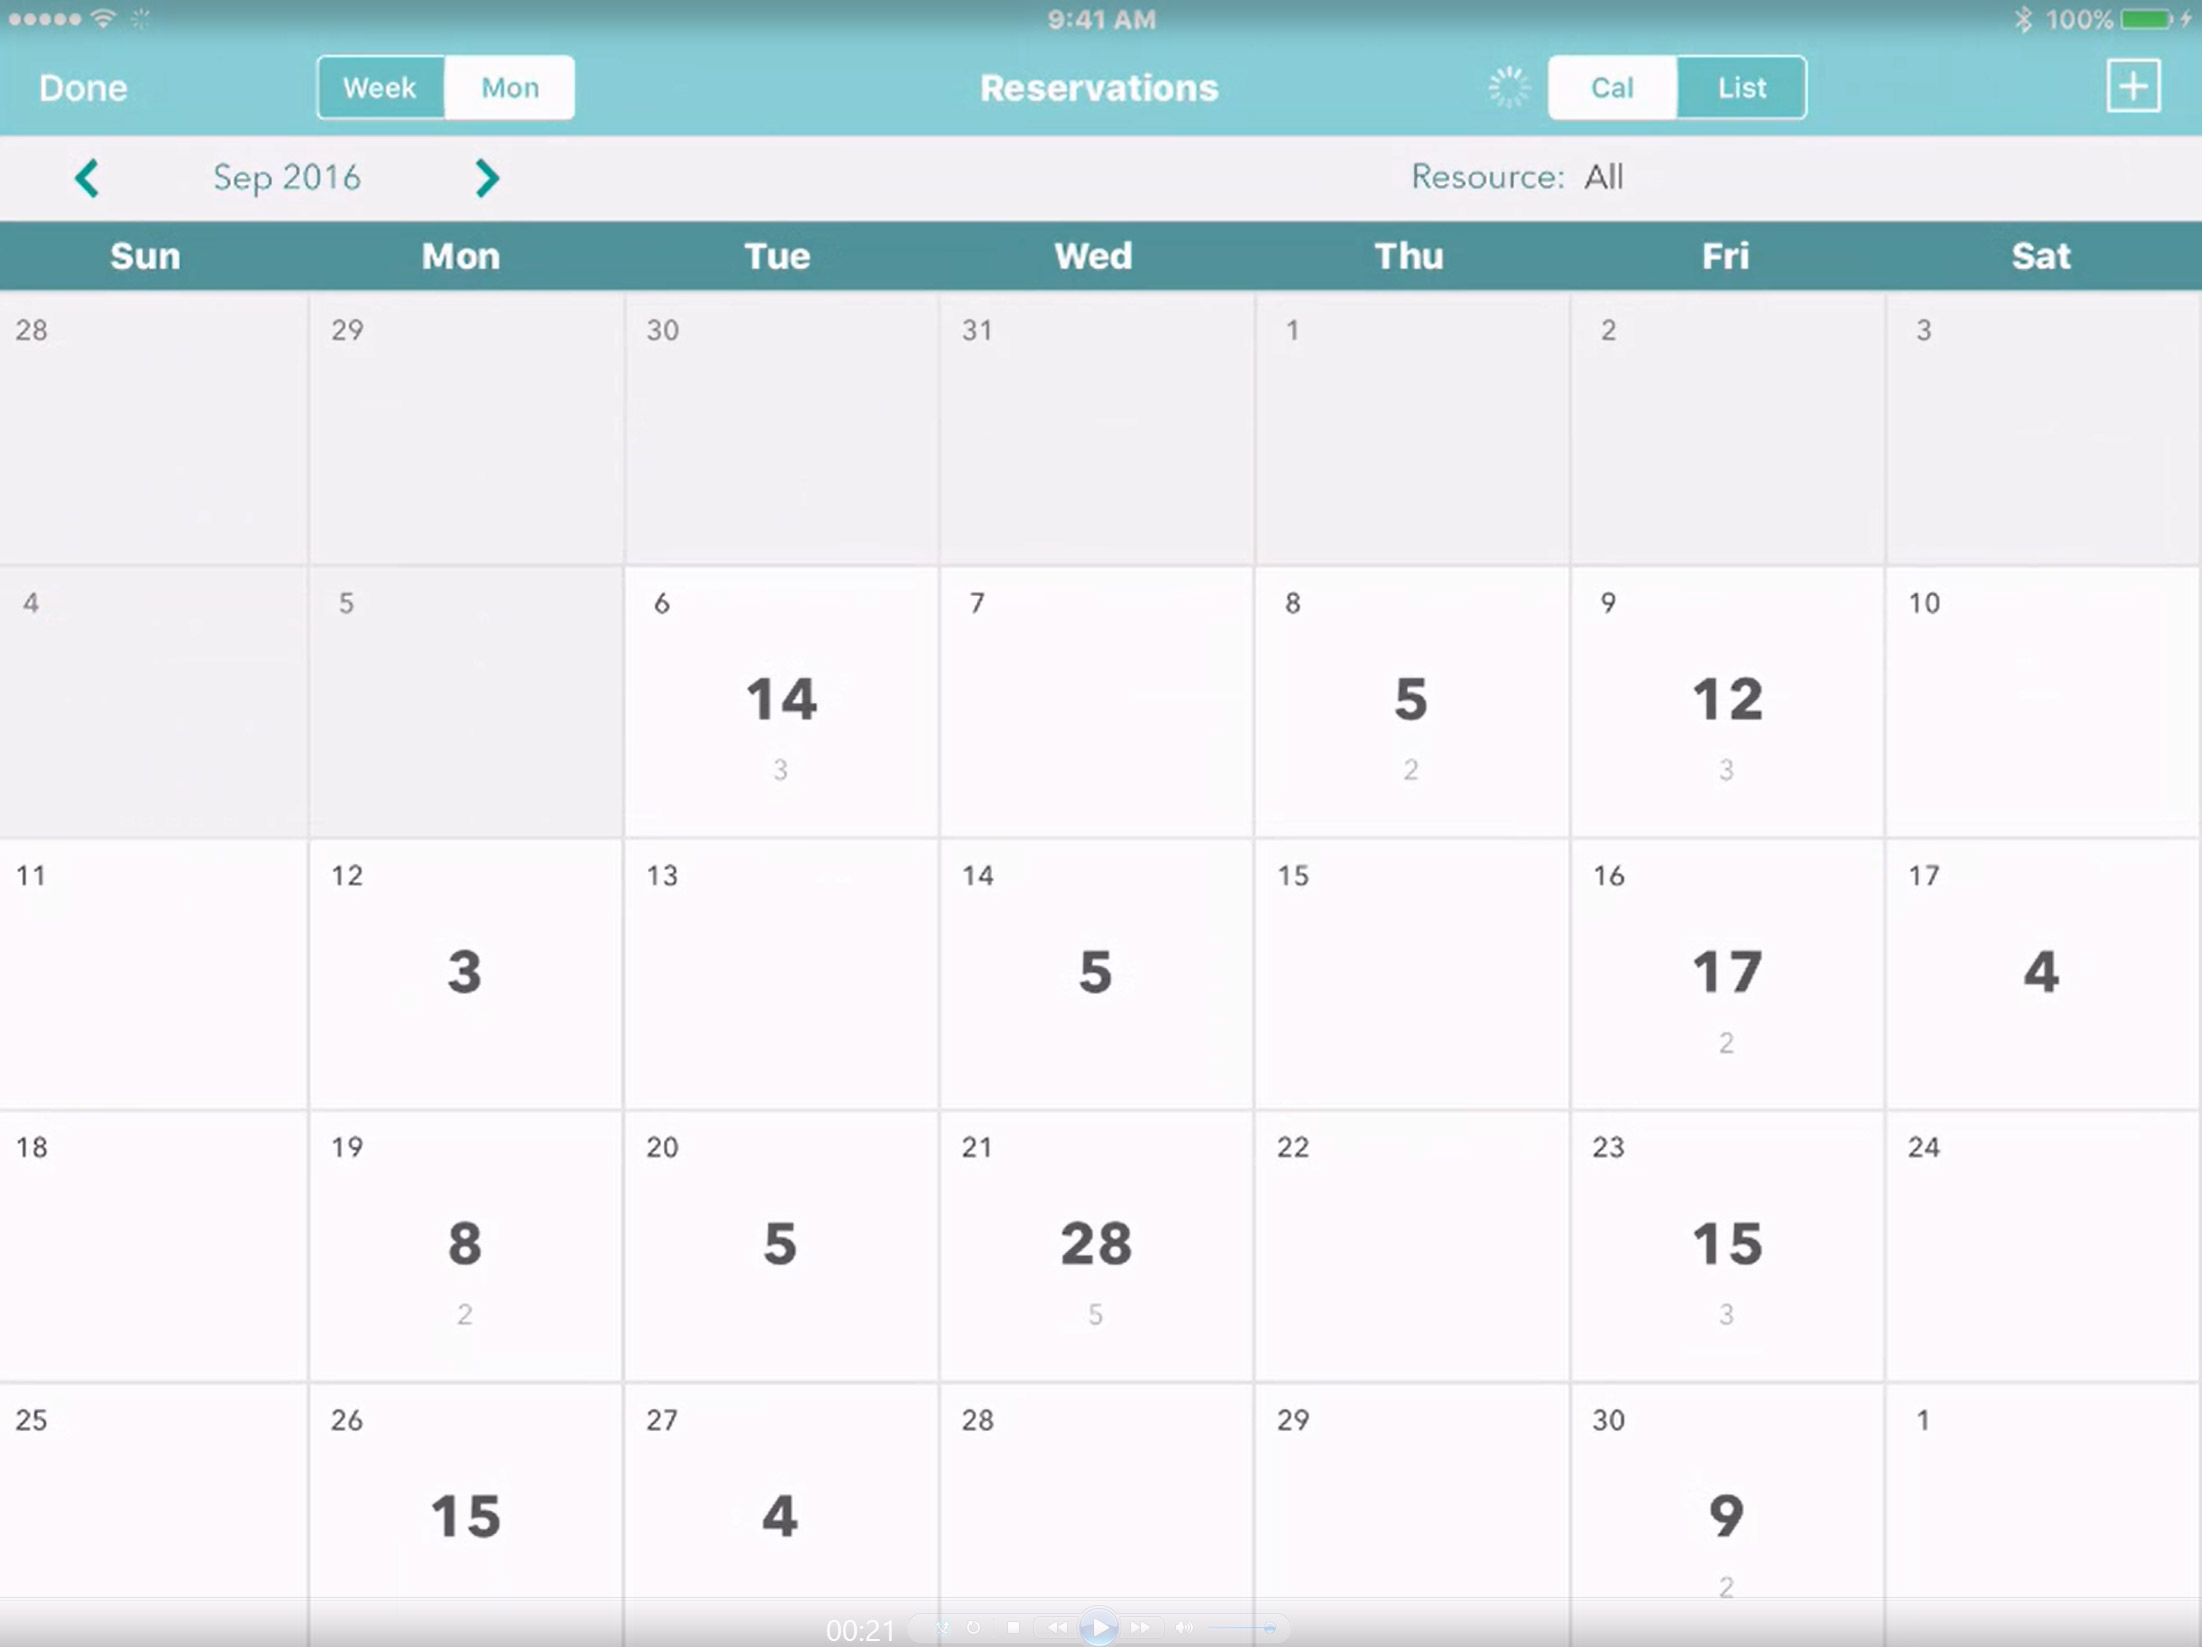
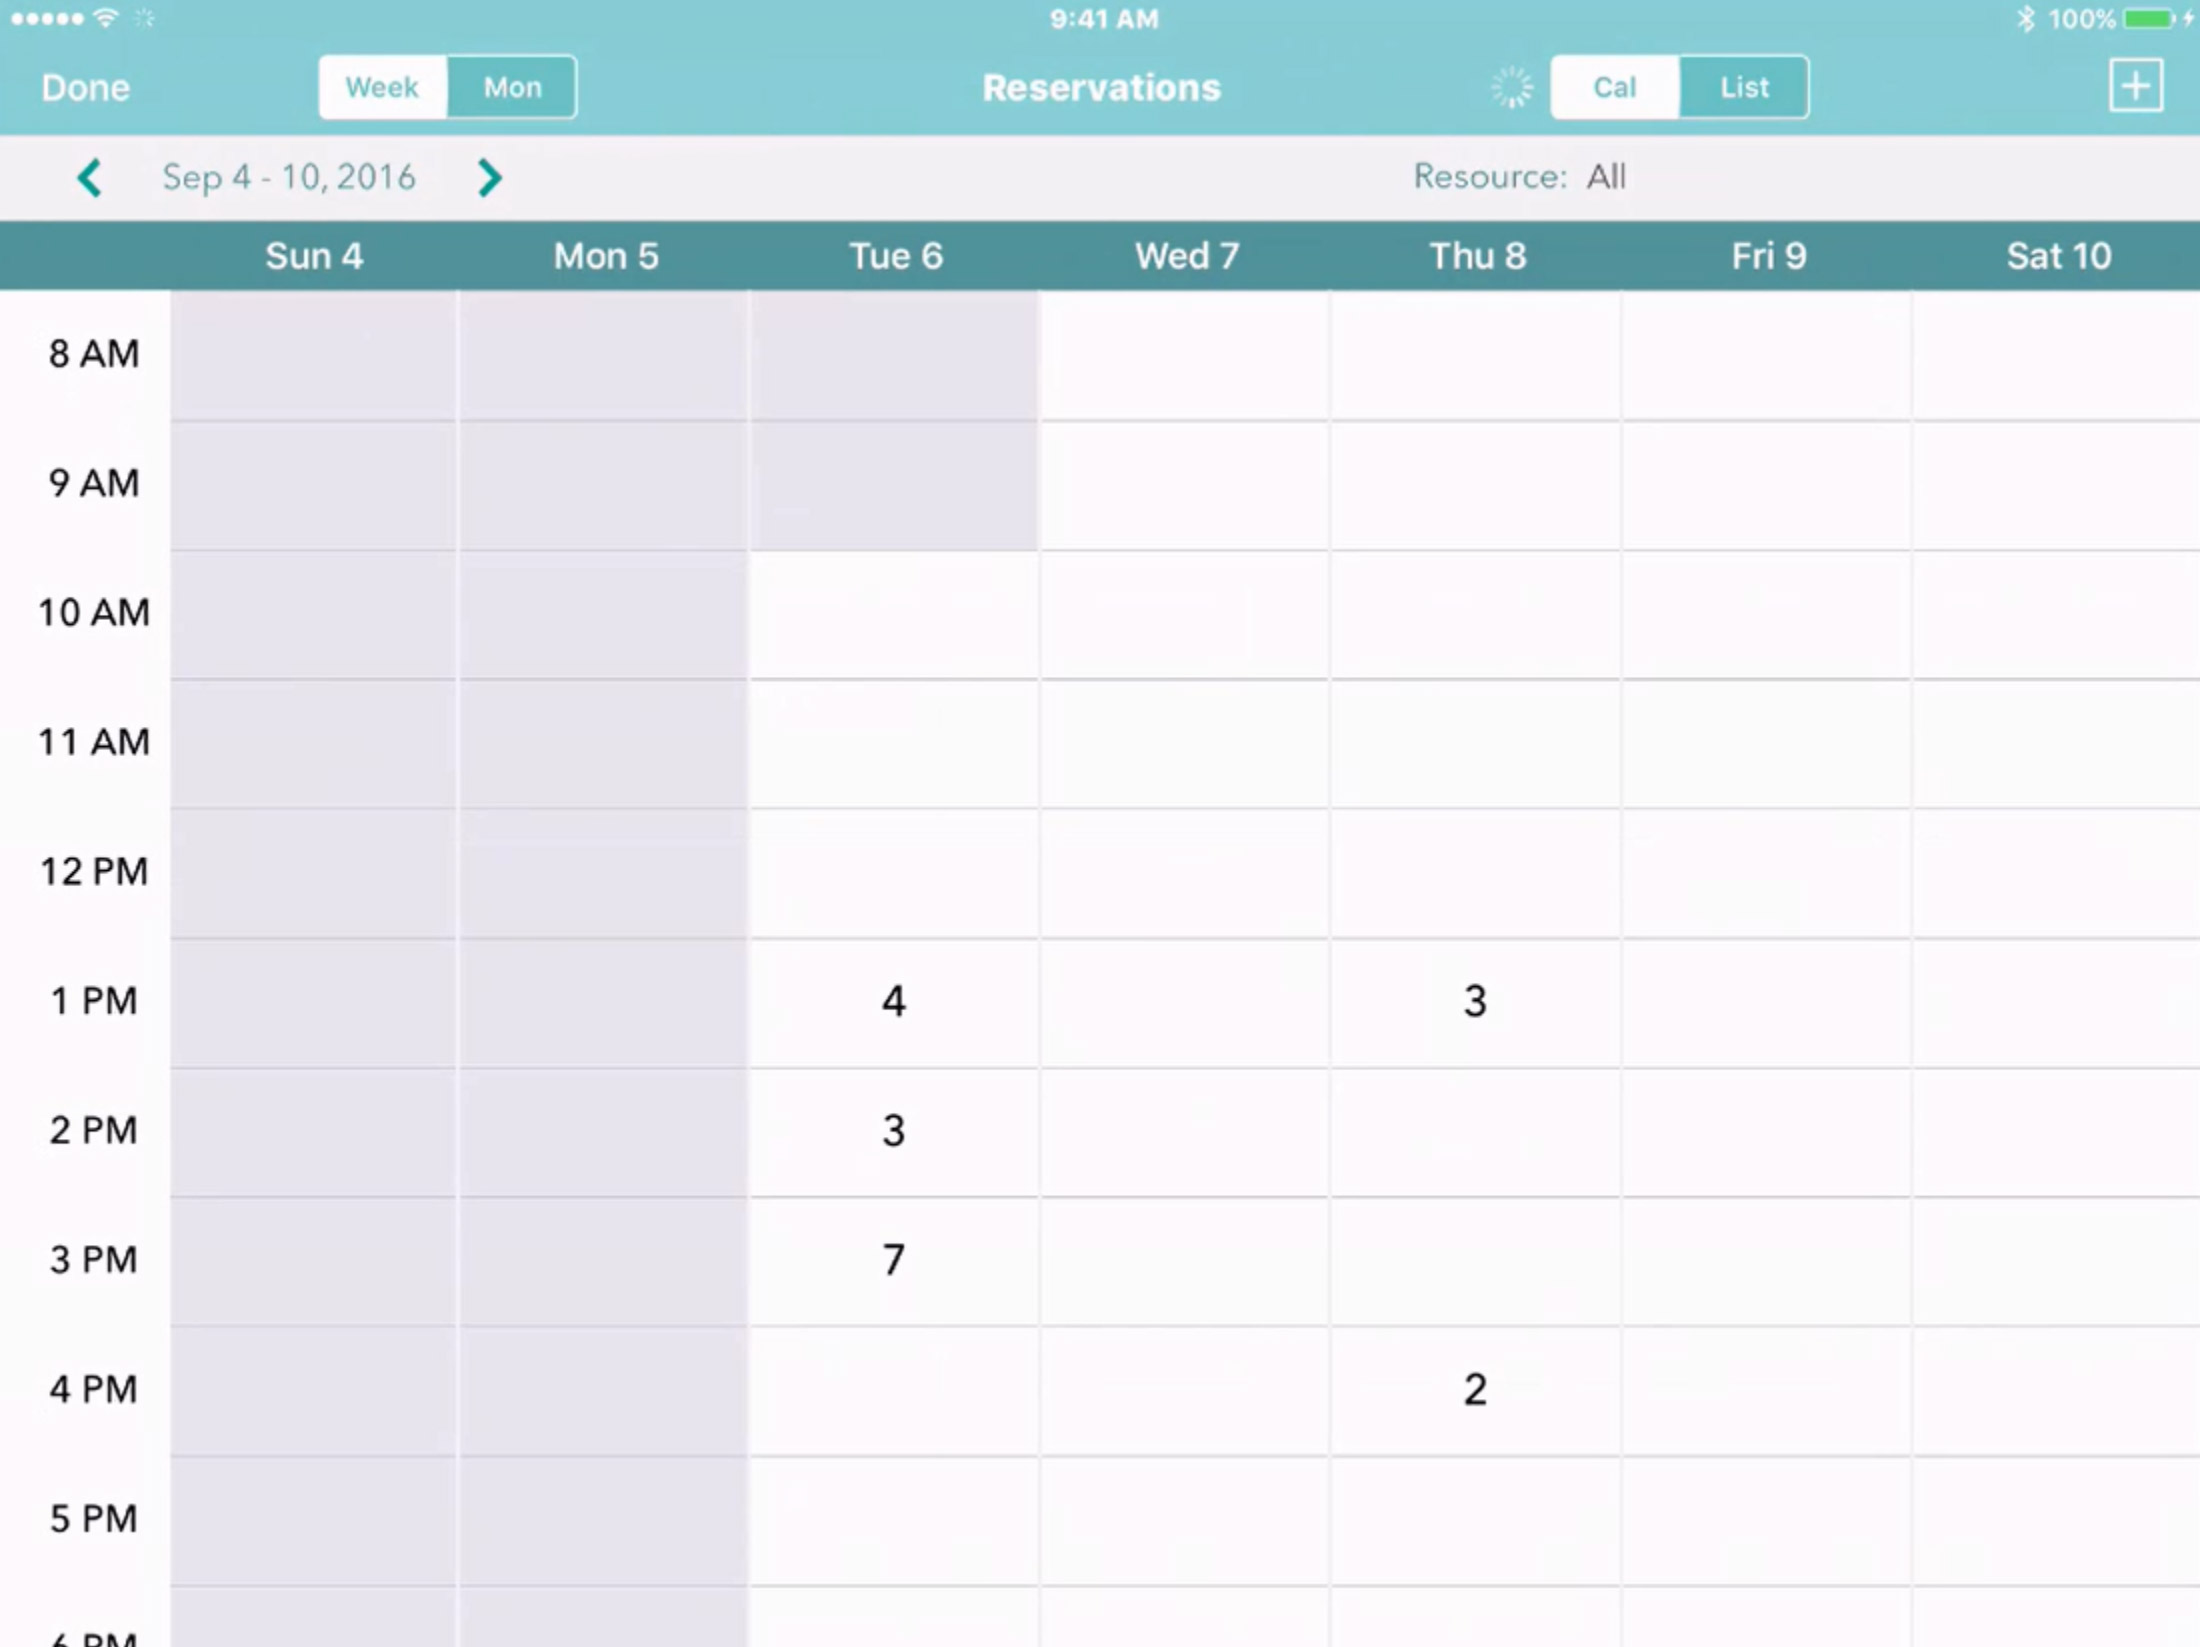
When you upgrade your restaurant to a digital waitlist and reservation system, you say “goodbye” to misplaced reservations. With Waitlist Me Platinum, you can use our flexible reservation views to see what your restaurant has in store for the holiday season and beyond. Plus, we built the app to incorporate reservations and walk-ins seamlessly. That makes it a cinch to navigate your guest list, no matter what.

#2. You want to quickly see the best place to seat parties in your restaurant

Forget about peering behind the host stand to survey available seating options. With simple digital table management, confusion over where to seat your large and small parties is a relic of yesteryear.

Set up a spatial floorplan, including saving different layouts and sections, so you can quickly adjust by time of day or day of the week. If you do a server rotation, we’ve got that option covered too. You can also flip to the grid view to see your tables in efficient ways, including by availability, by size, and by server. They’re color coded so that you can immediately tell what’s open and what’s not. 

#3. You want walk-ins in addition to reservations scheduled

A wall of waiting guests in your lobby is intimidating those looking to avoid a crowd. To them, one large group waiting for a few tables to be pushed together can look like a dozen parties—and that’s enough to make anyone want to try the restaurant down the street rather than risk standing in a line.

Technology can quickly clear out your entryway when you use Waitlist Me’s text notification feature to set your guests free. Instead of lingering around your hostess stand waiting for their name to be called, they can grab a seat at the bar or wander around nearby shops without worrying about losing their table. When they’re next in line you can let them know with a text, no shouting necessary.

#4. You want to ensure that all your guests have a great experience

With a paper waitlist and reservation system, you’re constantly flipping back and forth and scrabbling around for notes. It’s unprepared and unprofessional, and that’s frustrating for your hosts and for your customers. 

Our app brings a new level of sophistication to eating out. We designed it to be easy to use from the get-go, which will decrease employee training time. And because Waitlist Me is so simple, hosts can focus their attention where it should be: on the guests, rather than on the paper they use to keep track of them.

Friday, July 17th, 2020 .

Our table management and resource management tools help businesses track availability and the time customers spend at their business.  When assigning customers to a table or resource or moving customers between resources we have had a pop up for choosing from a list of assignments in some of our views.  In some cases this is a quick and effective method, but other times it may be easier to select a table from the floorplan view or a resource from the grid view, so we have added a new tap to add option that switches to these views for selection.  We have also optimized the action bar in the process to make it easier to view information on customers waiting for or occupying a resource and perform key actions like clearing, serving, and moving.

When you select an open table the action bar at the bottom will show the name & size, and the Add button will allow you to choose a party from the waitlist to assign to this resource. 

After a party is assigned to a table, tapping on that table will allow you to mark that customer as served (checking them off the waitlist), and show the table as occupied. 

Once a party is seated, tapping on their table will bring up an action bar to display the party’s name, size, and how long they have been there. Pressing the Current button will give options to move the party to another table, or clear that resource to mark it as available. You can also clear a party from a table by pressing their current ‘Taken’ status on the left of the action bar and selecting ‘Open.’

On the waitlist screen there are new options for assigning a party to a table. If you press in the Assign column for a party, you’ll see a list of tables that you can assign the party to. There will also be a new button at the top right of this menu, for Grid or Floor (depending on what view you’re using). Pressing that button would take you to the grid or floor view, where you could then tap on a table to assign the party. 

Once you choose Grid or Floor, the app will remember your selection and default you to that for future selections. The Floor/Grid button on the upper right will switch between those two views. If you prefer the list of tables, just choose Use Pop-up on the upper left. For the floorplan view, if you have more than one room you will also see your menu on the upper right to switch between rooms. 

When assigning a party to multiple tables, just press and hold the first one and then you will be able to select more. Press Done on the upper right to finish assigning multiple tables.

Wednesday, April 25th, 2018 .

Waitlist Me makes it easy for your customers to let you know with a quick text response whether they are cancelling or on their way, so you know whether to expect them or not and can plan accordingly.  We are now combining that simplicity with more flexibility for handling other types of text responses, so you have more visibility into what your customers are thinking and can make smarter decisions faster.

Customers can send two pre-defined responses to text messages to let you know whether they are coming or not. If a customer texts back a “2”, you will see a “coming soon” message in the notes area of the waitlist view. If they text back a “3” the message will say “not joining” and the row will flash. The default notification that is sent to customers when you press to notify them explains these options and looks like this (you can always edit):

Text received


If people text back something other than a 2 or a 3, you’ll see “text reply” in their row on their waitlist.

Text response waitlist


Tapping on their row will open up the Edit Party screen, which will show their text. You can see things like if they mentioned how long they would be, if they had a quick question, or didn’t understand whether to use a 2 or a 3 and just replied back with something like “Cancel”. You can also see other important details in the Customer Visit section, such as when you notified them it was their turn, how long they were quoted, and how long they have been waiting.

Text visit history


Pro users have the additional feature to send custom text responses to texts received, up to three times per customer visit. The point is to keep things simple for you and your customers rather than get into a long chat with them that could be time consuming.

Text response Pro


If a customer tries to call the assigned phone number in response to the text or call coming from that number, they will hear a message explaining that the number is only used for notifications and it will provide them your regular business number to call. Pro users have the option to create a custom text-to-speech message for handling these inbound calls.

Here is more on customizing notifications.

Monday, June 4th, 2018 .

Aromatherapy facials, deep tissue massages, seaweed body wraps—all things R&R are on our radar this summer.

While your guests sip champagne and slip into jacuzzi tubs, we’re setting aside our cucumber slices. Why? Because dare-to-bare beach season is here! We’re revving up our waitlist and management app to help you handle the hustle and bustle of weekend trips, girls’ getaways, and long afternoons of head-to-toe pampering.

Here’s how Waitlist Me can help spas and salons crank up their customer service.

Balance walk-ins and reservations

There’s no need to fuss over the different types of clients you serve! Waitlist Me lets you handle them all with ease—and see where you can squeeze in a walk-in among a slew of reservations.

Keep tabs on multiple locations

Waitlist Me ensures that owners and managers of multiple locations don’t have to twiddle their thumbs wondering how business is going or tie up the phone lines. Our Multi-Location Management lets them check in 24/7/365 from wherever they are.

Let guests check themselves in

A line at your check-in desk can turn customers off. With Waitlist Me, though, you can quickly set up a Self Check-In Kiosk where guests can DIY instead of stand in line (and get to the R&R part of the visit way faster).

Offer accurate wait times

No more hazy estimates about how long it’ll take to finish up those French tips. Tracking actual waits next to estimates helps your staff learn to quote waits more accurately and know when things are running behind.

Ensure that every front desk attendant is in the loop

Forget about sharing a single reservation book with three hosts! Multi-Device Sync lets you put Waitlist Me on as many devices as you want, letting you ramp up staffing (and dial it down) whenever you need to.

Check availability at-a-glance

Waitlist Me is designed to be intuitive to use. That means your front-of-house staff can spend more time on customer service and less time scrolling through a zillion complicated screens.

Enable guests to wander while they wait

When a customer reaches the front of the line (or their masseuse becomes available), Waitlist Me lets you text them for free to let them know. And if they’re a few minutes away? No sweat. They can text back (and never have to worry about losing their spot).

Allow customers to make appointments on the fly

A spontaneous pedi? Why not! Our Add Yourself Web Widget is a second-tier feature that lets guests add themselves to your waitlist from wherever they are, no phone call necessary.

Offer a public waitlist

With Waitlist Me, there’s no need for toe-tapping impatience. Pop the public waitlist feature on a monitor or TV screen in your lobby, and guests can see for themselves where they are in line.

Track your ROI on-demand

Our app’s Pro-level analytics run in the background 24/7, making it easy to spot trends in the popularity of your services or employees.