We are excited to announce a new set of calendar views that make managing and scheduling reservations and appointments even easier. Building on our previous streamlined list views, the new calendar features let you see your availability at a glance so you can plan ahead and deliver great customer service. View total scheduled customers by month, week, or day and just tap on a specific time to schedule a new customer in a few seconds.
Reservations
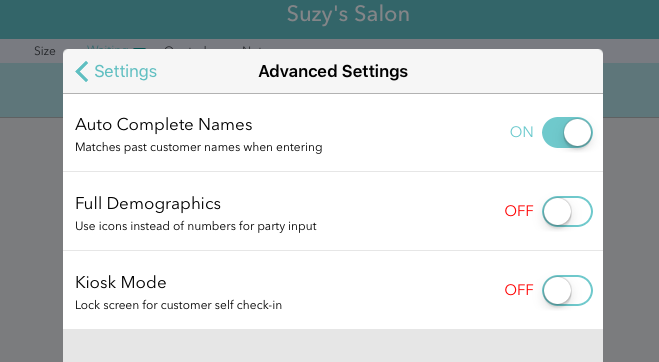
With the Reservations and Group options in your waitlist settings, you can make reservations for groups of different sizes and see the total number of customers as well as groups in your calendar. The daily view also makes it easy to schedule reservations for specific tables if your business is a restaurant. Or in other businesses you might make reservations for room numbers, rental items, tour guide names, and so on. Here is a video on how it works.
Appointments
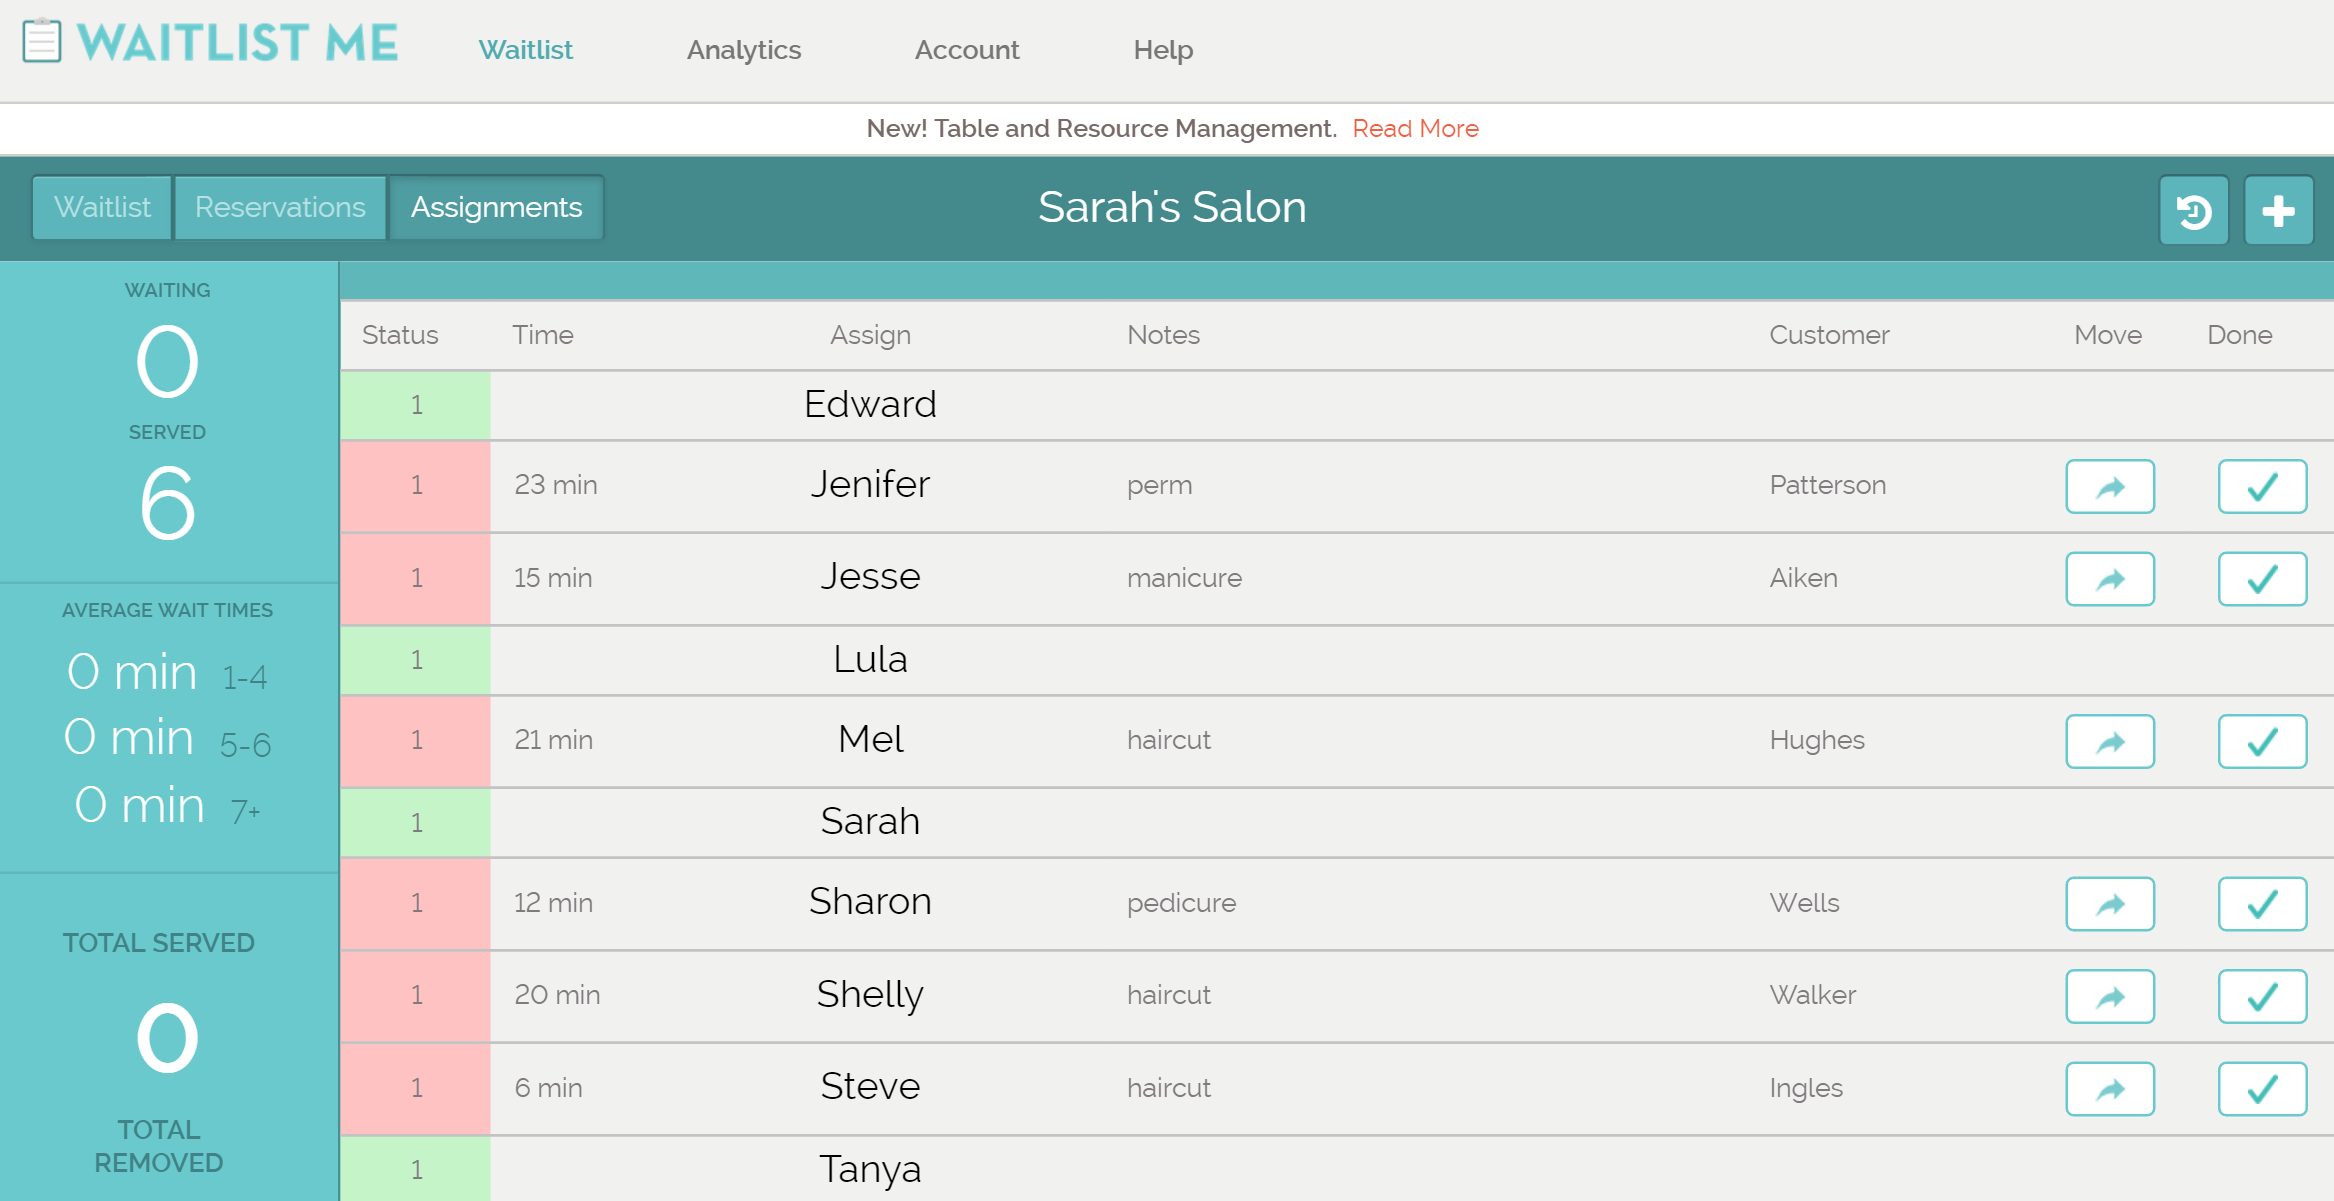
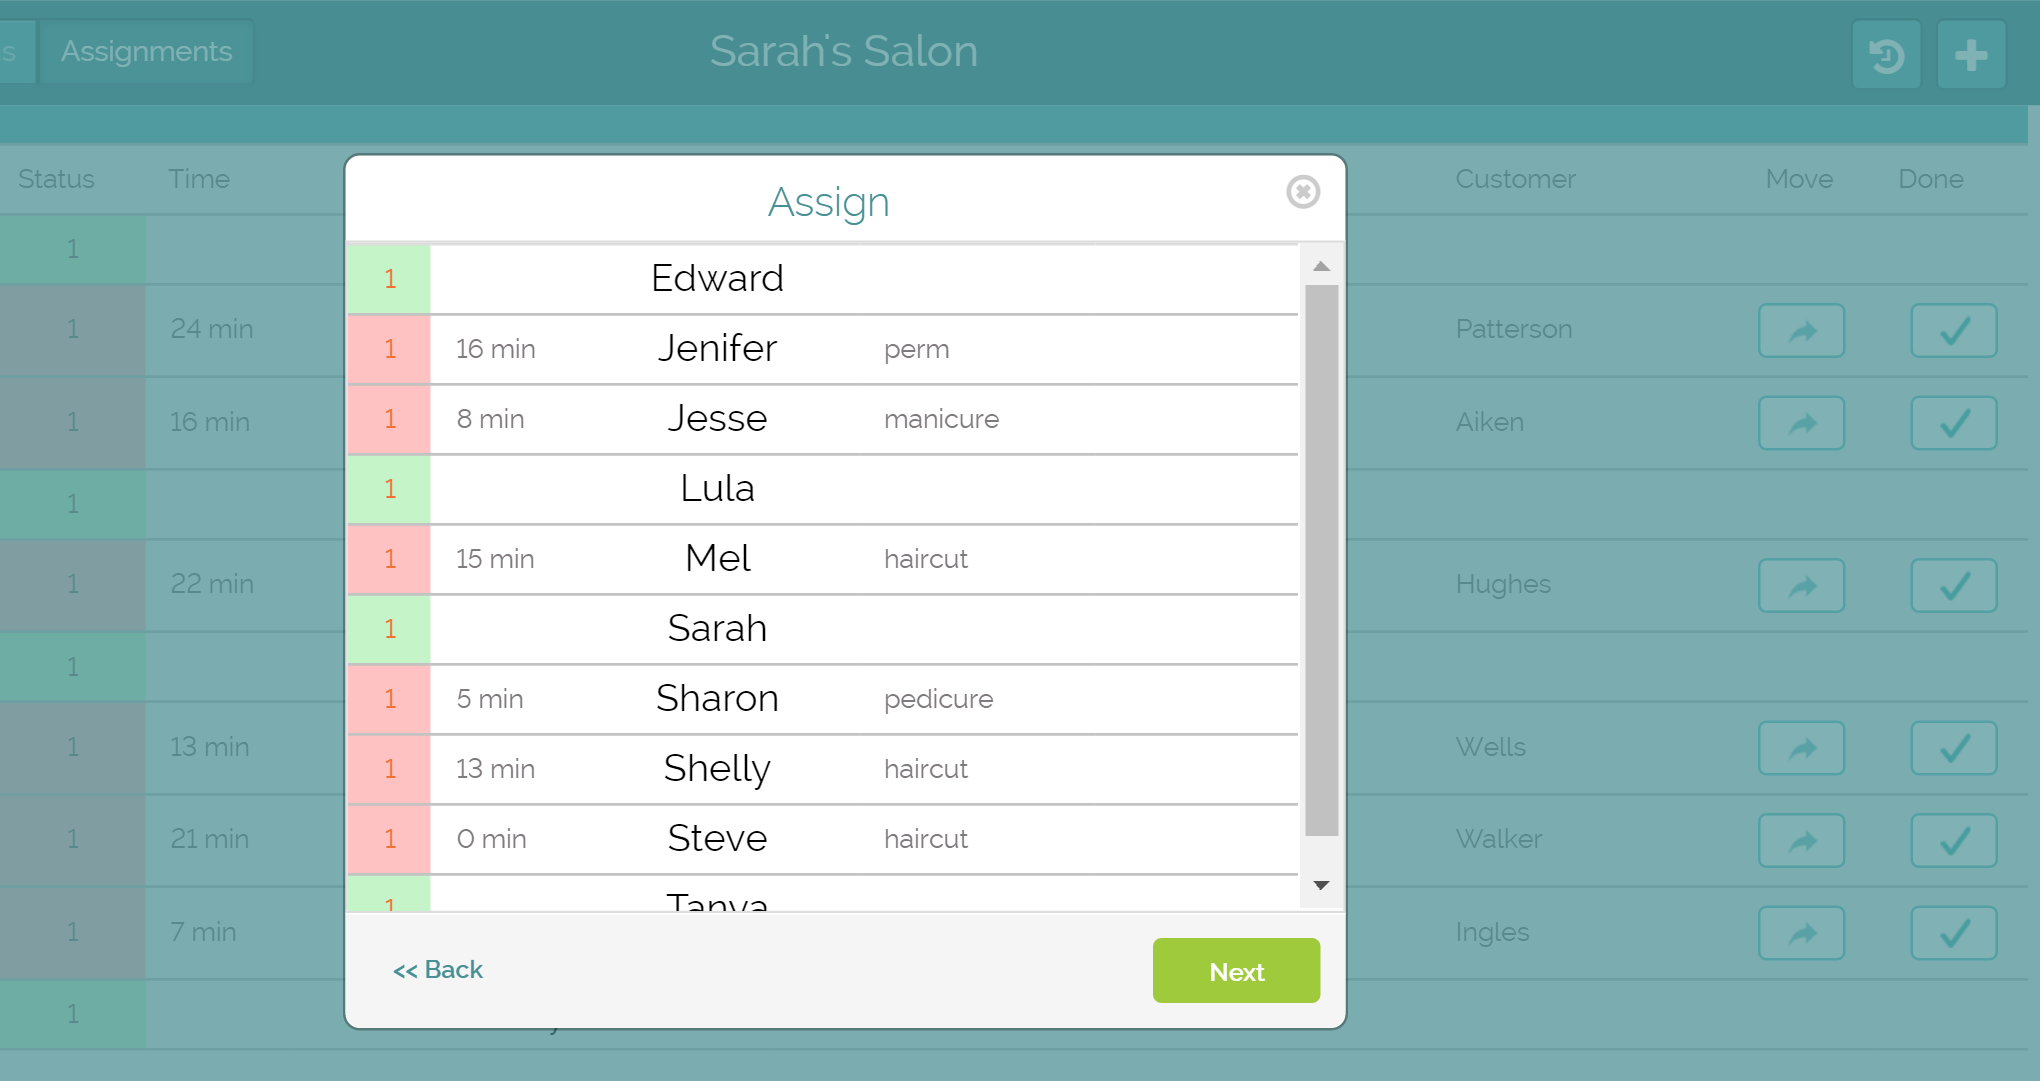
With the Appointment and Individual options in your waitlist settings, you customize scheduling to not ask for or display group size, since you’d normally be meeting one person at a time. The daily view lets you schedule appointments for specific team members or people at your business. Depending on your business these might be the name of hair stylists, sales people, technicians, doctors, and so on. Here is a video on how it works.
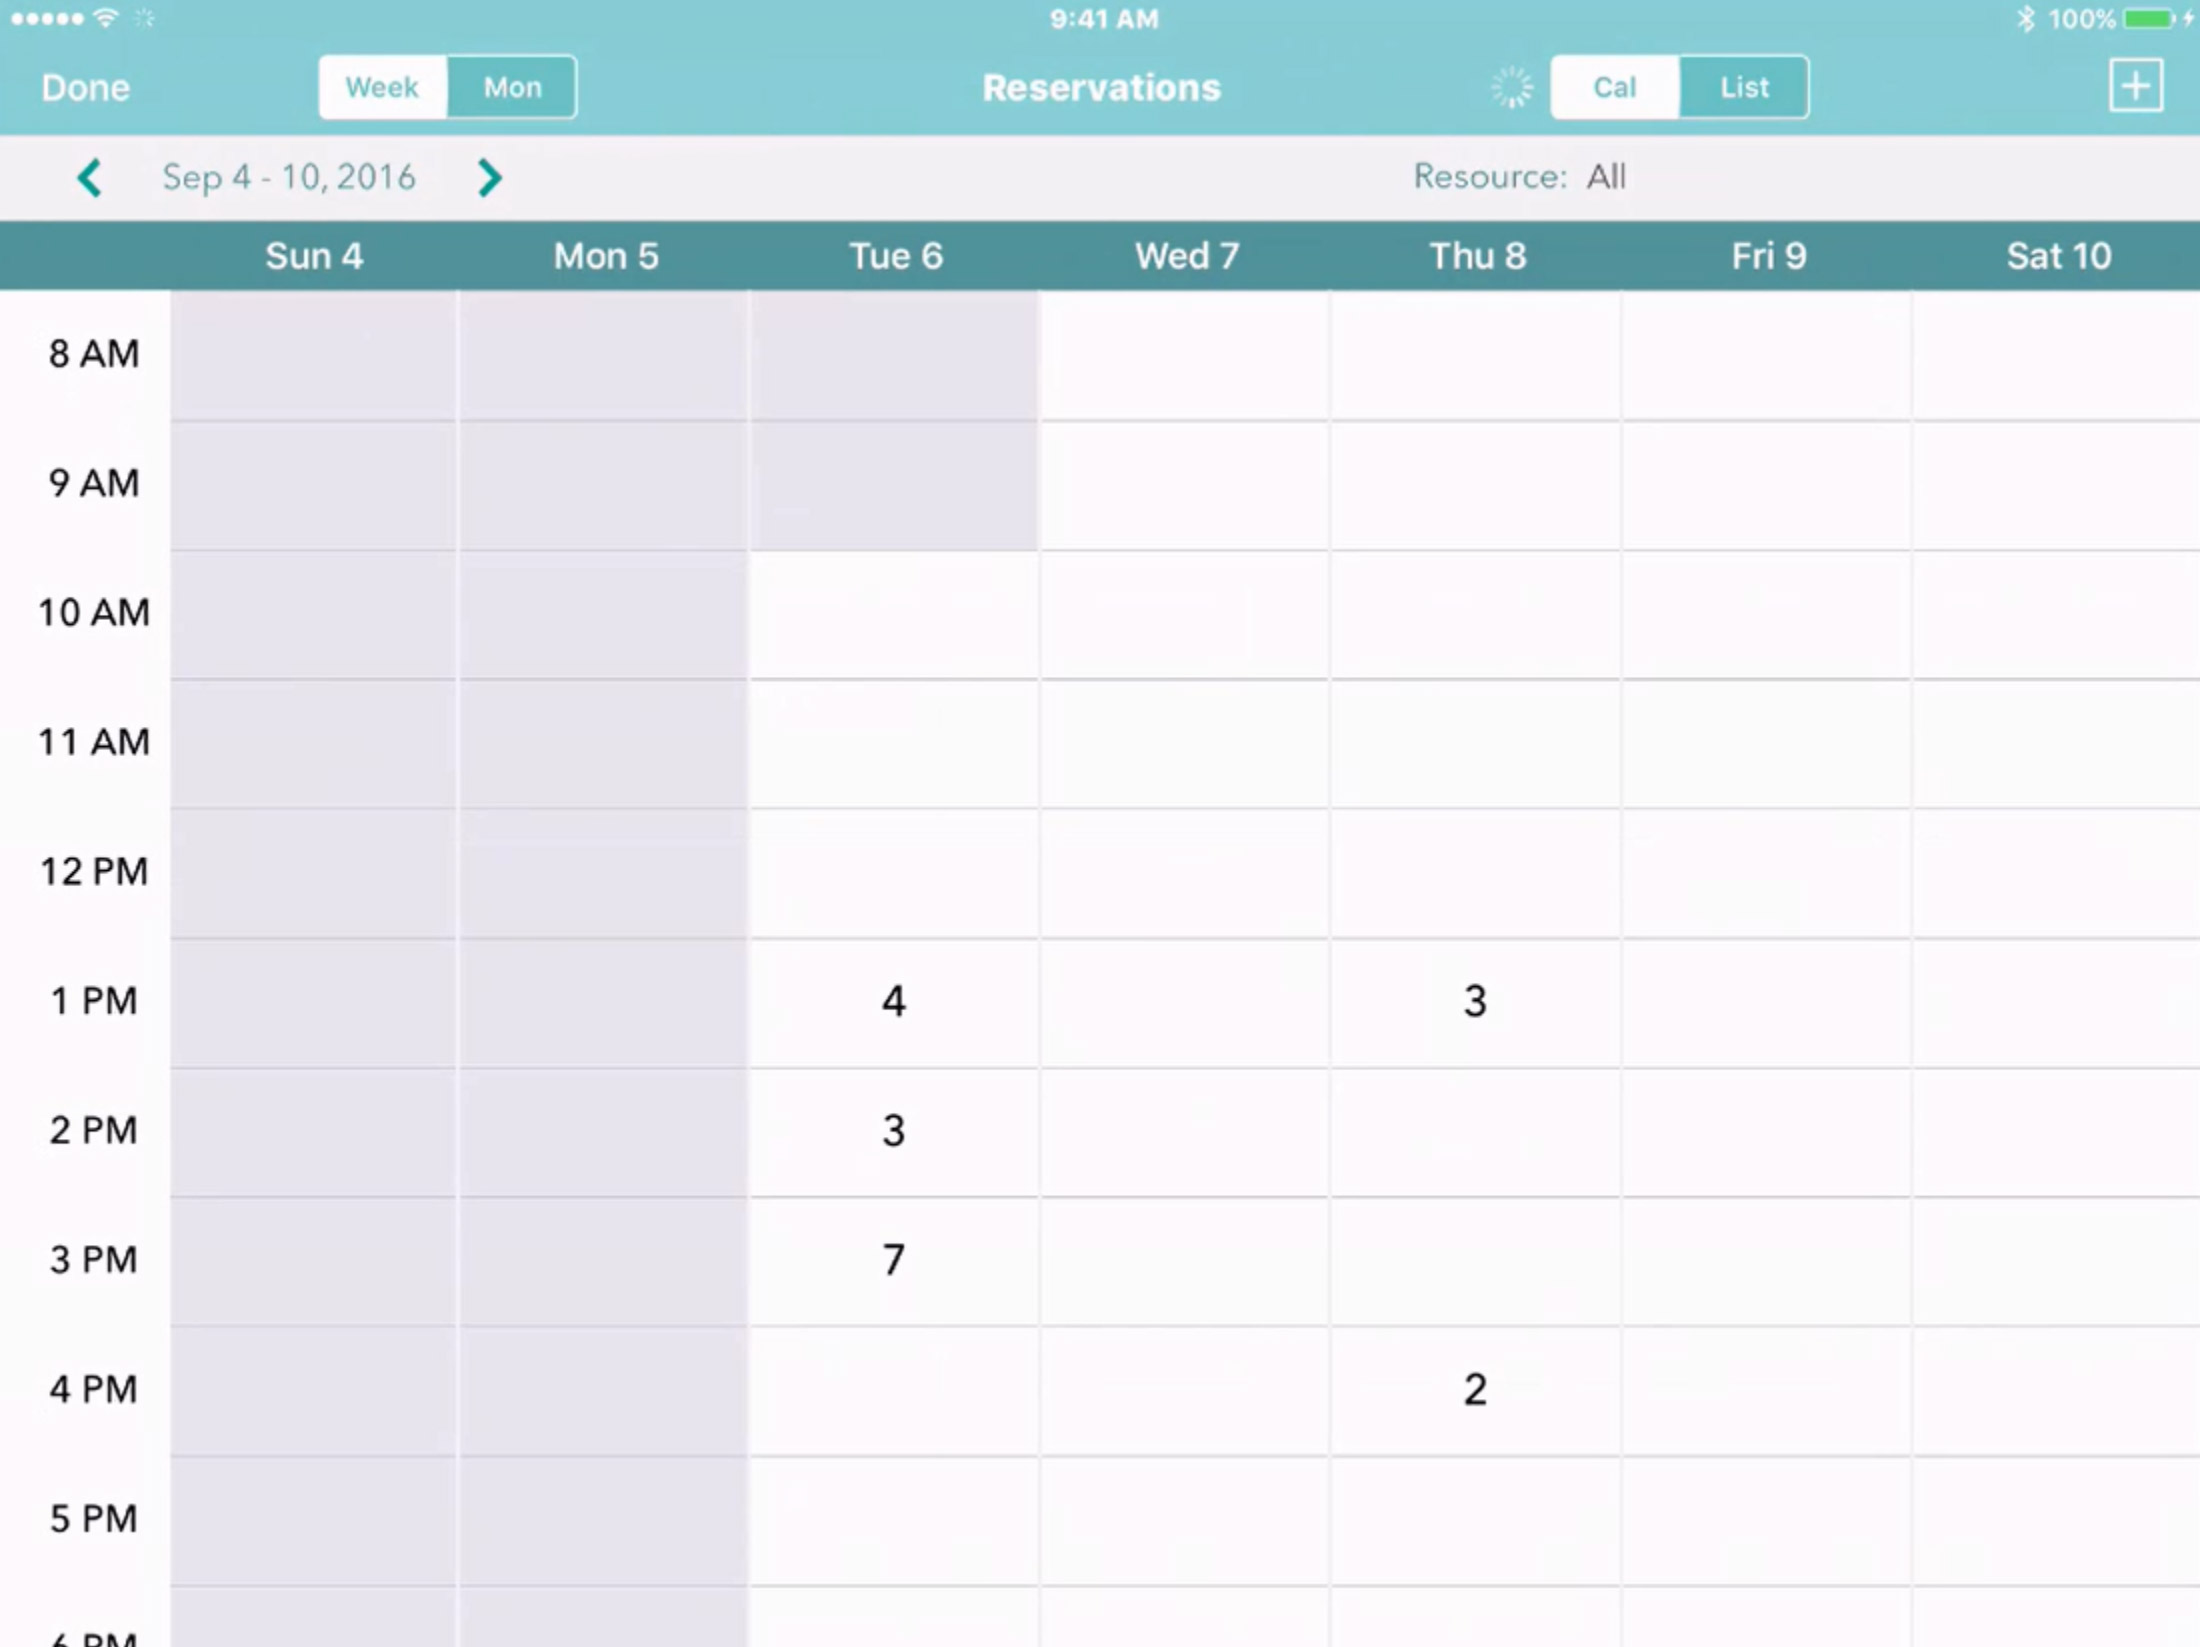
Here is how the daily calendar view looks:

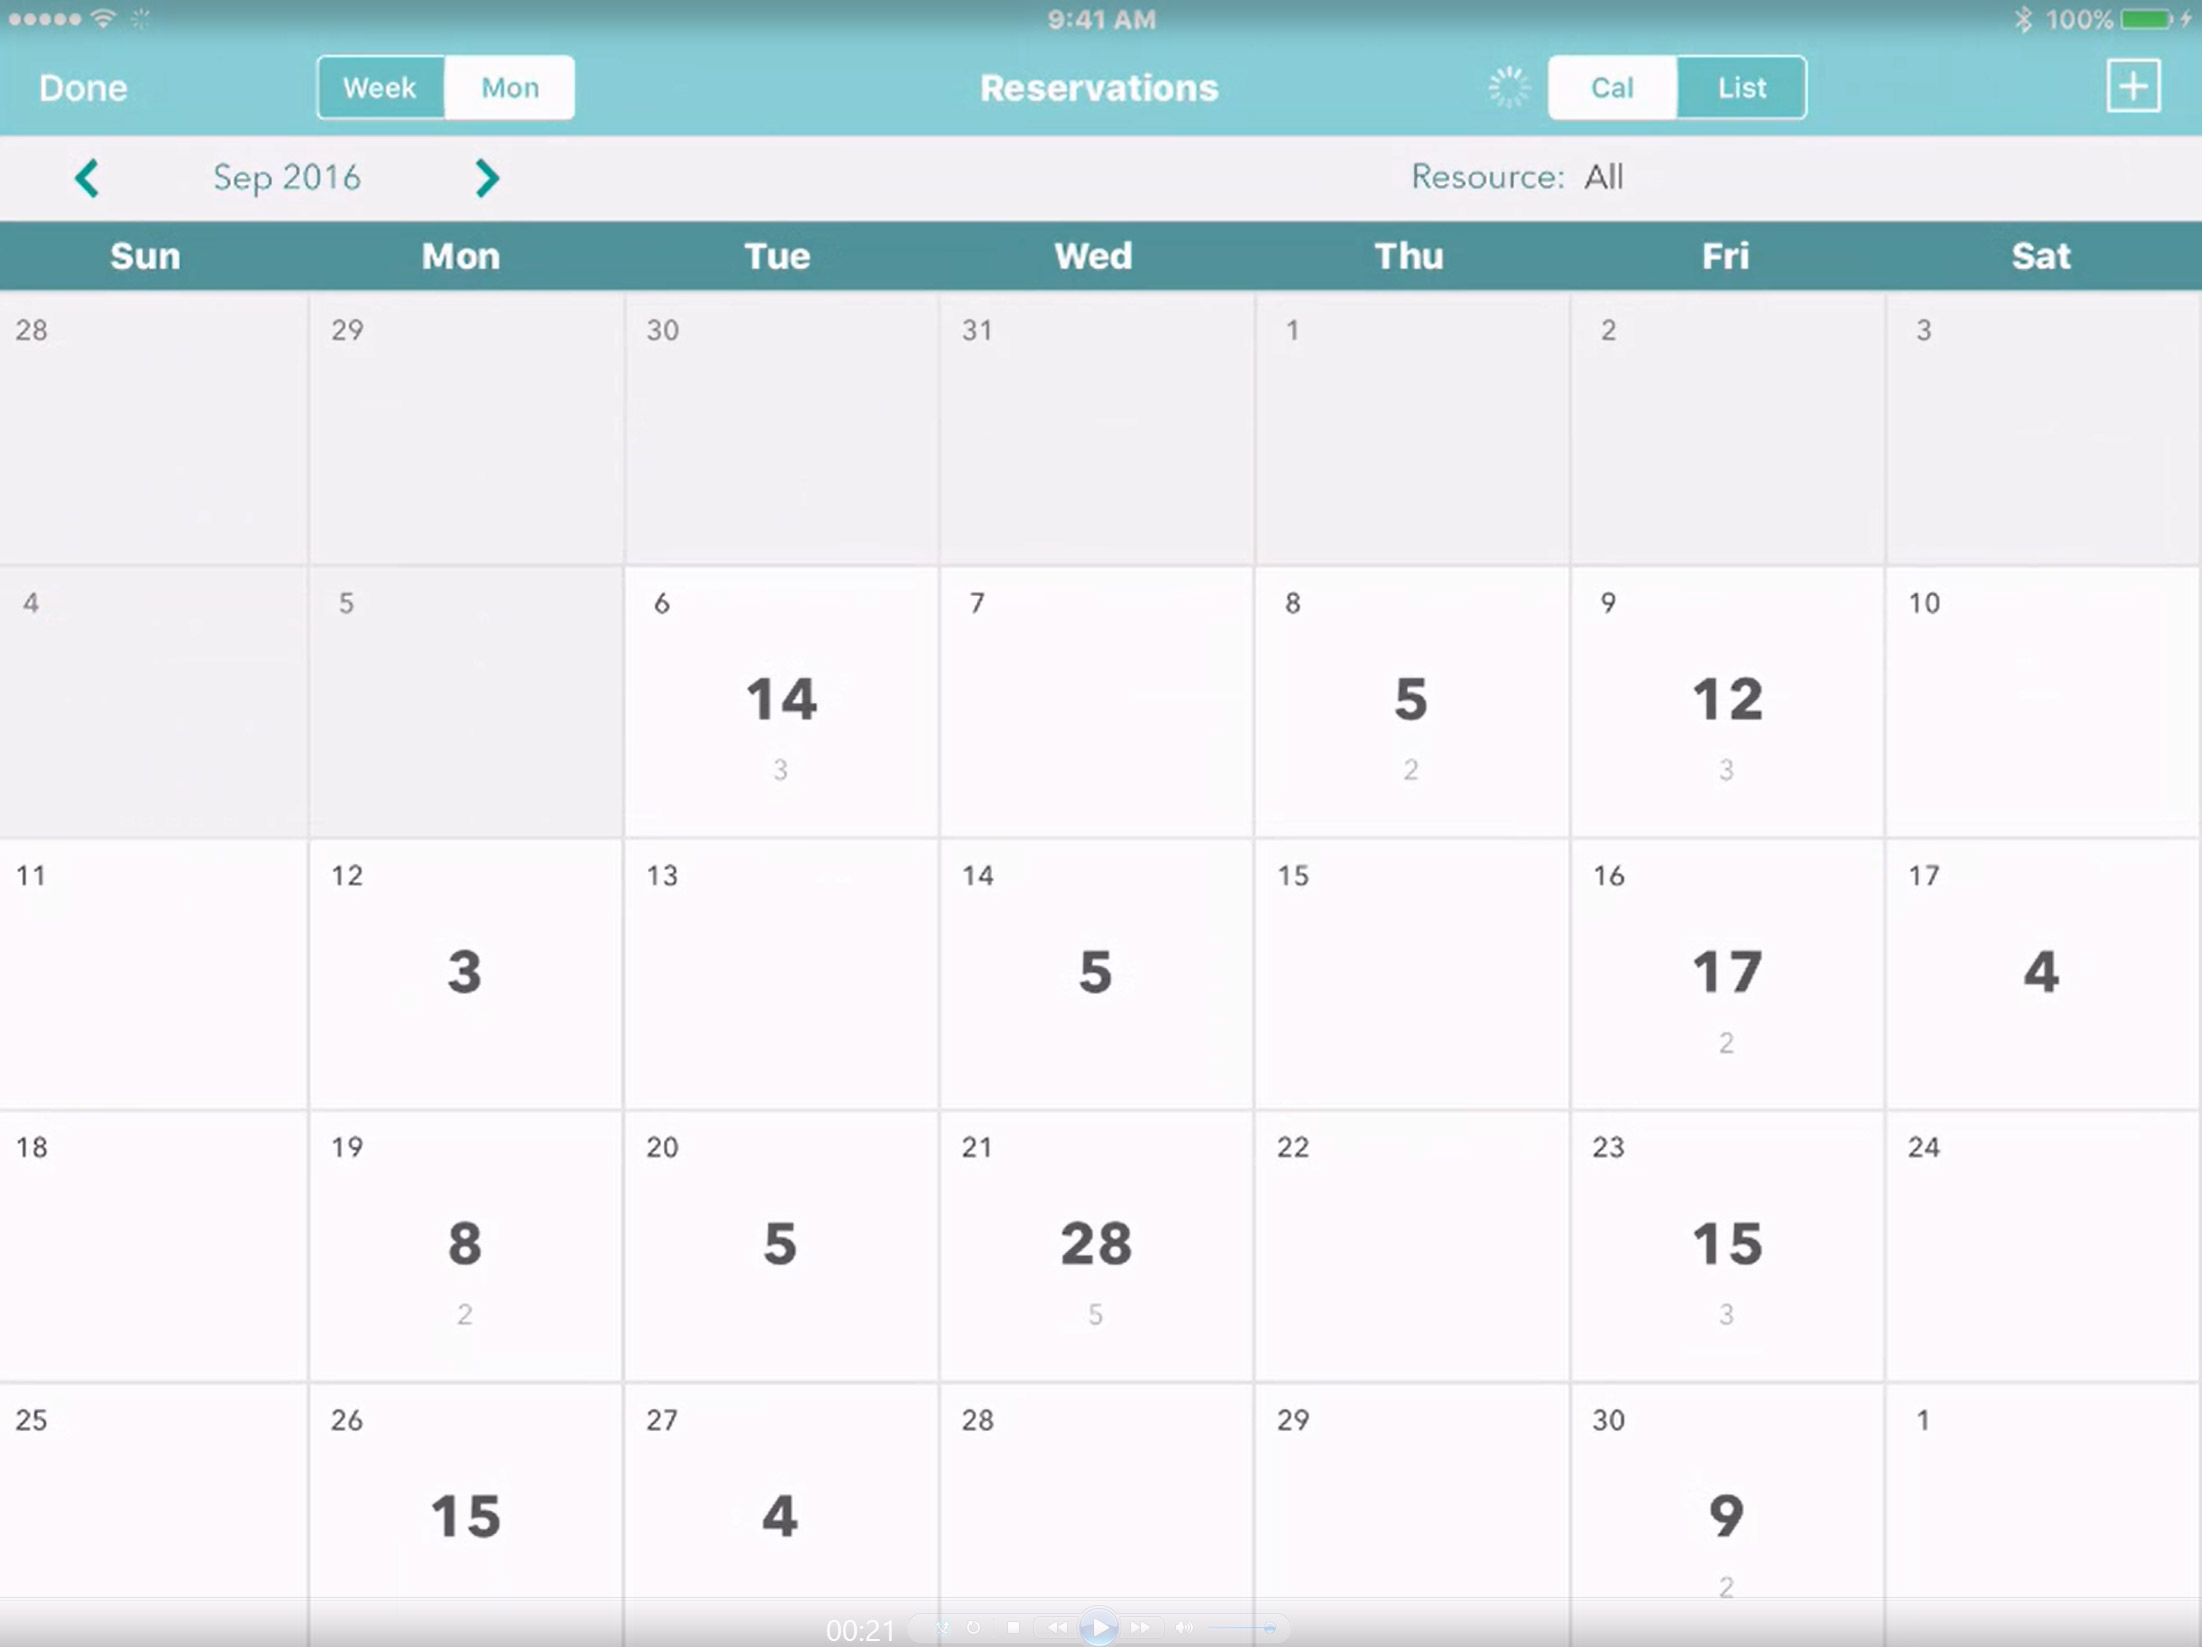
Monthly calendar view:
Weekly calendar view: