Wednesday, December 10th, 2014 .

santa noshlist

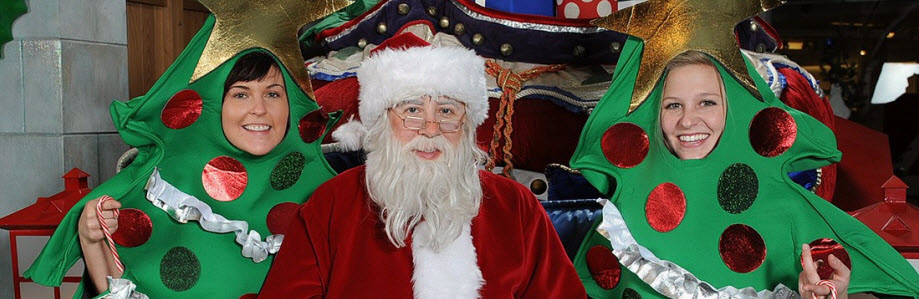
Memories of sitting on Santa’s lap can evoke strong feelings of nostalgia for many of us, and continuing the tradition of capturing these magical moments can be a must-do for parents and grandparents of younger children.  The problem is that the holiday season is already a very busy time of year, and getting a turn on Santa’s lap usually requires some waiting. In worst case scenarios, it can even take several hours. Santa’s Playground and Santa’s Castle in Calgary have found a way to give back some of this precious time to families this holiday season by using NoshList for their waitlist.

Believe Imaging, an event photography company founded by Shelagh Anderson, photographs children with Santa at two of the busiest malls in Calgary, Alberta, Canada. At each location, employees are tasked with the responsibility of making sure every child who visits gets a turn to tell Santa what they would like for Christmas.

On average, the two centers combined receive upwards of 7,000 visits per week during the holiday season from November 23 through December 24.  To better handle the large number of visitors, Anderson was able to streamline the registration process and improve the customer experience by rolling out NoshList at both locations.

Prior to the launch of NoshList, employees were using pen and paper to take down names and numbers.

“The problem with pen and paper was the constant barrage of customers coming to ask if it was their turn because there was no visual display letting the customers know where they were in line,” Anderson said.

At first Anderson researched paging system, but the high initial and ongoing costs led her to seek an alternative solution.

“Originally in 2013 I sought out pagers, but after speaking to someone who had a system in excess of $3,000 I thought to myself that it didn’t make sense to invest in that archaic technology and there had to be a better way,” she said. “So I started looking on the Internet and came across NoshList in March 2014. This type of concept has been in my head for a number of years, so finding NoshList has definitely helped us realize some of the vision that I’ve had over the years.”

With the busiest days bringing over 700 kids to see Santa, children and their families can wait up to an hour for their turn.  While there is a play room in each location to ease the boredom, having a waitlist system like NoshList gives parents and families the ability to do other things while waiting for their turn.

“In terms of improving communications with our customers and allowing them the opportunity to roam the shopping center rather than stand in line, NoshList has been extremely well received by both mall administration and customers,” Anderson said. “Mothers are thrilled because they can register and know their kids are going to see Santa, while they have the freedom to go get a drink, use the restroom, continue shopping, or do other things.”

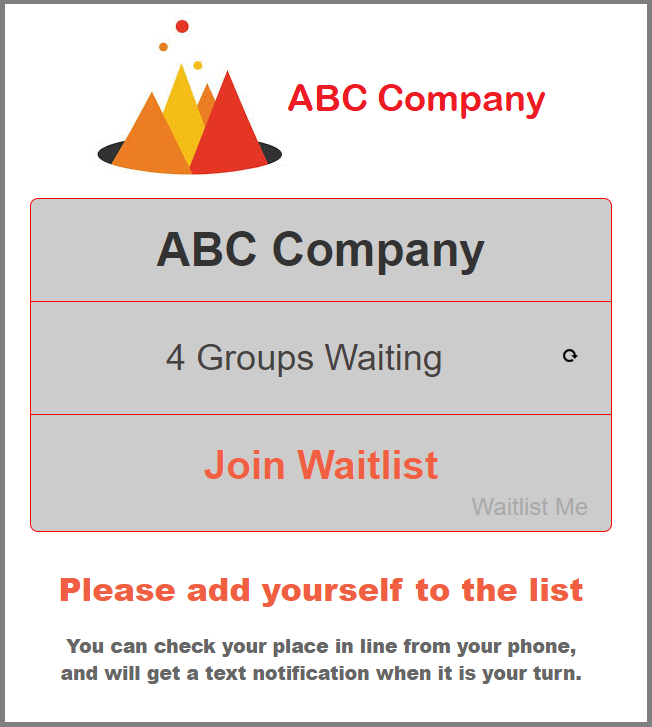
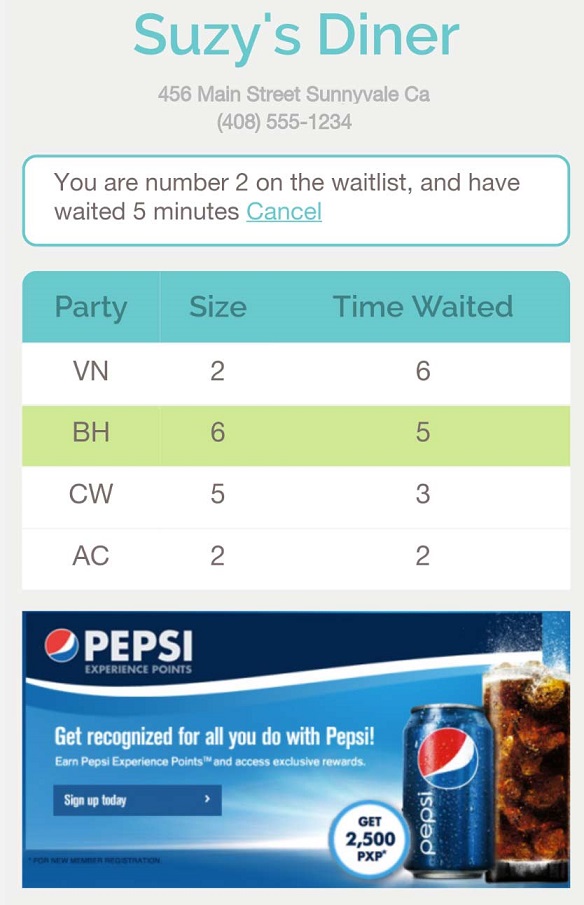
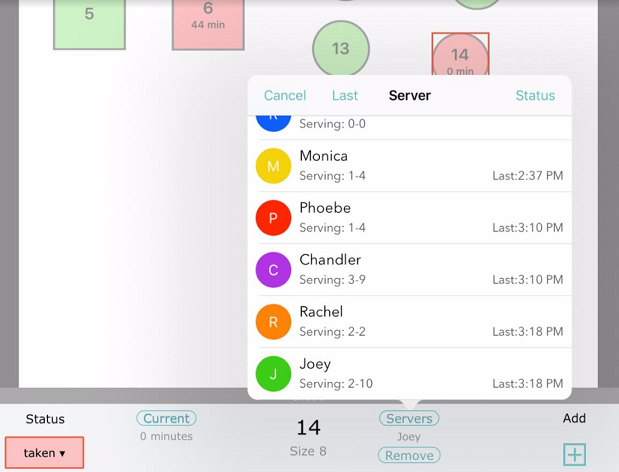
Registration is handled by three employees who are each armed with an iPad to start the waitlist process.Customers can see their places in line by clicking on a link to the public waitlist view and get a better estimate of how much longer it will be before their turn. The company also encourages their customer service desks to also log on to www.waitlist.me/n/believe_mm to accurately convey to customers who phone in asking about the wait times.

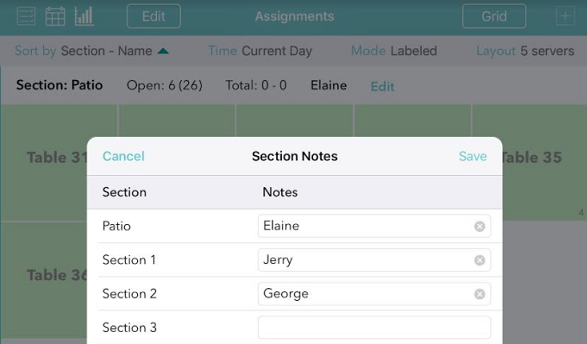
But the best part is that employees can also take down the children’s names and ages so Santa is prepared even before the child makes it to his lap.

“The elf standing next to Santa can relay the names of the next kids to him, and it adds that extra level of magic to the experience,” Anderson said. “If you’re a child and you round the corner and Santa calls you by name, that’s pretty awesome.”

believe imaging

Tuesday, October 27th, 2020 .

Waitlist Me’s Pro & Platinum subscriptions offer more opportunities to tailor the customer experience to fit your brand image and messaging by allowing custom HTML to be added to key touchpoints. You can customize several of the views customers see when scheduling a reservation or joining the waitlist as well as the views of the public waitlist they can see while waiting and after they have been served.  

Add Yourself – When using the Add Yourself features on the main web widget and kiosk views, you can include a block of HTML to the page to display rich-formatted text and images. On the main view before customers enter the information you might provide information about rules for scheduling, requirements for entering your business, or anything else that might be helpful to customers when joining your waitlist or making a reservation. You can also add different HTML to the confirmation page that customers view after they add their info and submit their request. Helpful information here might include a link to a restaurant’s menu or a store’s catalog, so people can browse and make selections while they wait. 

You can add plain text, HTML, links, and/or pictures. Make changes by logging in to www.waitlist.me and  going to Account > Settings > Add Yourself. In the Main View section, there’s a link for Edit HTML; use this for the main widget view. Further down on the Add Yourself settings page there’s an option for Confirmation & Approval. There you’ll see another link for Edit HTML; use this for the confirmation page.

Public Waitlist Page – When you add customers to the waitlist or they add themselves remotely, there is an option to send them a confirmation text with a link to the Public Waitlist page. Custom HTML can be added to the bottom of this page for customers to view while they wait. Details about sales, links to menus/catalogs, or instructions for signing up for a rewards program could all be a great way to help customers pass the time while they are waiting. 

Public Waitlist Custom HTML Statuses – Once you’ve notified a customer that you’re ready for them, the table view of the public waitlist will no longer be visible and a graphic showing a ‘Ready!’ sign will appear. After customers are checked off the list, they’ll see a ‘Thank You’ picture. Change one or both of these to your own pictures by going to Account > Settings > Public Waitlist > Colors & Custom HTML > HTML Statuses. You can also customize the status text that appears in the boxes at the top of these views. See more details here.

Tip! Custom HTML allows you to include images that are hosted on your website or another location. If you need a service to host your images, we suggest checking out Cloudinary or Imgbb

Full-page Custom HTML Display – For the ultimate options in customization, the Platinum subscription offers the ability to fully re-create the web widget and kiosk views using HTML, CSS and JavaScript. You’ll need a web developer to use these features. You can change all the visual elements of the view while still taking advantage of the structured data elements and key features like the wait estimates. And of course, you can add your personalized branding throughout each screen customers see in the process of joining the waitlist and scheduling reservations. This page has more information on these options. 

Wednesday, July 22nd, 2020 .

When a customer who is on the waitlist or has a reservation sends you a text, you are able to see their text reply.  This helps you know when a customer decided not to come so you can remove them from the list, if they are on their way so you can hold their table, or if they have something else to ask or tell you.  With a Pro subscription, you can send open text replies to customer texts for more flexible communications.

Another Pro feature we have recently added is the option to enable an audio alert or visual highlighting when customers send you text messages.  Normally you would see a note in the customer row when they send you a text, and the full details of texts sent and received when tapping on the customer row.  The new alert features make it easier to know when a customer replies and which customer replied by playing a sound and flashing the area of the notes to attract your attention to the right spot to look.

Here’s how to set these up. If you use Waitlist Me in a computer browser, make sure you’re using the new version (there’s an option at the top of the waitlist to switch to the new version). Then on the top right of the main waitlist page click on the Settings gear icon  and go to Custom Behaviors > Receiving Texts. Here you can turn on options to play a sound and/or highlight the section of the waitlist that has the text response alert for a customer. These settings will apply to any devices using the web version.

In the Waitlist Me apps, the Custom Behavior settings are device-dependent, so you can choose whether to have them on or off for each different tablet or phone you’re using. In the app, go to the gear icon > Customization > Custom Behaviors > Receiving Texts to edit these options. Once turned on, you would hear a chime and see the highlighted area when you have the app open on your device.

Thursday, December 3rd, 2020 .

Waitlist Me makes it simple to track table availability and server assignments. There are a couple options that can be customized to your business needs and workflows. 

If you manage your tables by section, the first thing you’d want to do is visit this page to learn more about setting up your sections and layouts. If your business isn’t a restaurant, you can also use these same features to group your staff, rooms, or other resources visually in the Grid view.

Our Pro level service provides a very simple way to know what server is assigned to what section by using the Assignment Notes feature. Simply tap on the “Notes” link to view a list of sections and text form fields where you can enter server names or other notes for each section. It is easy to see high level information about each section and make changes all at once.

With our Platinum level service, you can also set up an additional floorplan view, and be able to position these same notes where you’d like in the floorplan view.

Also with Platinum you also have the option to assign servers individually to tables and track the activity by server rather than section. This is especially useful if you don’t use sections and use a system of assigning tables based on server turns or server activity. Or if you have servers assigned to sections, but need to have some floaters to help out where needed or other cross section activity, you can combine the section notes with individual server assignments to keep track of everything.

To set up individual servers, tap on the gear icon in the Waitlist Me app to go to the Settings and then go to Manage Assignments > Servers. Here you can enter the names of your servers. Select Status on the upper right of this menu if you want to add colors for the servers. Using different colors can make it easier to see where your different servers are assigned. Or maybe you want all your patio servers coded as green to make it easier to distinguish them from the indoor servers. 

After a table has been seated, select the table to access the footer bar. Here you will see a Server button, which brings up a menu of active servers. Choose a name to assign that server. You can sort by alphabetical order, the number of tables or seats each has had, or the amount of time since the last table was sat for each employee. 

Also, in the upper right of this server window is a Status option. The Server Status area lets you mark the servers who aren’t working today as inactive, and to change status colors if needed. 

If you haven’t yet named your tables, you can do that in the settings under Assignments. For the Pro features, you can find helpful information on navigating the grid view here. For the Platinum features, the video on this page will show you how to place your tables in your floorplan. 

Wednesday, November 20th, 2019 .

You’ve been the curious customer discovering a new spot, so you know just how promising it feels to walk in a restaurant and see happy people eating mouth-watering food. You’ve also been the hungry diner who’s waited an hour before discovering that the hostess somehow missed your name on the list roughly 10 tables ago. Cue the toe-tapping, eyeball-rolling, and finger-pointing.

As a consumer, you want to see your favorite restaurants doing good, steady business. After all, you want your neighborhood picks to stick around! However, you don’t want to experience the downsides of busyness: interminable waits, lost reservations, and poor customer service.

That’s why we built Waitlist Me. Here at Waitlist Me, we’re creating customer service technology that helps you manage your guests more efficiently and effectively. Five-star review, here you come!

What is Waitlist Me?

Waitlist Me puts your customers right where they should be: at the front of your mind. It’s an app that’s designed to make it easy for your front-of-house staff to keep track of both your waitlist and your reservations. We keep it all in one at-a-glance place so that you’ll never lose another name again. Phew!

How does Waitlist Me work?

The days of grease pens and messy paper appointment books are over. Waitlist Me is the forward-thinking tech your service-oriented business needs. And you know what? It’s an absolute cinch to use. We designed Waitlist Me to be intuitive for everyone to use, no matter how comfortable you are with smart devices. You can set it up for your business during an afternoon lull and train your staff to use it in minutes.

After that, you’re good to go! With a few taps, Waitlist Me lets you add walk-ins to your waitlist. With just one look, you can see how long they’ve been waiting and when their table should be ready. And once they hit the front of the line, you can forget about hollering out a last name. Instead, one more touch on the Waitlist Me app will let you send them a text notification right to their phone. No matter where they are—the parking lot, a nearby store, or hanging out in your lobby—they’ll know exactly when it’s their turn to take a seat.

 It doesn’t get any easier than that.

And Waitlist Me isn’t just for restaurants, either

Sure, Waitlist Me is an obvious must-use for restaurants, but scores of other businesses are using our app every day to make their businesses run better—and keep their customers walking through the door.

Who’s using Waitlist Me?

  • Big box retailers that rely on sales associates to sell big-ticket items, like televisions, computers, and smartphones
  • Jewelry stores helping individuals pick out special gifts for anniversaries, birthdays, and holidays
  • Recreation centers, like bowling alleys, ice rinks, and arcades
  • Gyms and fitness centers that see high traffic volume on certain pieces of equipment
  • Doctor’s offices and veterinary clinics with urgent care 
  • Hair and nail salons that offer a variety of walk-in services
  • Retail chains, specialty boutiques, and consignment shops to allow for more one-on-one time between employees and customers